Corn muffins

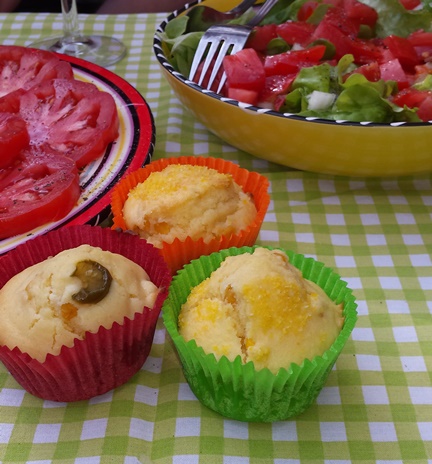
CornMuffin2These corn muffins make a great side dish with Mexican food or a barbecue. I first made these when I was looking for a side dish with  a chillli that I could make a day in advance. They are silky and soft. These muffins don’t dry out too quickly. They are great with a generous helping of butter or dipped in a hearty chilli sauce.

Corn muffins (10 muffins)

  • 125 grams of plain flour
  • 75 grams of corn flour
  • 1 tsp salt
  • 1 tsp baking powder
  • 20 grams of sugar
  • 175 ml of butter milk (or regular milk)
  • 1 egg
  • 35 grams of butter
  • 1 cup of corn kernels
  • Optional: handful of semolina for the crunchy top
  • Optional, for extra filling:
    • Fried onion rings
    • Slices of jalapeno peppers

Preheat your oven at 200 degrees C.

Mix and combine your dry ingredients. Mix and combine your wet ingredients. Combine all your ingredients.

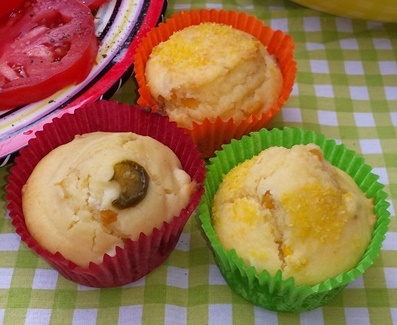
Divide the batter over the muffin tins. Place the filling in the middle of the muffins. Sprinkle each muffin with some semolina for a crunchy top.
Cornmuffin4

I like to hint at the filling by placing a pepper or onion ring on the top. This prevents my toddler from eating a spicy muffin.

Bake your muffins for 20 minutes or until risen and golden.

These muffins taste great warm but they also keep or freeze very well.

Read about more BBQ favorites here.

Simpel starters: salmon salad

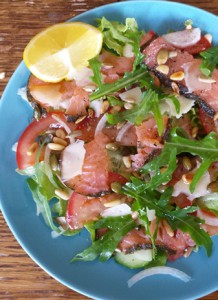
Salmonsalad2This salad is a great way to make the most of slices of smoked salmon. This salad is inspired on carpaccio. It is an easy way to impress your guests without too much fuss. If you buy good quality salmon, you just need to bring the ingredients together to create a beautiful harmony of flavors and textures.
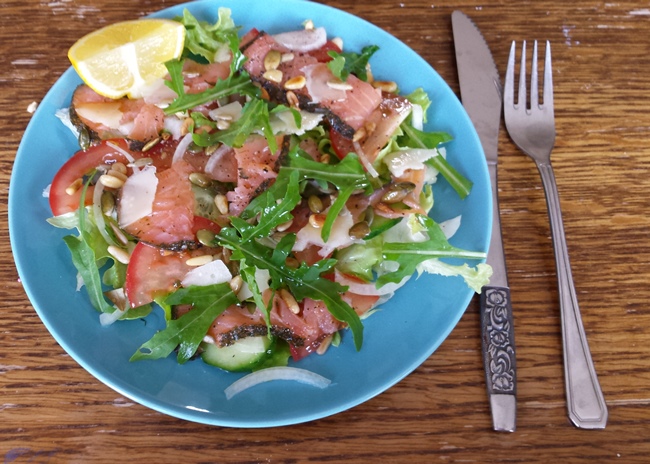
I like making 4 individual servings, but if you want you can make a large serving platter.

Salmon salad (4 servings)

  • 200 grams smoked salmon
  • 2 handfuls of your favorite lettuce leaves
  • 1 (spring) onion finely sliced
  • 1 handful of pine nuts
  • olive oil
  • 1 lemon. Use half for dressing the salad and cut the rest in wedges for presentation.
  • parmesian
  • Optional: sliced tomato and cucumber

Salmonsalad3

After slicing your ingredients, assemble your salad. Dress your leaves with olive oil and lemon juice and divide them over the plates. Spread your ingredients over the leaves. Finish with an extra drizzle of olive oil, freshly ground black pepper and a sprinkling of sea salt.

This salad also works great with slices of fresh tuna.

My Best Brownies

There are so many brownie recipes. I have tried so many recipes, for me this recipe’s gives me the best brownies. Slightly dense and moist in the middle, a crunchy top and appropriately chewy.

Best Brownies (makes 18 brownies)

For the batter:

  • 100 grams of dark chocolate in chunks
  • 150 grams of butter
  • 4 eggs
  • 200 grams of sugar
  • 1 tsp vanilla essence
  • 100 grams of flour
  • 55 grams coco powder
  • 1 pinch of salt

Optional filling

  • 70 grams chopped almonds, walnuts, hazelnuts and/or peanuts
  • 70 grams of chocolate, whichever you prefer
  • Alternatively you can mix in chuncks of your favorite candy bar (I like Snickers, but any other chocolate candy bar could work)

Every recipe calls for a different order for mixing the ingredients. In my experience it doesn’t really matter how you combine the ingredients, just make sure you don’t cook the eggs with the hot melted chocolate.

  1. Preheat your oven at 190 degrees C.
  2. Melt your chocolate and butter above simmering water.
  3. Line your baking tin (I use a  rectangular 15 cm by 30 cm baking tin).
  4. Take your melted chocolate of the heat, let it cool for a few minutes.
  5. Mix in the vanilla essence, sugar, this lowers the temperature of the chocolate a little more.
  6. Combine with the eggs, flour, salt and coco powder.
  7. Stir in the optional filling.
  8. Pour the batter in the baking tin and bake for 30 to 40 minutes.

Your cooking time depends on how dense you like your  brownies. Sometimes I slightly undercook my brownies. This way I can warm them up later (and cook them a bit more) in the microwave and serve them warm with vanilla ice cream or clotted cream.

Quick and easy mini veggi pizza

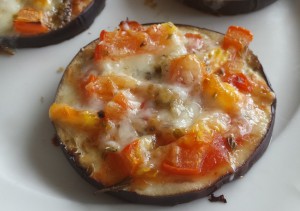
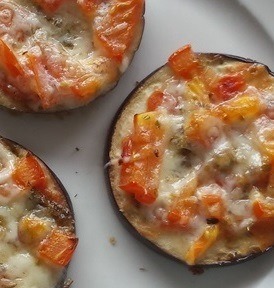
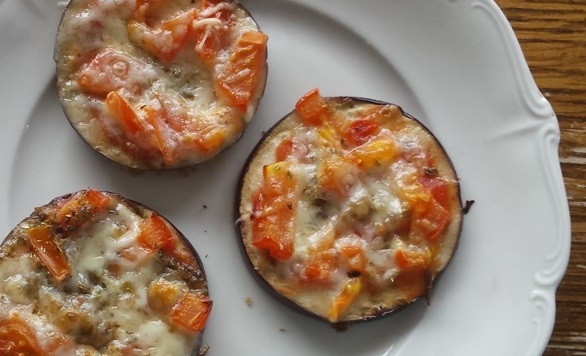
This is not a recipe for real pizza (Read more about pizza dough and pizza toppings). These mini pizza are delicious glutenfree vegetable bites. My son loves making these and having them for dinner. But they would also make a great party treat or be part of a great high tea.MiniPizza2

Once you have sliced your ingredients, you can assemble these mini pizzas with your toddler.

MiniPizza3

Mini veggi pizza’s

  • Eggplant/aubergine in 5 mm slices
  • 1 cup of my no fuss Tomato sauce / or a jar of ready made sauce
  • 1 cup of grated Parmesan
  • 1 mozzarella cheese ball in slices
  • 1 tomato in small cubes
  • optional: 1 onion in small cubes
  • Oregano

Lay your eggplant slices on a baking sheet. Spoon a small spoon of sauce on each slice. Sprinkle with some oregano, then add your tomato and union. Sprinkle with Parmesan and top with a small slice of mozzarella.

Bake in a 220 degrees C oven for 15 minutes and enjoy!

MiniPizza4

We tried this recipe with courgette as well, this worked fine but we just love eggplant more.

Read more about cooking with toddlers here.

Pea Puff Pies

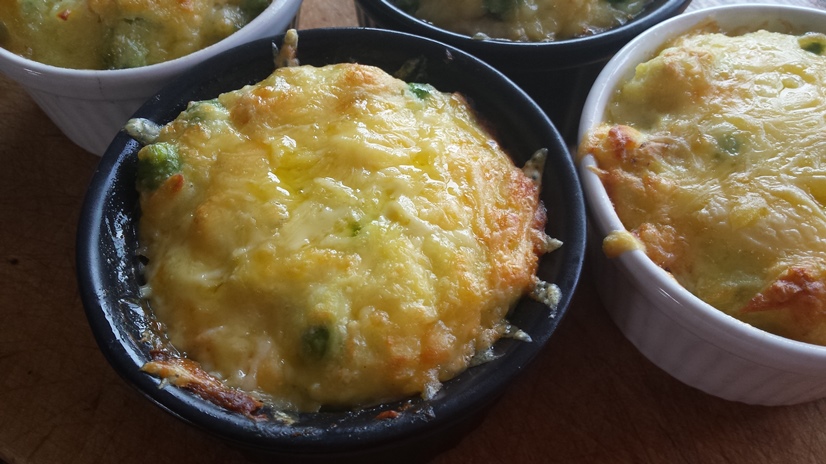
This is a recipe that I invented in order to finish our leftovers. Feel free to use any form of leftover vegetables and meat for this recipe. I have also made similar pies using cauliflower, broccoli, spring union or asparagus.

You can also make a delicious vegetarian version by replacing the meat with some tasty nuts or maybe a stronger cheese.

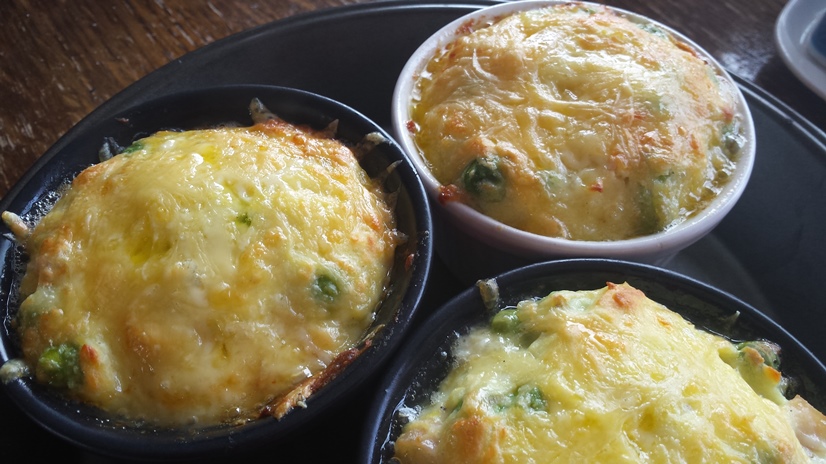
I serve these pies in individual ramekins, this way I can accommodate everyone’s busy schedule. But you could easily make one large pie, just increase your cooking time slightly so the pie is cooked and warm in the middle.

These pies are a simplified version of a soufflé. The egg makes them puff up beautifully and creates a light texture. The measurements below are an indication. Feel free to adjust them to your taste. Add more egg for more rise and a more “eggy” flavor.

This recipe only needs stirring and measurements are not crucial so you could easily make these together with your toddler. For more toddler cooking tips, read this post.

For a simple dinner, serve your Pea Puff Pies with some HP sauce and a tasty salad. You could make these pies as a starter, especially if you use a more fancy vegetable like asperagus.

PeaPuffPie1

Pea Puff Pies (for 4 small pies)

  • 150 gram of mashed potato
  • 2 free range eggs
  • 100 grams of grated cheese (keep some aside for on the top)
  • 100 grams of shredded chicken
  • 150 gram of peas (or any other veg you like)
  • Salt and pepper to taste

Simply warm mix your ingredients and spoon the batter into the greased ramekins. Sprinkle some cheese on top.

After preparing your pies you can keep them for a few days in the fridge until you are ready to eat them.

Bake your pies in a 220 degrees C oven for 10 to 15 minutes or until puffed up and golden.

Enjoy!

PeaPuffPie5

4 principles for a tasty salad

A good salad is about balance and contrast. If you keep the following 4  principles in mind, you can make special salads every day of the year.

  1. Don’t combine too many ingredients, the best salads have around 5 main ingredients. This ensures you taste every ingredients shines.
  2. Make a simple dressing that compliments your ingredients. If you insist on using a complex dressing like a ceasar dressing, keep your salad even more simple: using up to 3 ingredients. For more information on ceasar salad read about my dutch ceasar salad here.
  3. Balance your flavors. Make sure you have a sharp/spicy, sweet, salty, sour, savory and bitter component in your ingredients and dressing.
    Sparpness can come from unions, chili or pepper.
    Sweet can come form honey in your dressing or some fruit or sultanas.
    Salty can come from some cheese, bacon,salty nuts or even sea salt.
    Sour can come from sertain lettuce leaves or butter milk in your dressing.
    Savory kan come from nuts, croutons or bacon.
    Bitter notes can come from your choice of leaves, cheese or fruits like grapefruit.
  4. Balance your textures. Make sure you have a variety of textures. Croutons or nuts for some bite, soft cheese or pears, creamy dressing and crunchy lettuce or cucumber.

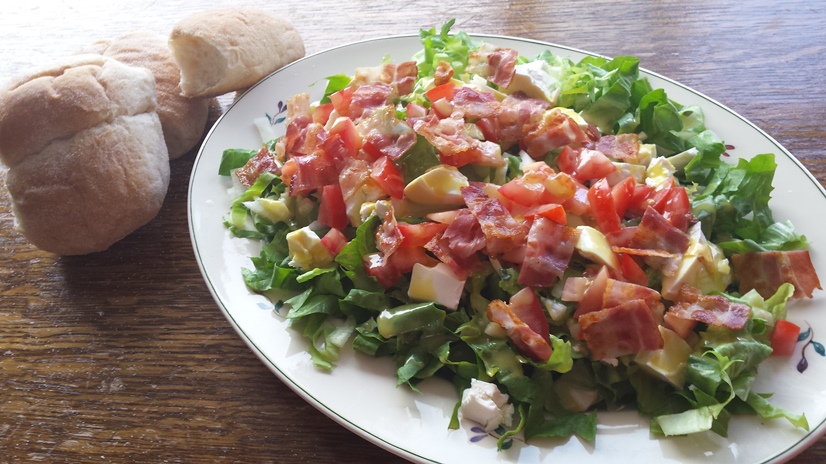
FestiveLettuce1

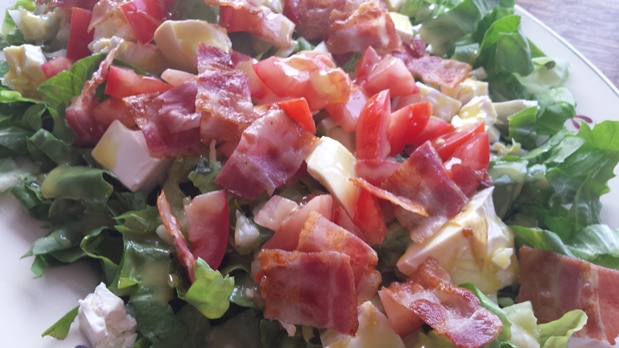
The other day I made a tasty well balanced salad using endive leaves, feta cheese , union, tomatoe and bacon with a simple honey mustard dressing. For the honey mustard dressing combine equal quantities of mustard and honey. For a more runny dressing add water of (butter) milk to this mixture.

Tzatziki

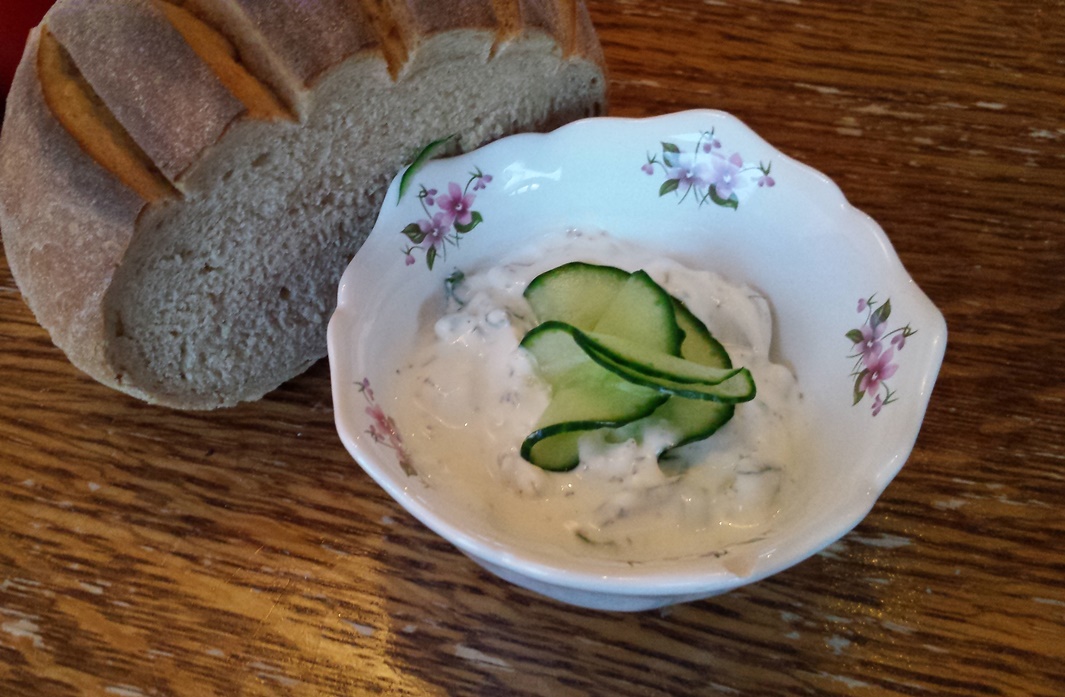
My husband loves a good barbeque. But before the meat is ready we like knibble on something. For us, that’s crispy bread and taziki. This yoghurt dip ticks all the boxes for me, both the garlic flavour and the smooth and rich, creamy texture. Normally such a delicious sauce is based on so many fats, like your mayo based  sauce. But a taziki is yoghurt based and by comparison much healthier. This is why I must insist you use full fat greek yoghurt for this, non of that crazy diet stuff. Plus, full fat yoghurt contains more nutrients as well.

Feel free to replace my 2 favorite soft herbs with other options such as chives, dill or parsley.

I know this is hard, but try to let this sauce stand in the fridge for an hour, so the flavours are properly combined.

Just enjoy this sauce with crunchy bread, pita’s, falafel, naan’s, roast meat or with potato chips!

Cacik1

Tzaziki

  • 1 cucumber
  • 4 tbsp salt
  • full fat greek yoghurt
  • 1 tbsp lemon juice
  • 1 handful of fresh mint
  • 1 handful of fresh koriander
  • 2 cloves of garlic

Grate your cucumber with a course grater. Now we will drain the water out of the cucumber to intensify the flavour. So bear with me and add all the salt to the cucumber. Mix this well in a bowl and leave to stand on one side while you continue with the other ingredients.

Finely chop the mint and coriander. Grate the garlic cloves.

In a large bowl add the Greek yogurt, lemon juice, chopped herbs and garlic. Season with a small amount of salt and pepper.

After 10-30 minutes of steeping rinse your grated cucumber in a collinder. This should clean away all that salt. The cucumber needs to be as dry as possible. I do this by first pushing as much water as possible through the collinder. After this I squeeze the grated cucumber between my hands. Add the dry handfuls of cucumber to the yogurt mix.

Stir your tzaziki thoroughly. Let it stand in the fridge for an hour (or overnight), and salt to taste before serving. This sauce will keep for a couple of days if stored in the fridge, that is, if there is anything left!

GreekStew4

Tzaziki is also great with some oven chips, or as a side dish with a Greek lamb stew.

Fabulous five BBQ recipes!

It’s summertime and we are crazy for barbecues. Here comes my list of favorites!

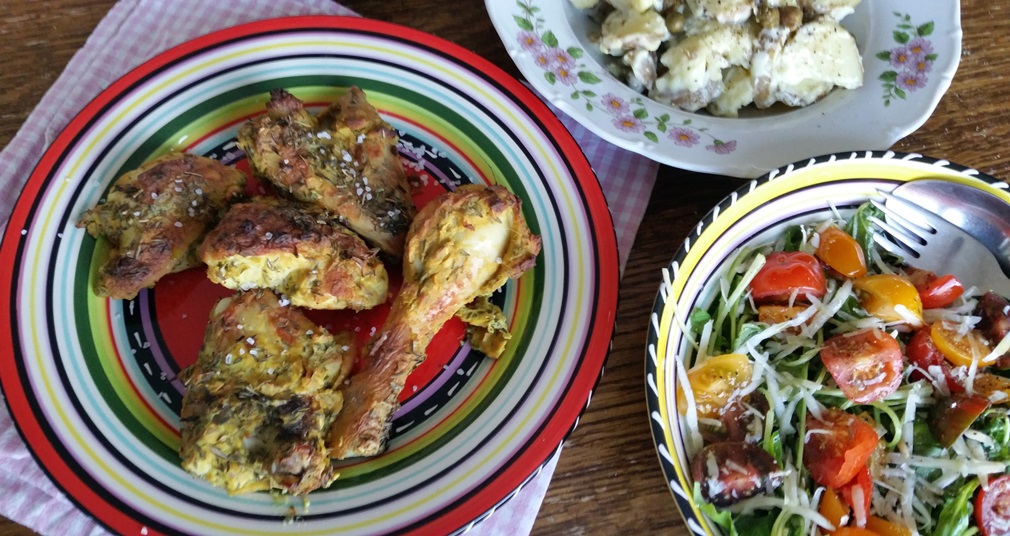
  1. Mustard chicken. Makes for sweet and succulent morsels of chicken every time! Tastes great with some potato salad and a flower salad!
    Chicken1
  2. Fried sweet potatoes. I found a great recipe on www.theyummylife.com, still have to try it!
  3. I love having a good baked potato. I am the least patient cook in the world. So I pre-cook my potatoes in the microwave. Simply wash your potatoes and prick them all sides with a fork. Cook them in your microwave for 3 minutes, then turn them around, feel if they are soft as this means they’re cooked. If not blast them for another 2 minutes, then check them again. Wrap your potatoes in foil and crisp them up on your barbecue.
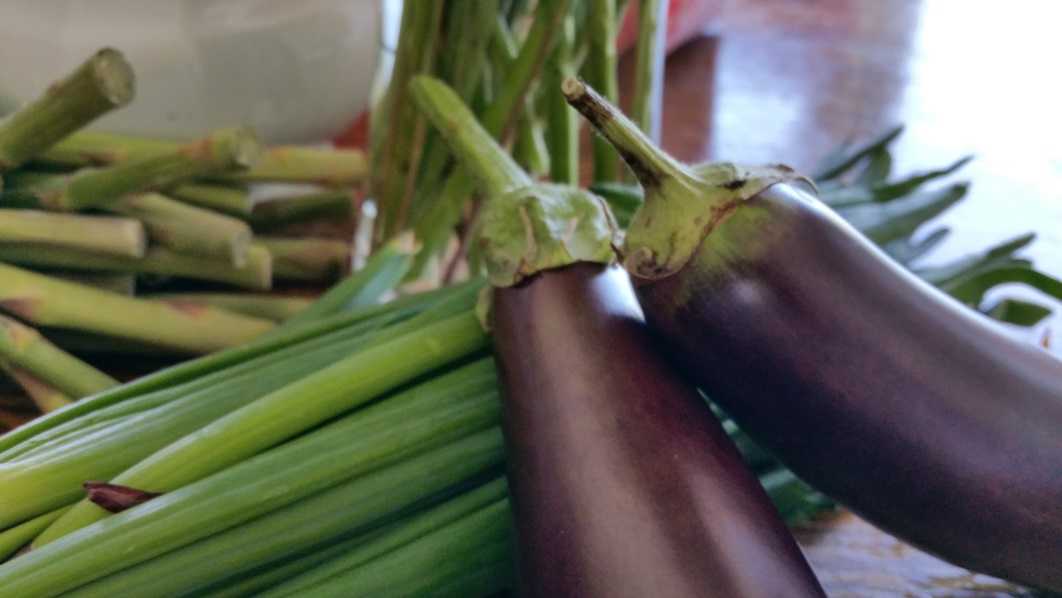
  4. Zucchini/courgette or aubergine are great for grilling too. Just slice in 5 mm slices. Sprinkle them with olive oil and thyme. Season to taste and grill on each side.
    aubergine
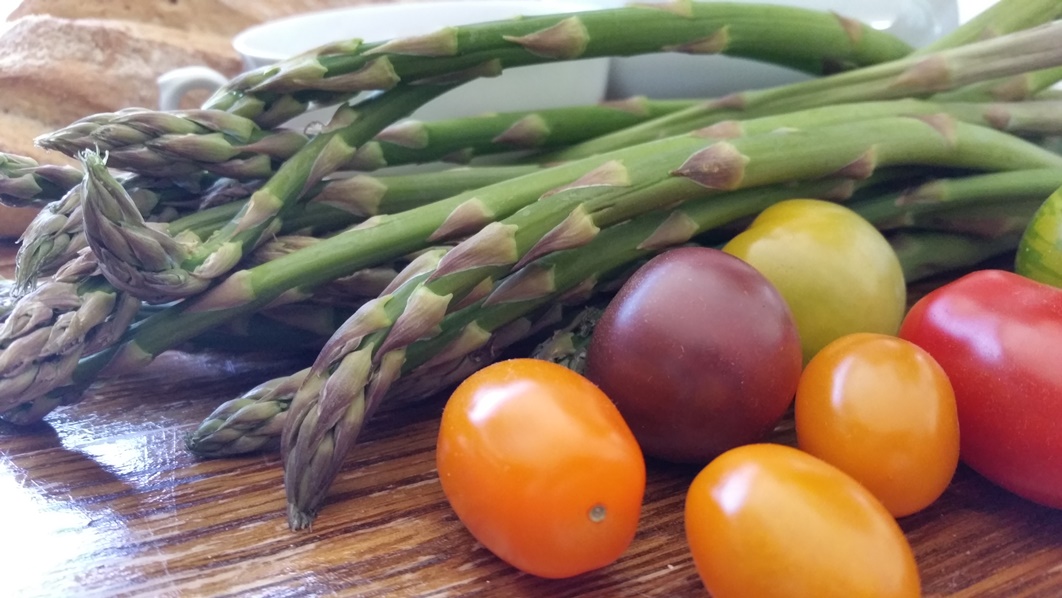
  5. Grilled asparagus, precook them if the stems are thicker. Just lightly coat them with olive oil. Season them after grilling and dress with a few drops of lemon.
    asperagus

For more great barbecue side dishes:

No fuss tomato sauce

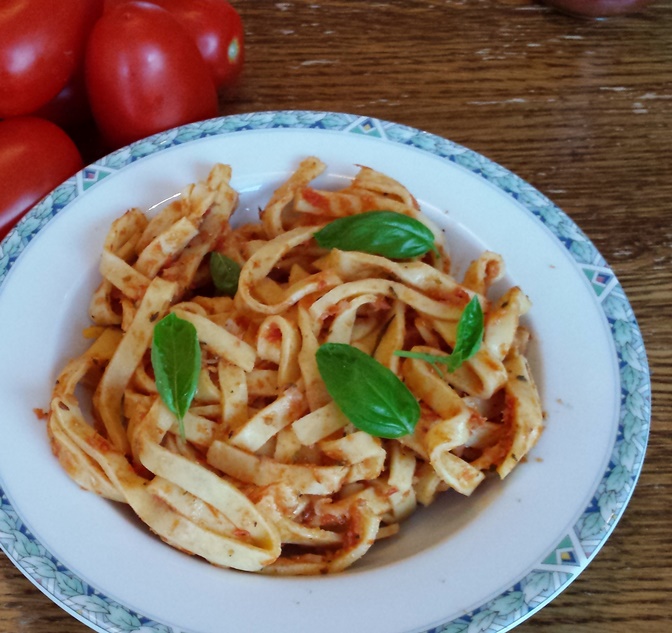
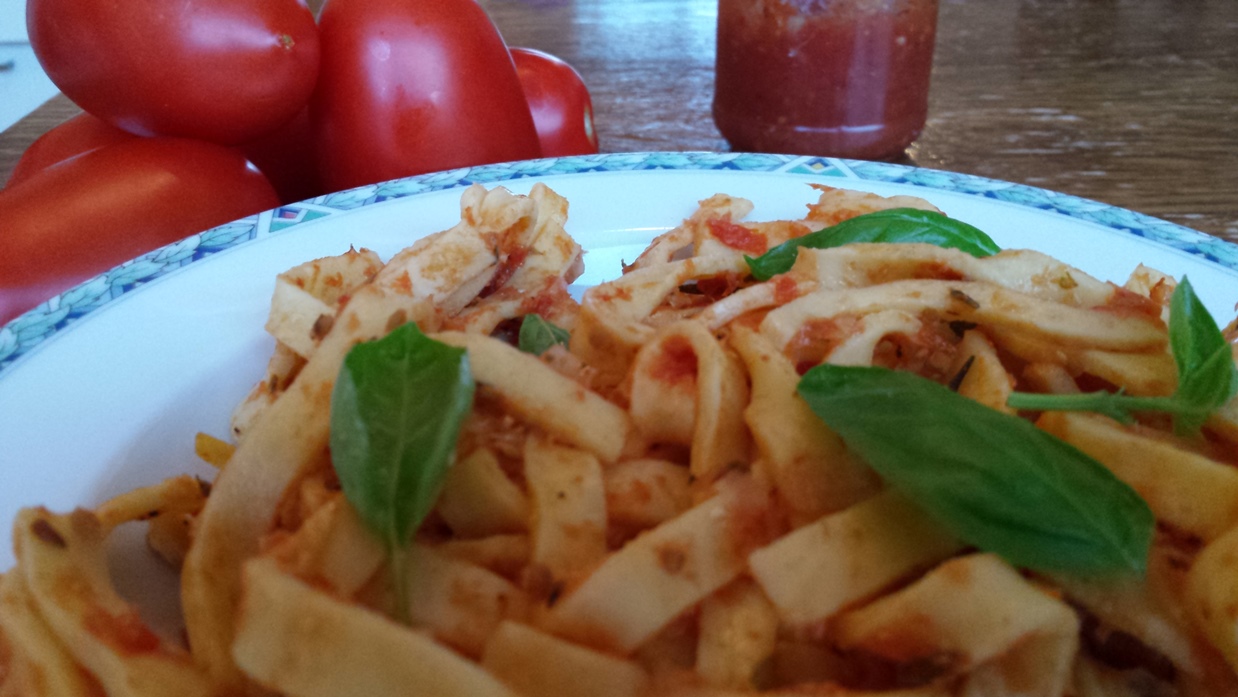
PastaSauceThis is the easiest way to make tomato sauce ever! You make it with fresh ingredients and the flavor is so intense. The bog secret is that the ingredients are not fried but roasted. You can use this sauce with your pasta or as a pizza sauce. Both my son and my husband have approved this recipe, it is finger licking good!

This recipe is enough for a family pasta meal. But you could easily make a large batch and freeze the rest of the sauce. The sauce can also keep in the fridge in a jar for a week.

TPasta2

No fuss tomato sauce

  • 6 tomatoes
  • 1 onion
  • 1 handfull of fresh thyme and rosemary
  • 1 tbsp dried oregano
  • Honey
  • Olive oil
  • Optional: 1 chili pepper for a kick
  • Salt and pepper to taste
  1. Preheat the oven at 220 degrees C.
  2. Halve all the tomatoes and place them sliced side up on a baking tray.
  3. Peel and quarter the onion and peel the garlic. (Slice the chili in chunky pieces.)
  4. Scatter the other ingredients between the unions.
  5. Sprinkle the tomatoes, onions, garlic and chili with thyme and rosemary.
  6. Drizzle with honey and oil
  7. Bake in the oven for 30 minutes to an hour, untill your ingredients are nicely roasted.
    If you are making this in advance, shutdown your oven and let it cool while leaving the tomatoes in.
  8. Blend the roasted ingredients to a smooth paste.
  9. Mix in the oregano, salt and pepper to taste.

Felt Funny bunny

bunny1

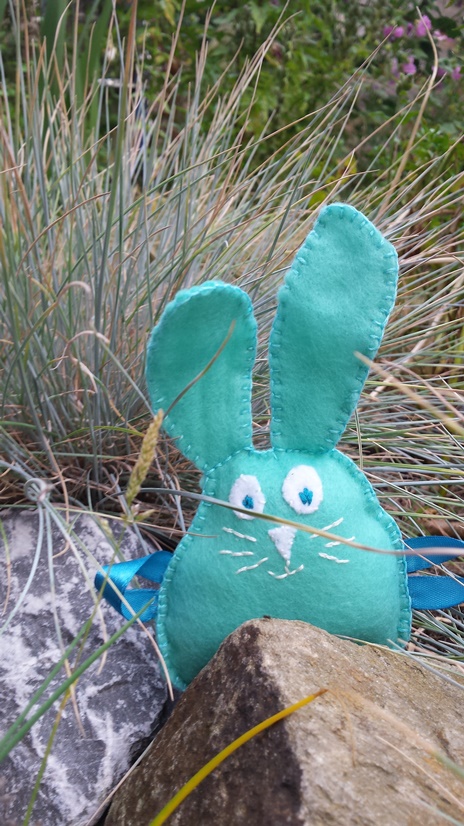
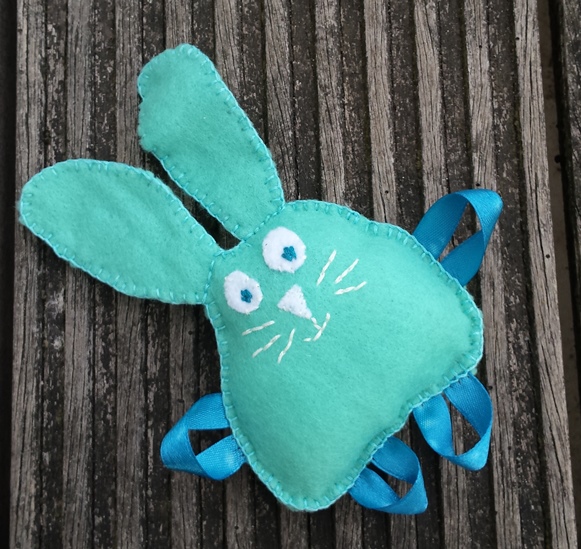
I am in the blessed age of my life where many friends are pregnant and busy with babies. This means I have all the more reason to create fun felt figures. I have an entire pinterest board dedicated to fuzzy felty figures!

The other day I already made a bunny for Easter, which ended up in the crib of my friends little girl. Now I created Funny Bunny for another sweet baby.

Looking for more felt ideas? You can download my patterns for Plane baby rattle and cute Cloudette.

bunny5