Creamy mushroom sauce

Creamy mushroom sauce
Print Recipe
Mushroom sauce has been my favorite since I was a little girl, I used to always order a steak with mushroom sauce in a restaurant. I used to think it was the pinnacle of sophistication. Luckily, now I can make and eat this sauce every day of the week, in my own home. I love having this sauce with pork schnitzels and some oven baked potato chips or poured over some fresh tagliatelli
Servings Prep Time
4 persons 15 minutes
Cook Time
10 minutes
Servings Prep Time
4 persons 15 minutes
Cook Time
10 minutes
Ingredients
Servings: persons
Instructions
  1. Brown the mushrooms and onions in the butter.
  2. Add the garlic and fry for a short while. Make sure it doesn't burn.
  3. Add the flower, keep stirring as you cook it out on a medium to low heat for at least 2 minutes. Do NOT skip this step, your sauce will end up just tasting like flour.
  4. Stir in the white wine, let it cook off for 1 minute.
  5. Stir the dried porcini and the soaking liquid. Also stir in the cream cheese.
  6. Stir in hot water until the sauce has the consistency you like.
  7. Season to taste and mix in the fresh parsley just before serving.
Recipe Notes

Instead of cream cheese you could just use cream. Use any type of mushroom you like.

Share this Recipe
 

Homemade Mint Jelly

Homemade Mint Jelly
Print Recipe
This sauce is the perfect accompagnement with roast meat, especially lamb. It is a great way to use up all that mint growing like crazy in your garden. I like to add a stylish lable and cute lid, that way I can give away these jars as gifts.
Servings Prep Time
5 jars 10 minutes
Cook Time
20 minutes
Servings Prep Time
5 jars 10 minutes
Cook Time
20 minutes
Ingredients
Servings: jars
Instructions
  1. Wash your mint, pick the leaves of and chop finely.
  2. Prepare and clean your jam jars.
  3. Combine all the ingredients and bring to a simmer. Simmer for 5 minutes.
  4. Fill your jam jars, twist on the caps immediately. Place the jars upside down for 5 minutes.
  5. Turn your jelly jars every 20 minutes as they cool. This ensures the mint leaves being spread evenly through the jelly.
Recipe Notes

Read more about edible gardening here.

Share this Recipe

Yoghurt garlic sauce

  • 3 large tbsp yoghurt
  • 2 garlic cloves, finely sliced
  • 1 tsp of dried dill and/or 1tsp of dried mint
  • 1 tbsp lemon juice
  • salt and pepper to taste
  • Optional: handfull of freshly chopped koriander, mint and/or parsley
  1. Mix to combine.

Pitasaus1

Best when prepared one day in advance, so the flavors ar well combined.

Keeps up to 3 days in the fridge.

Tastes great with flat bread, curries, chick pea stew and chips.

Broccoli feast

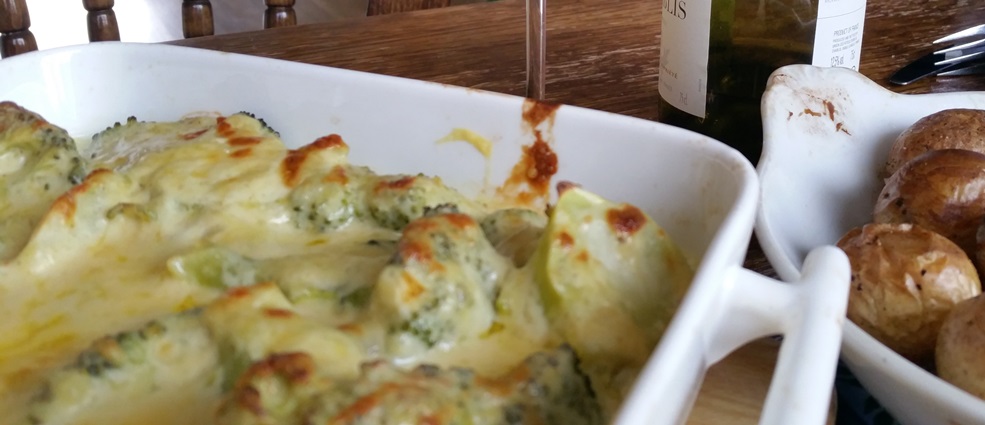
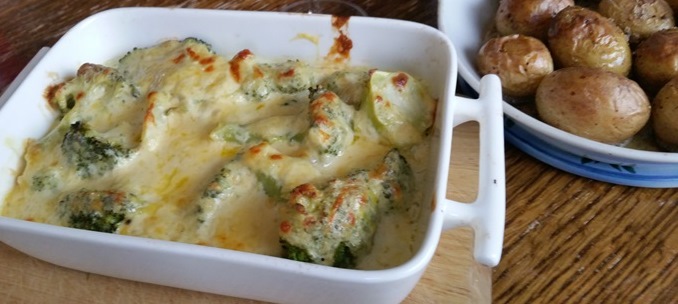
I am always looking for a way to make broccoli more interesting. Somehow this veg does not apeal to me, but I love it with cheese! This recipe makes my life easy. Especialy because I can do all preperations the day before. All I need to do when I get home is heat the dish in the oven.brocolli1

We like eating this simple broccoli casserole with roast potatoes and maybe a salad on the side. As the sauce is so rich, we like having this broccoli feast as a vegetarian dinner. As a variation to this dish you could mix in cauliflower or maybe .

Broccoli feast

  • 1 head broccoli, broken into florets
  • For the cheese sauce:
    • 1 onion, finely sliced
    • 30 grams butter
    • 30 grams flour
    • 150 ml white wine
    • 150 ml milk
    • 150 ml stock
    • 1 tsp mustard
    • 2 cups of grated cheese, I like old Gouda or a gruyere for this dish
    • salt, pepper and a pinch of nutmeg
  1. Boil your broccoli until tender. Rince with cold water to stop the cooking process. Place the broccoli in an ovenproof dish and set aside.
  2. Gently fry the onion in the butter intil soft.
  3. Add the flour. Stir this mixture on a low heat for at least 2 minutes.
    Do not skip this stage to prevent a grainy, floury taste.
  4. Add the liquids gradually, while mixing and incorporating into a thick sauce.
  5. Stir in 1 cup of the cheese and the mustard.
  6. Season with nutmeg, salt and pepper to taste
  7. Pour your sauce over the broccoli and sprinkle with the rest of the cheese.
    (You can prepare this dish a day before and keep it in the fridge.)
  8. Preheat your oven at 220 degrees C. Bake your broccoli for 15 to 20 minutes or until golden brown.

Brocolli

Tzatziki

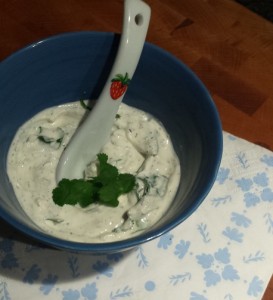
My husband loves a good barbeque. But before the meat is ready we like knibble on something. For us, that’s crispy bread and taziki. This yoghurt dip ticks all the boxes for me, both the garlic flavour and the smooth and rich, creamy texture. Normally such a delicious sauce is based on so many fats, like your mayo based  sauce. But a taziki is yoghurt based and by comparison much healthier. This is why I must insist you use full fat greek yoghurt for this, non of that crazy diet stuff. Plus, full fat yoghurt contains more nutrients as well.

Feel free to replace my 2 favorite soft herbs with other options such as chives, dill or parsley.

I know this is hard, but try to let this sauce stand in the fridge for an hour, so the flavours are properly combined.

Just enjoy this sauce with crunchy bread, pita’s, falafel, naan’s, roast meat or with potato chips!
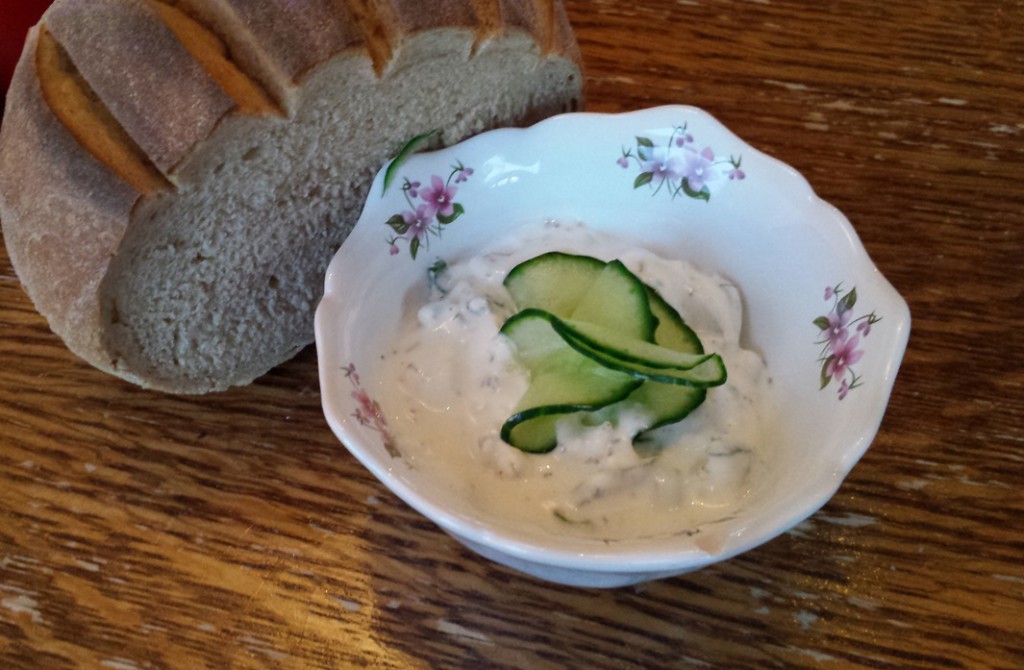
Cacik1

Tzaziki

  • 1 cucumber
  • 4 tbsp salt
  • full fat greek yoghurt
  • 1 tbsp lemon juice
  • 1 handful of fresh mint
  • 1 handful of fresh koriander
  • 2 cloves of garlic

Grate your cucumber with a course grater. Now we will drain the water out of the cucumber to intensify the flavour. So bear with me and add all the salt to the cucumber. Mix this well in a bowl and leave to stand on one side while you continue with the other ingredients.

Finely chop the mint and coriander. Grate the garlic cloves.

In a large bowl add the Greek yogurt, lemon juice, chopped herbs and garlic. Season with a small amount of salt and pepper.

After 10-30 minutes of steeping rinse your grated cucumber in a collinder. This should clean away all that salt. The cucumber needs to be as dry as possible. I do this by first pushing as much water as possible through the collinder. After this I squeeze the grated cucumber between my hands. Add the dry handfuls of cucumber to the yogurt mix.

Stir your tzaziki thoroughly. Let it stand in the fridge for an hour (or overnight), and salt to taste before serving. This sauce will keep for a couple of days if stored in the fridge, that is, if there is anything left!

GreekStew4

Tzaziki is also great with some oven chips, or as a side dish with a Greek lamb stew.

No fuss tomato sauce

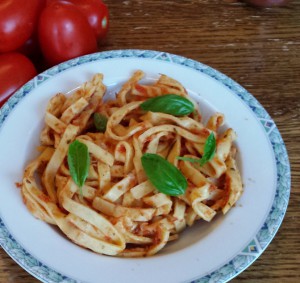
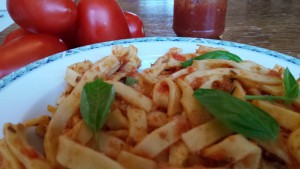
PastaSauceThis is the easiest way to make tomato sauce ever! You make it with fresh ingredients and the flavor is so intense. The bog secret is that the ingredients are not fried but roasted. You can use this sauce with your pasta or as a pizza sauce. Both my son and my husband have approved this recipe, it is finger licking good!

This recipe is enough for a family pasta meal. But you could easily make a large batch and freeze the rest of the sauce. The sauce can also keep in the fridge in a jar for a week.

TPasta2

No fuss tomato sauce

  • 6 tomatoes
  • 1 onion
  • 1 handfull of fresh thyme and rosemary
  • 1 tbsp dried oregano
  • Honey
  • Olive oil
  • Optional: 1 chili pepper for a kick
  • Salt and pepper to taste
  1. Preheat the oven at 220 degrees C.
  2. Halve all the tomatoes and place them sliced side up on a baking tray.
  3. Peel and quarter the onion and peel the garlic. (Slice the chili in chunky pieces.)
  4. Scatter the other ingredients between the unions.
  5. Sprinkle the tomatoes, onions, garlic and chili with thyme and rosemary.
  6. Drizzle with honey and oil
  7. Bake in the oven for 30 minutes to an hour, untill your ingredients are nicely roasted.
    If you are making this in advance, shutdown your oven and let it cool while leaving the tomatoes in.
  8. Blend the roasted ingredients to a smooth paste.
  9. Mix in the oregano, salt and pepper to taste.

Rockin Rocket Pesto

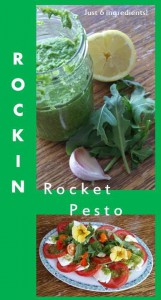
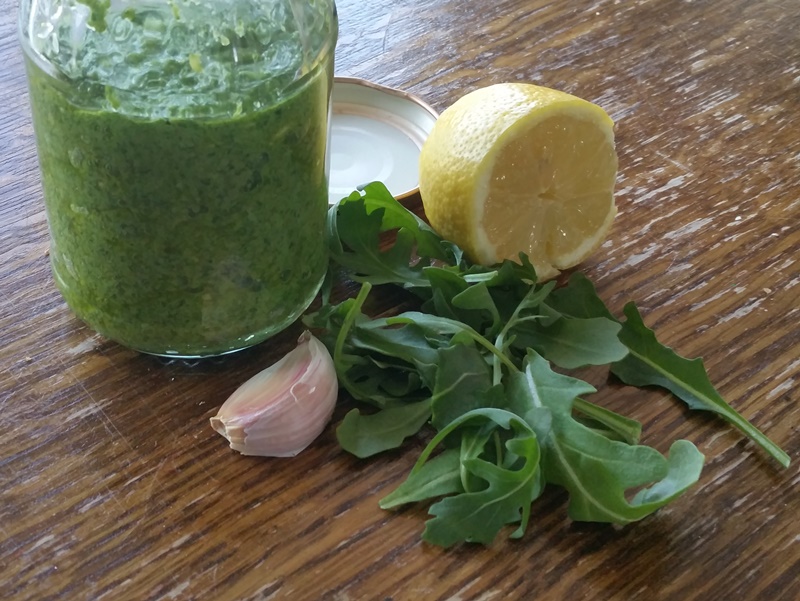
rrpIf you ever tried growing rocket (or arugula) you know it grows like a weed. You can eat these lovely leaves every day once your rocket plants get going.

In Holland you find them in the wild too. They grow on sandy soil, so you find them in the dunes, next to rail roads and just on side walks.

If you are lucky enough to have an abundance of rocket, you might be looking for a new way to use it up. I like to do this by making my own pesto.

This recipe has no exact quantities, I suggest going with your instincts, and go by what you have in your fridge and adding ingredients to your taste.

Rocket_Pesto

Rockin Rocket Pesto

  • 1 – 2 handfulls of rocket
  • 1 handful of cashews (or hazelnuts, walnuts, peanuts, whatever nut you like)
  • a piece of hard cheese
  • 1 clove of garlic
  • 1 – 2 tbsp of lemon juice
  • 2 tbsp olive oil
  • Salt and pepper to taste

I grind and mix my ingredients in my trusty little blender. Make sure you have enough oil in the blender.

Store your pesto in a jar or container in the fridge. Keep a layer of oil on top of your pesto to keep it fresh. Eat it within a week, but for us this is not a challenge!

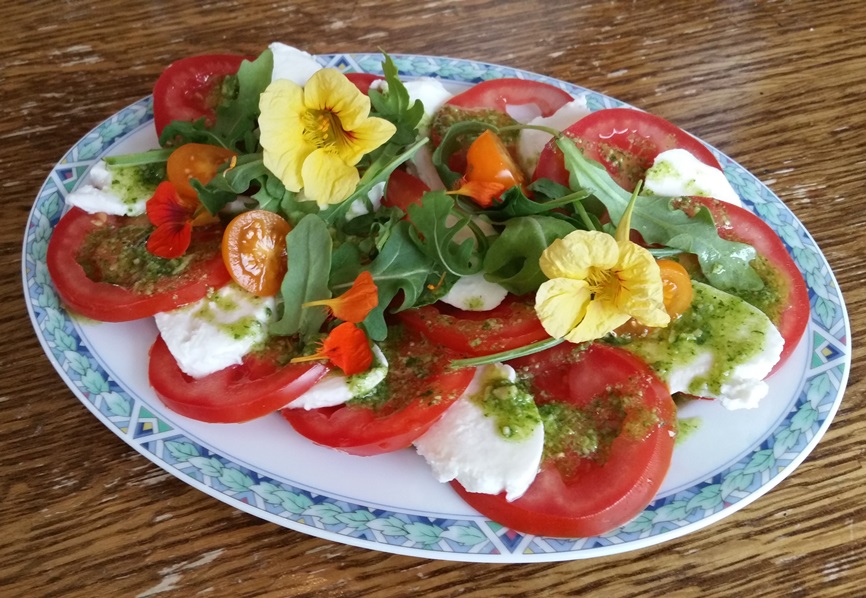
This pesto is lovely as a dip with some home made bread, on your (meat) sandwich or through your pasta. If you add some more oil and lemon juice, it makes a lovely dressing for your tomatoes and mozzarella salad.

RocketPesto_Salad


This recipe works with basil or fenil tops too.

Homemade mayonnaise

Mayo2I know it’s easy to buy mayonnaise ready made in the jar. I recommend you make this delicious sauce at least once, because;

  • you see what ingredients go in
  • you can determine the quality of the ingredients used, adding your own favorite ingredients
  • and of course it really does taste much better.

Once you have mastered the basic recipe below, you can start varying the ingredients to make your personalized version by;

  • Using your favorite vinegar or citrus juice like flavored vinager or lime juice instead of lemon juice.
  • Using your favorite mustard.
  • Adding 1 or 2 garlic cloves to the mustard and egg yoke, creating garlic mayo or Aioli.
  • Substituting up to 125 ml of the neutral oil by olive oil or yoghurt for a healthier mayo.

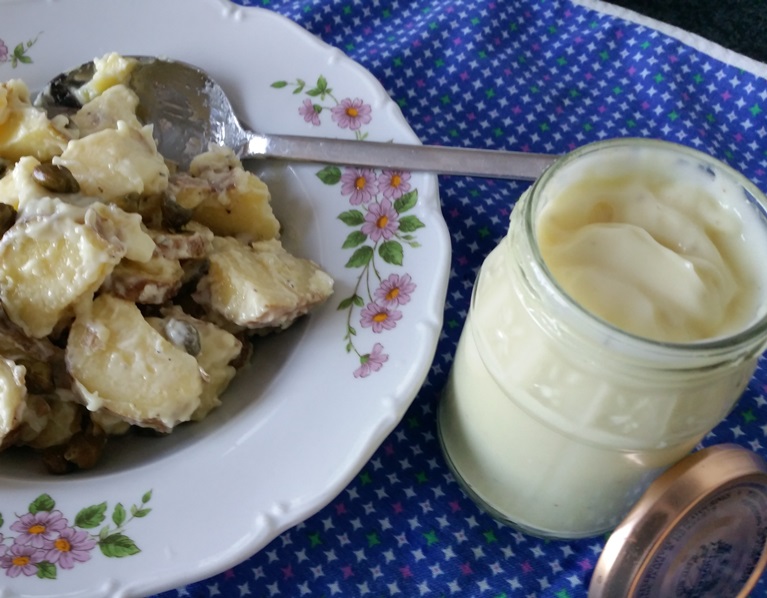
As a Dutchy I love my mayo with chips. It is also great for making a potato salad.

Mayo1

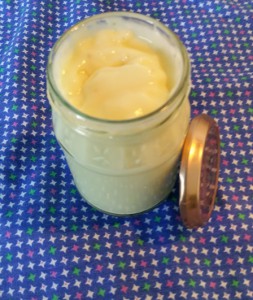
Keep your leftover mayonnaise in a jar in the refrigerator. The lemon and the mustard ensure that you can keep your mayo for at least a week, if it lasts that long that is….

Basic mayonnaise

  • 1 egg yolk
  • 1 tbsp mustard
  • half tsp salt
  • 2 tbsp lemon juice or white wine vinegar
  • 275 ml of neutral flavored oil, I use sunflower

Combine your yolk, mustard, vinegar and salt and whisk until well combined.

Keep whisking and gradually add your oil. After adding all the oil you should have a thick and glossy mayonnaise.

If you add your oil too quickly, the mayonnaise will split. Try whisking vigorously. If this doesn’t rescue your mayo, put this batch to the side.  You will have to start over. When you are halfway adding your oil, add your split mayo instead, essentially creating a double batch of mayo.

Potato salad

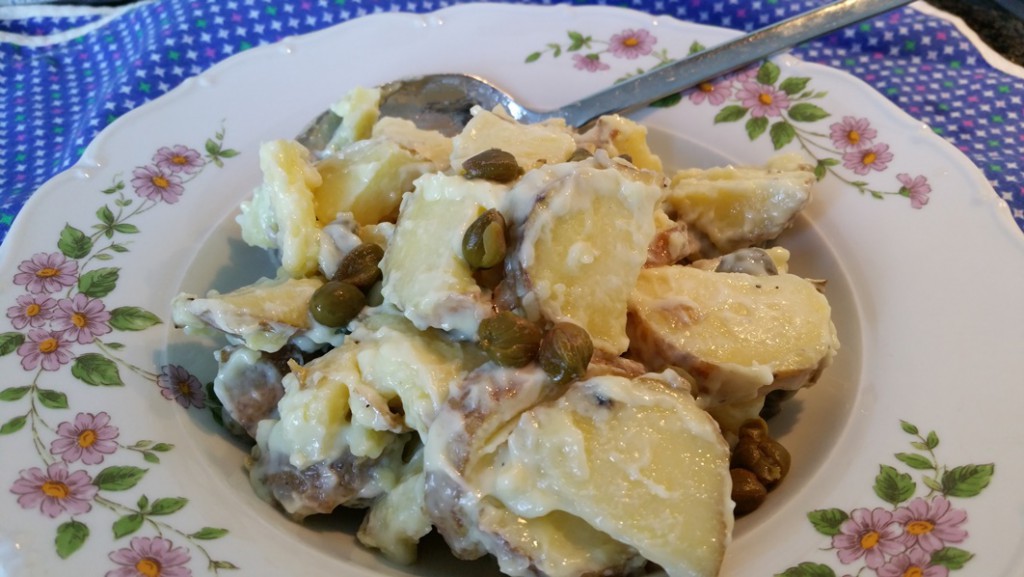
Turn your mayonnaise into potato salad by adding it to some boiled sliced potatoes. Add some capers and sliced spring union for some freshness and a splash of green.

Mayo3

Sweet mini veggie burgers

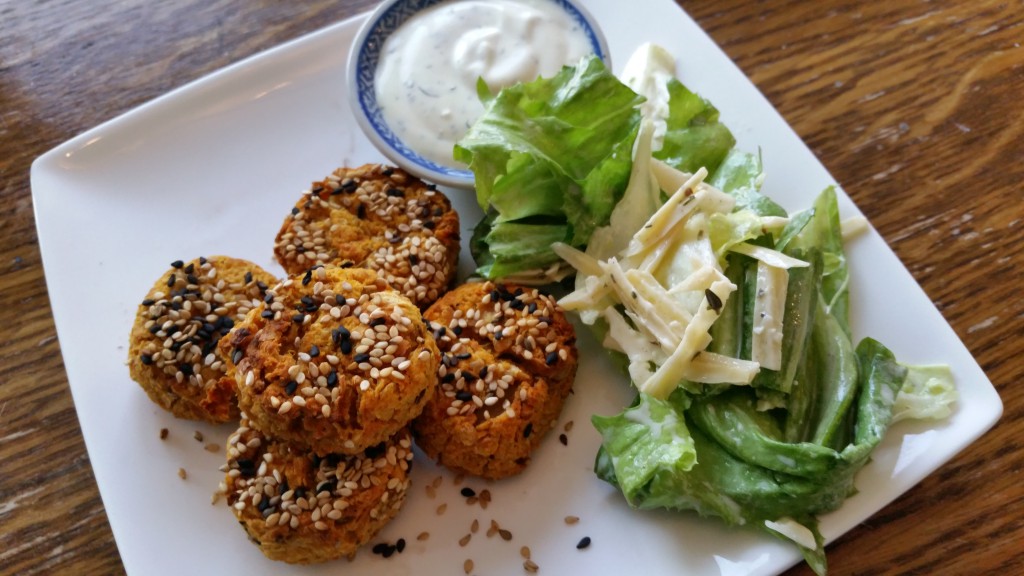
I love making my own vegetarian balls and falafel look-a-likes. I was looking for a new way to cook with sweet potatoes. I sometimes find them overly sweet. This is why I thought of a sweet potato and chick pea mini burger. I packed the mini burgers full of flavors and textures complementing each other. Instead of mixing salt into the burgers, you coat them with it. The sesame seeds add even more flavors.

These little veggie burgers make it easy to eat a vegetarian meal, because they are so satisfying and filling.

SweetVeggieMiniBurger

Sweet veggie burger

  • 1 tin of chickpeas (265 grams)
  • 1 large sweet potato
  • 1 cup of grated grated carrot
  • 1 finely sliced union
  • 1 garlic clove finely sliced
  • 1 tsp cumin
  • 1 tsp carraway
  • 1 tsp sweet paprika
  • 1 tsp crushed black pepper
  • For the coating:
    • 2 tbsp sesame seeds
    • 2 tbsp black sesame seeds
    • 1 tbsp sea salt
  • Sauce:
    • 1 tsp mustard
    • 1 tbsp mayonaise
    • 3 tbsp greek yoghurt
    • 1 tsp mint
    • 1 tsp dill
    • 1 garlic clove, finely sliced
  1. Preparations
    1. Preheat your oven to 220 degrees C.
    2. Prick some holes in your sweet potato and place it in your microwave for 3 to six minutes until it feels soft to the touch.
    3. Fry your union and carrot in some oil until they are soft.
    4. In a blender, chop your chickpeas. Don’t blitz them to a pulp, keep some chunky bits in for a bite.
  2. Shaping your mini veggie burgers
    1. Mix all the ingredients the veggie burgers. Mold them into mini burgers or balls, whatever shape makes you happy.
    2. Mix the coating ingredients in a plate. Place the mini burgers in the coating on each side.
    3. Place the mini burgers on baking parchment on an oven tray. Be careful your mini burgers are delicate and slightly crumbly!
  3. Bake the veggie mini burgers in your oven for 20 minutes or until golden. You can bake your mini burgers for 15 minutes, then refrigerate or freeze them. They can be reheated at 200 degrees for 20 minutes.
  4. Mix the ingredients for your sauce and prepare your side dishes while your mini burgers bake.

Veggie mini burgers taste great squashed inside pita bread with some Dutch Ceasar Salad on the side.