Sweet mini veggie burgers

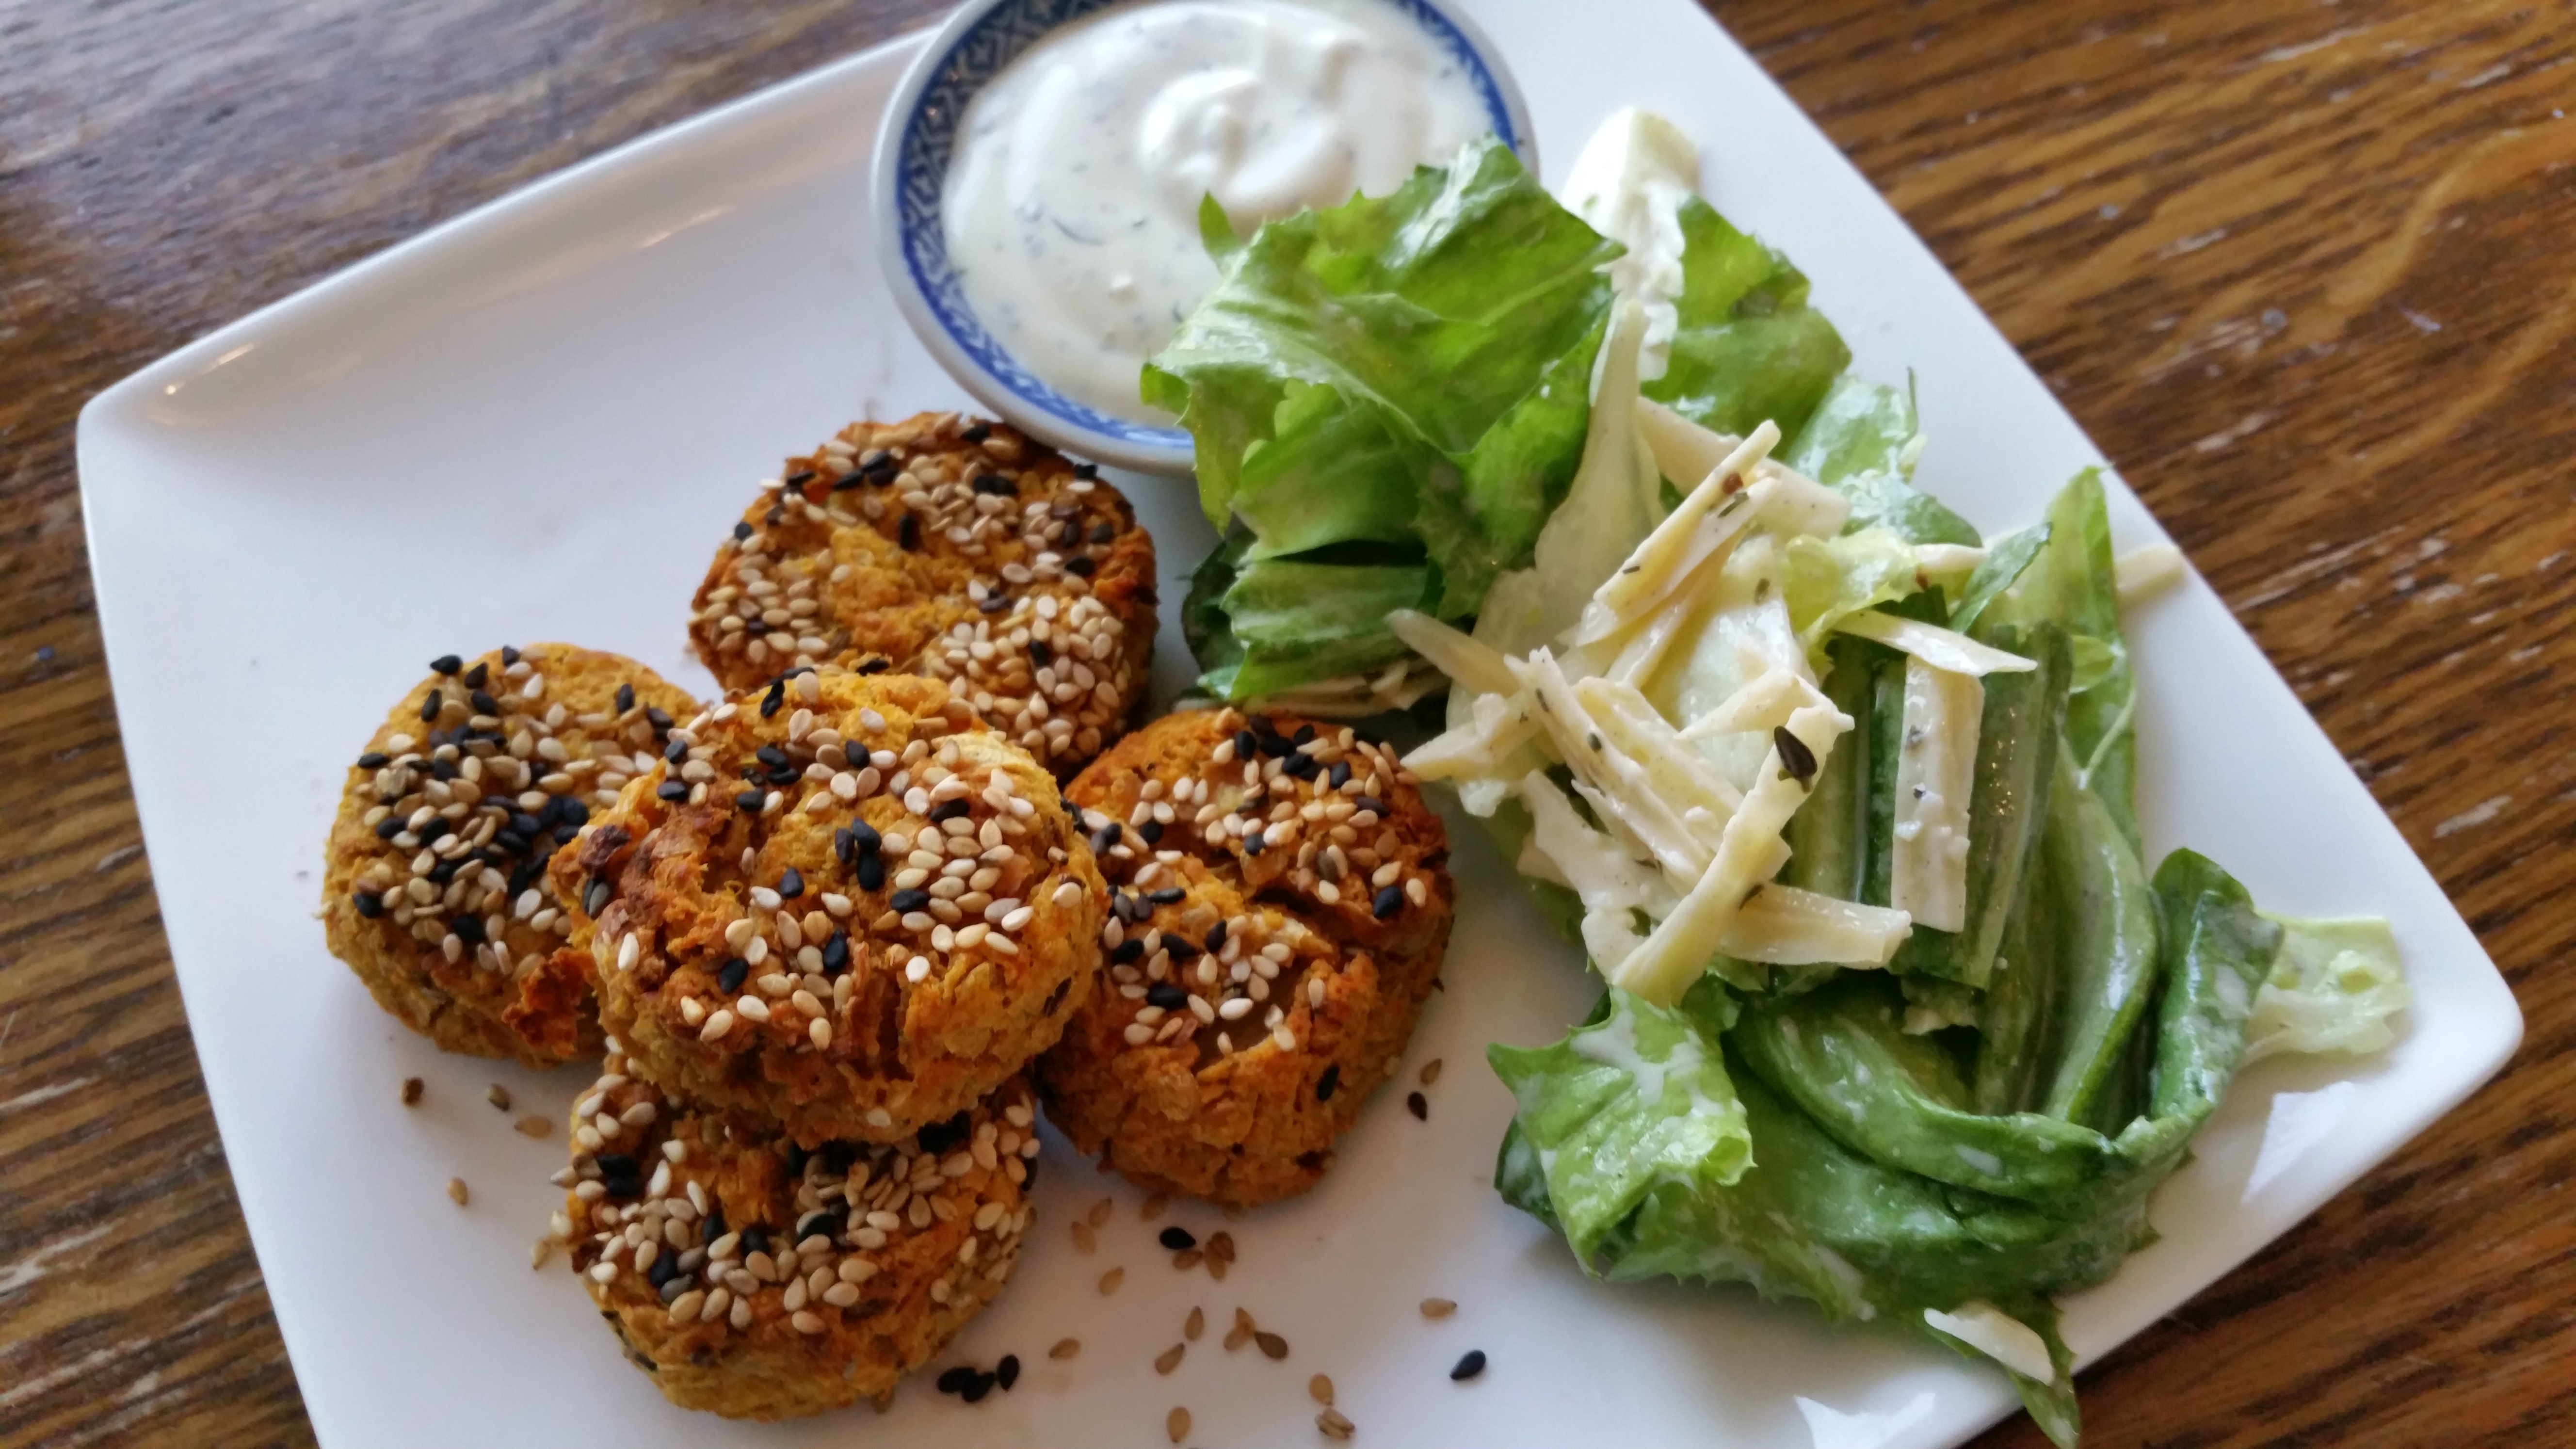
I love making my own vegetarian balls and falafel look-a-likes. I was looking for a new way to cook with sweet potatoes. I sometimes find them overly sweet. This is why I thought of a sweet potato and chick pea mini burger. I packed the mini burgers full of flavors and textures complementing each other. Instead of mixing salt into the burgers, you coat them with it. The sesame seeds add even more flavors.

These little veggie burgers make it easy to eat a vegetarian meal, because they are so satisfying and filling.
SweetVeggieMiniBurger

Sweet veggie burger

  • 1 tin of chickpeas (265 grams)
  • 1 large sweet potato
  • 1 cup of grated grated carrot
  • 1 finely sliced union
  • 1 garlic clove finely sliced
  • 1 tsp cumin
  • 1 tsp carraway
  • 1 tsp sweet paprika
  • 1 tsp crushed black pepper
  • For the coating:
    • 2 tbsp sesame seeds
    • 2 tbsp black sesame seeds
    • 1 tbsp sea salt
  • Sauce:
    • 1 tsp mustard
    • 1 tbsp mayonaise
    • 3 tbsp greek yoghurt
    • 1 tsp mint
    • 1 tsp dill
    • 1 garlic clove, finely sliced
  1. Preparations
    1. Preheat your oven to 220 degrees C.
    2. Prick some holes in your sweet potato and place it in your microwave for 3 to six minutes until it feels soft to the touch.
    3. Fry your union and carrot in some oil until they are soft.
    4. In a blender, chop your chickpeas. Don’t blitz them to a pulp, keep some chunky bits in for a bite.
  2. Shaping your mini veggie burgers
    1. Mix all the ingredients the veggie burgers. Mold them into mini burgers or balls, whatever shape makes you happy.
    2. Mix the coating ingredients in a plate. Place the mini burgers in the coating on each side.
    3. Place the mini burgers on baking parchment on an oven tray. Be careful your mini burgers are delicate and slightly crumbly!
  3. Bake the veggie mini burgers in your oven for 20 minutes or until golden. You can bake your mini burgers for 15 minutes, then refrigerate or freeze them. They can be reheated at 200 degrees for 20 minutes.
  4. Mix the ingredients for your sauce and prepare your side dishes while your mini burgers bake.

Veggie mini burgers taste great squashed inside pita bread with some Dutch Ceasar Salad on the side.
BBQ favorites : Carrot soda bread

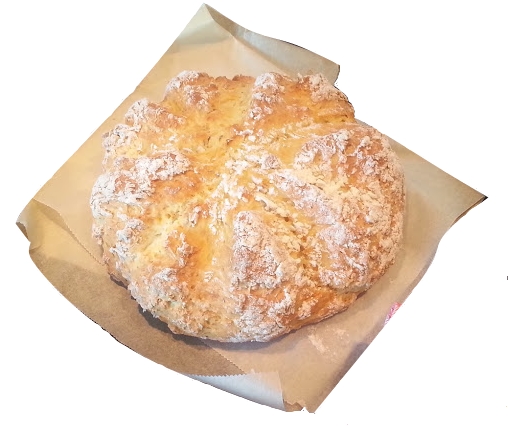
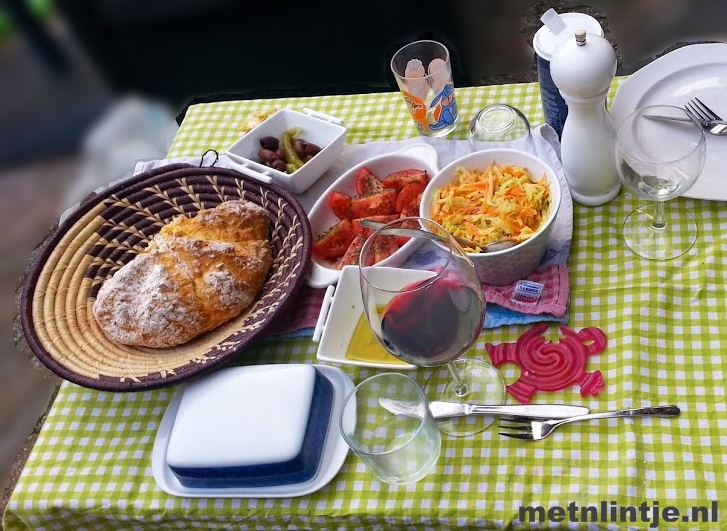
I love making soda bread. It makes the perfect dipping material with a freshly made tzaziki or with plain olive oil and vinegar. I inspired this bread on a recipe by Lorraine Pascale. I was out of olives at the time. Which meant adding sweet carrots to the mix, and a matching herb; caraway.

Remember this is a soda bread: Which means no kneading, just mixing and combining! This creates that light and cake-like texture.

carrot soda bread

Carrot soda bread

  • 450 grams self raising flower
  • 1/2 tsp of salt
  • 1 tbsp olive oil
  • 1 cup of finely grated carrot
  • 2 tsp caraway seeds
  • 225 ml water

Preheat your oven at 200 degrees C.

Combine all the dry ingredients and the carrots. Combine the olive oil and water.

Mix all ingredients with fork. When it all seems combined, tip the bowl on your counter and combine into a ball. Place the ball on a baking tray which you dusted with flower against sticking.

Flower the handle of a wooden spoon. Push the handle into your loaf to create, halves, quarters and then 1/8 wedges.

Bake your loaf in the oven for 35 minutes. Leave to cool for 15 mins before eating, bon apetit!

BBQtable

Pizza Angry Monkey

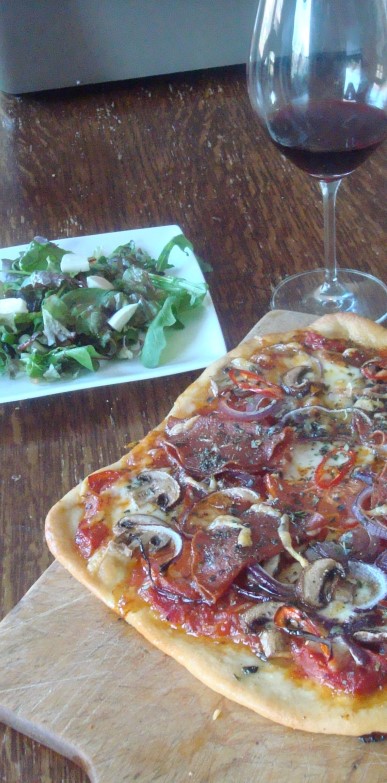
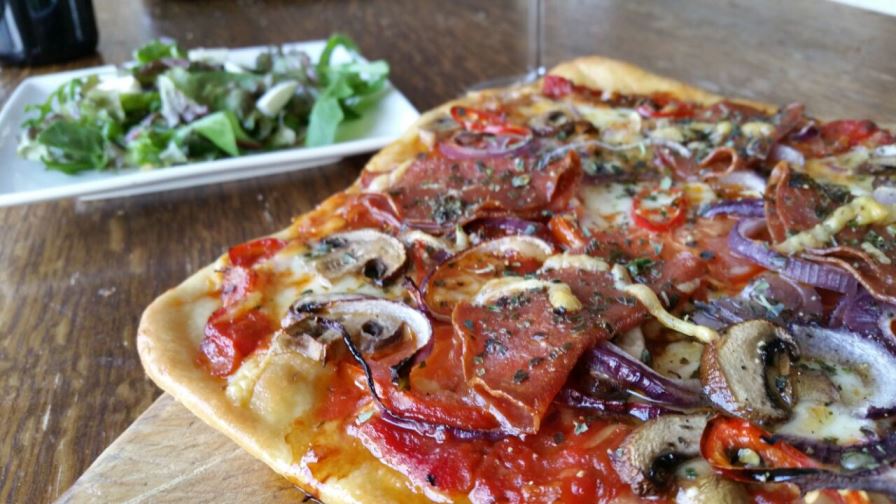
AngryPizza2My husband named this pizza and it is his idea of food heaven. You can make this pizza using the dough I described in the Perfect Pizza Peluzza. Angry is a reference to the chilies used in this pizza, giving it a kick. And monkey is a reference to the primal state your husband will be in while he waits for this pizza.

Please remember not to put to many ingredients on your pizza, it should be a thin slice of goodness that cooks in a short amount of time. This recipe is for 1 pizza, feel free to make many more and discover your own favorite pizza.

Pizza Angry Monkey

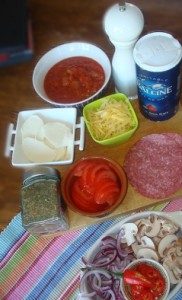
  • Pizza doughAngryIngredients
  • 1 cup of tinned, diced tomatoes
  • grated cheese (I use Gouda because I’m dutch, but any hard neutral cheese would do)
  • 3-5 slices of mozzarella
  • 3-5 slices of tomato
  • 1 tbsp oregano
  • 5 sliced button mushrooms
  • half an onion in rings
  • 3-5 slices of salami
  • 2 chilies (jalapeno or regular red chilies) in rings
  • 1 finely sliced garlic clove
  • 3 tbsp olive oil

Preheat your oven to 220 degrees C. Make sure it is well and hot before placing the pizza in, as this guarantees the best crust.

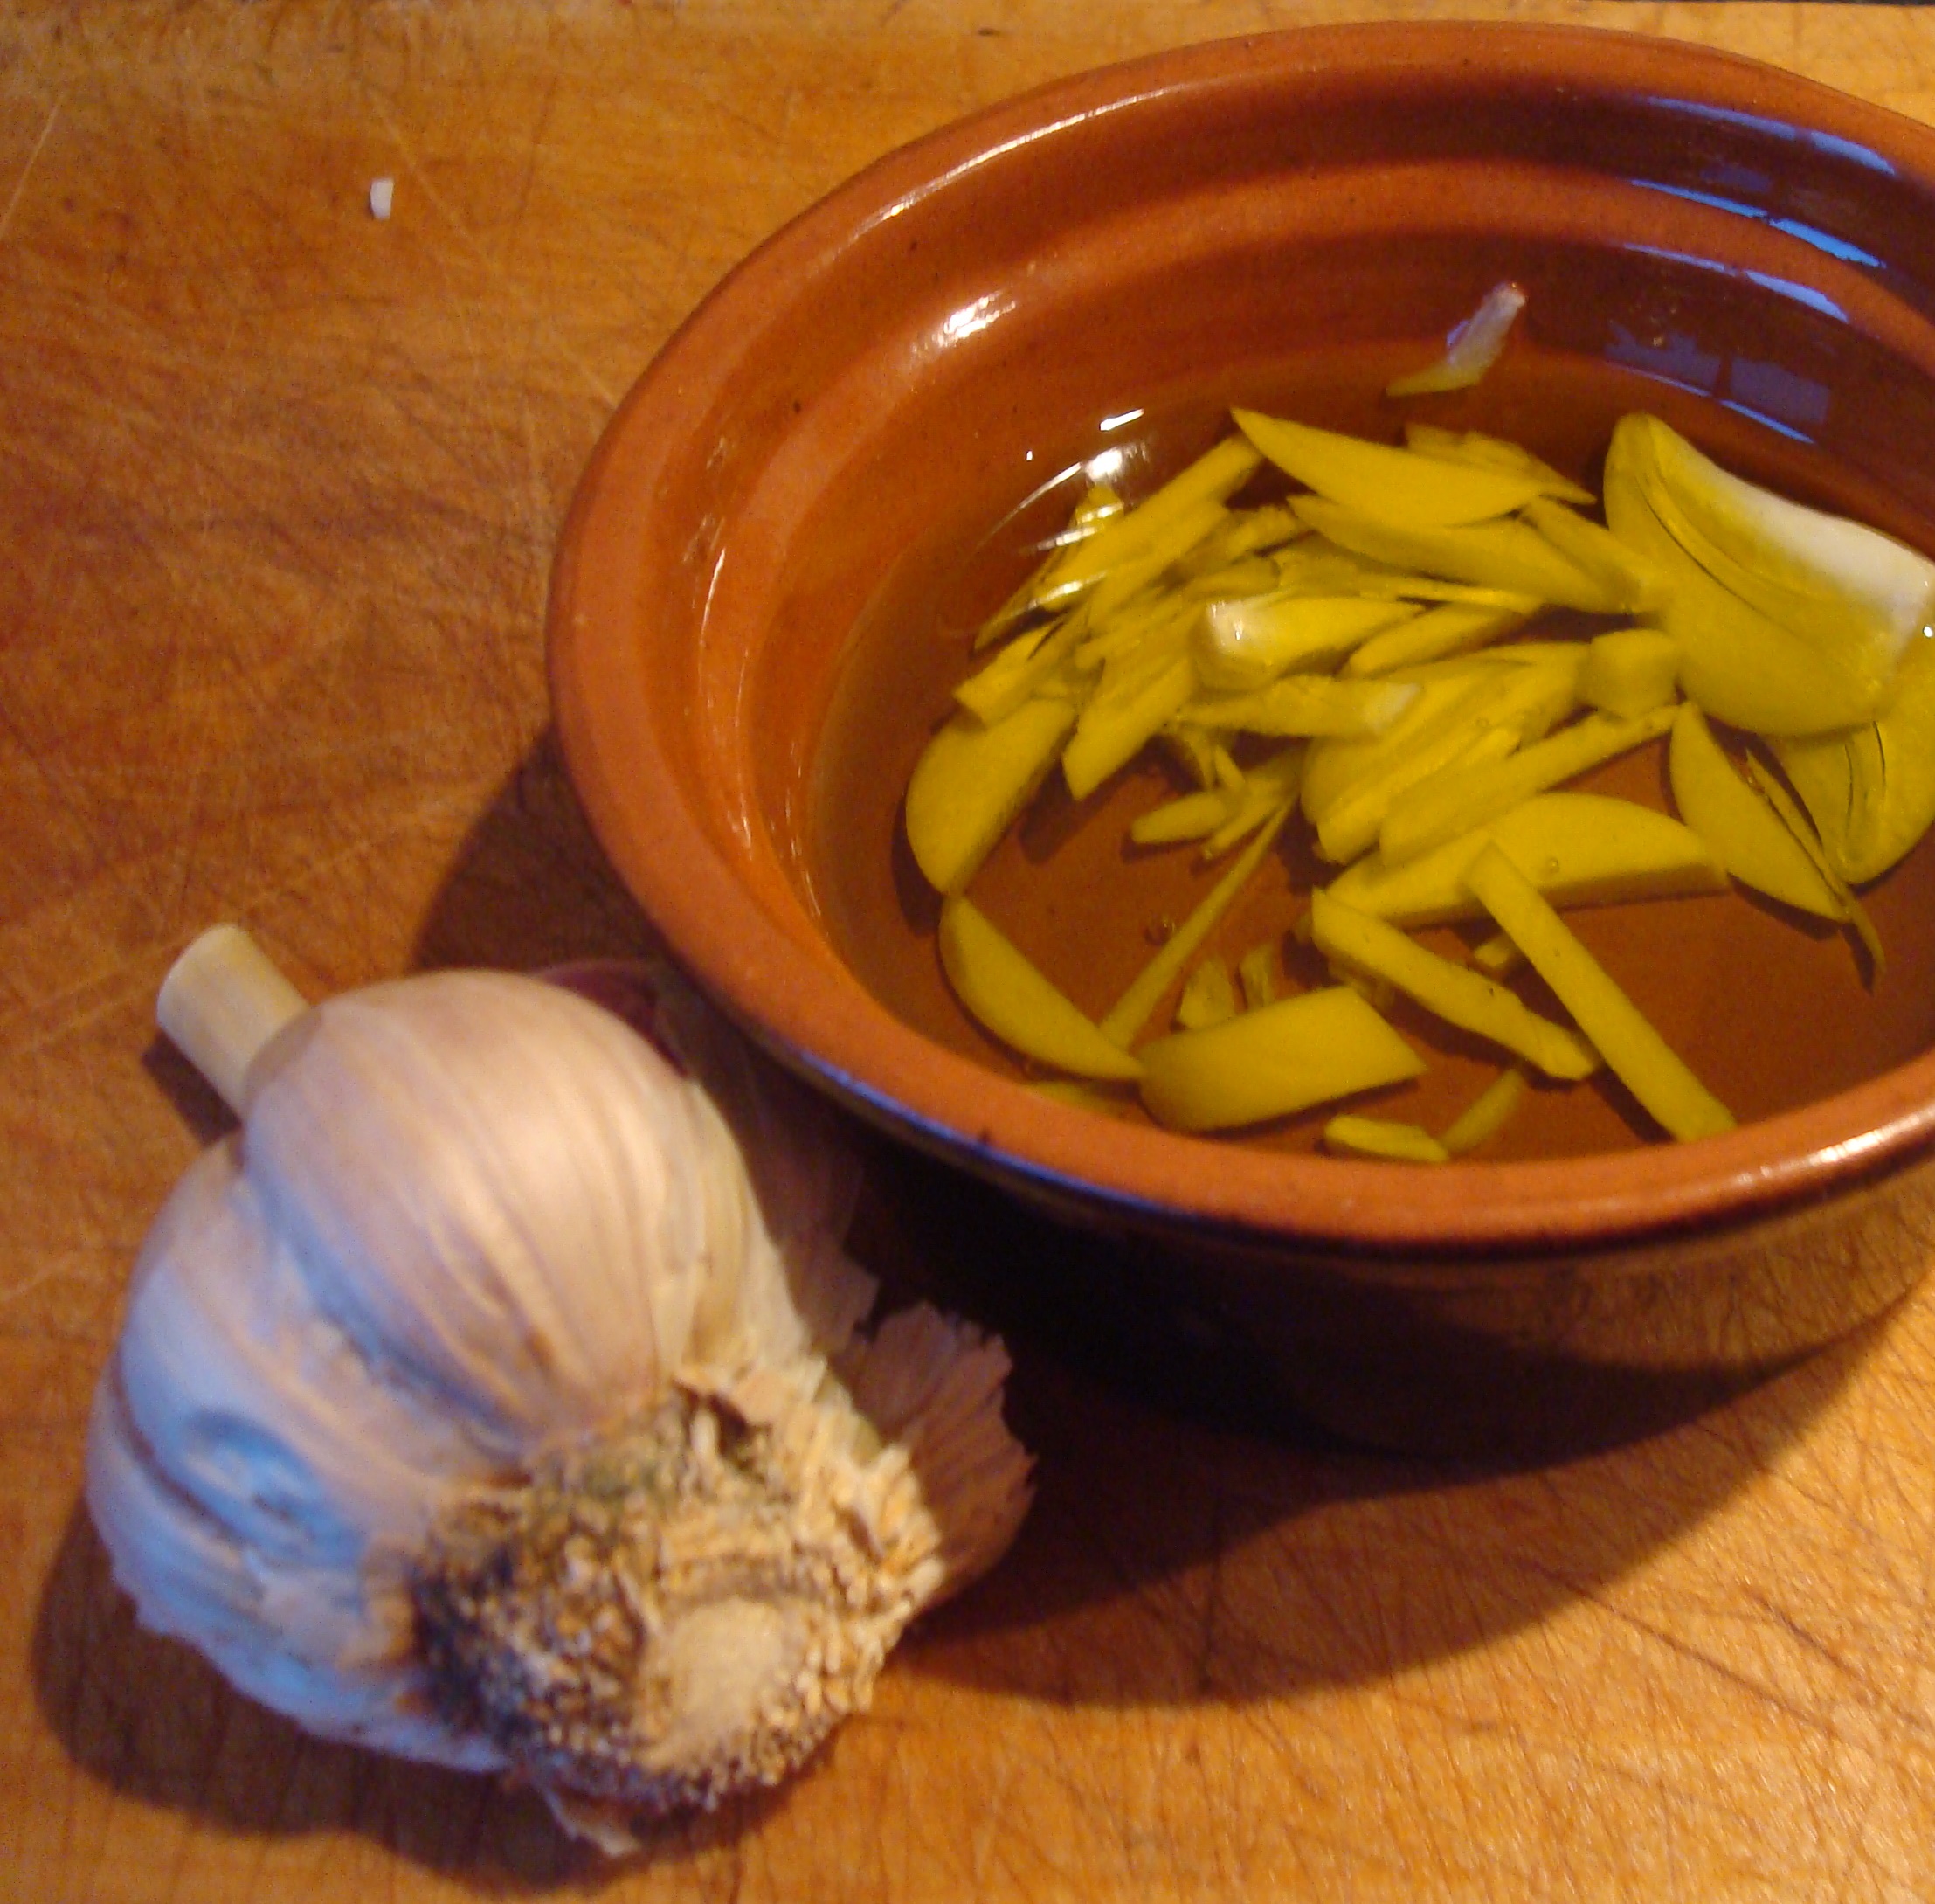
Combine the olive oil and garlic and set aside for after baking.

GarlicOil

Roll out your dough to a 30 cm diameter. Prick the bottom thoroughly with a fork. This prevents the dough from puffing up under the topping, and pushing your topping of.

Place your pizza base on the oven plate. Spread the tinned tomatoes over the pizza. Generously season this sauce. Sprinkle with oregano, then with cheese.

Evenly spread out layers of Mozzarella, fresh tomatoes, mushrooms, salami, onion and chili slices.

Bake your pizza for 10 to 20 minutes. Brush your pizza crust with the garlic oil and crack fresh black pepper on top….. and enjoy!

AngrPizza2By the way, pizza’s are a great recipe to make with your toddler.


Fabulos five! Edible flowers…

I love flowers and I love eating. In my garden, I try to combine these loves. Here are my favorites.

  1. Pansies – Make these lollipops, or use them in a salad
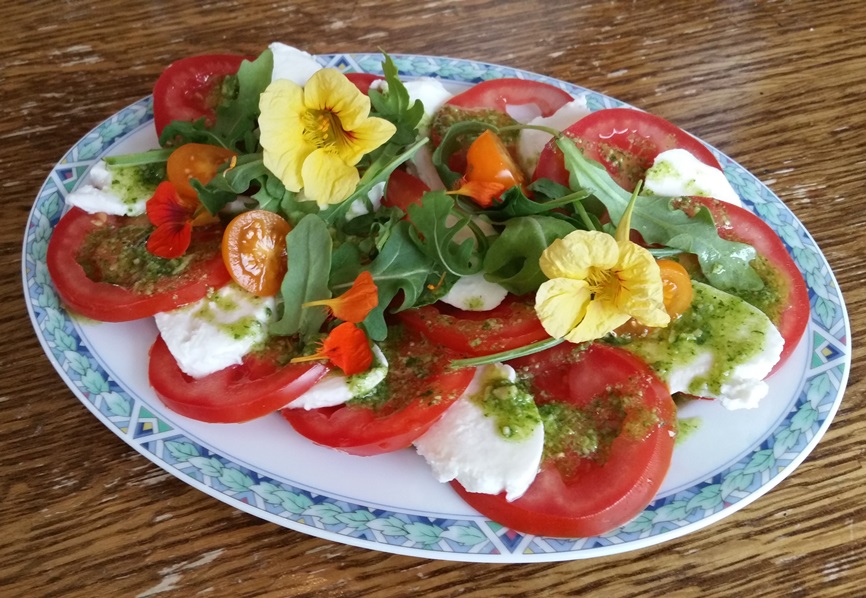
  2. Nasturtium (Oostindische kers) – This stunning garnish is so easy to grow! Use it in this salad.
    RocketPesto_Salad
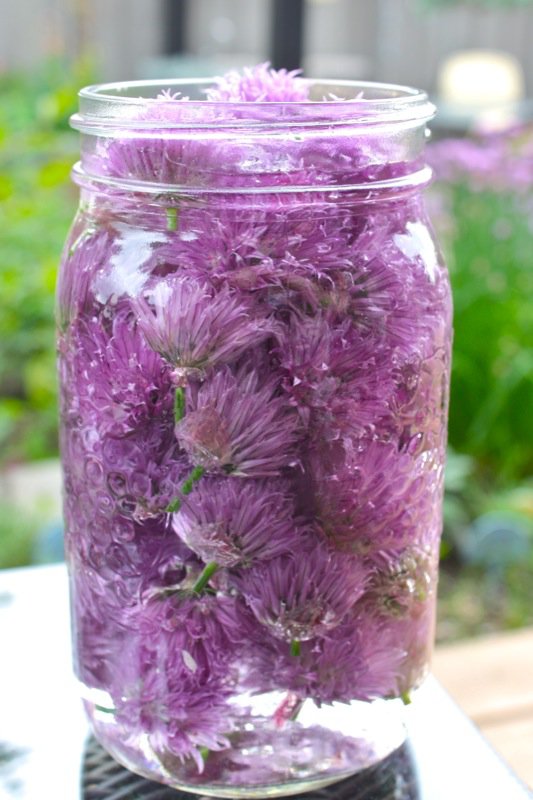
  3. Chive flowers – a real pungent tasty treat, your can make your own chive flower vinegar. I like mixing them into garlic butter. The purple specks are tasty and pretty.
  4. Lavender – makes for a subtle flavored sugar for baking
  5. Borage – this used to grow in my mum’s garden, lovely in this salad and such a beautiful blue color!


Posh Fish & Chips

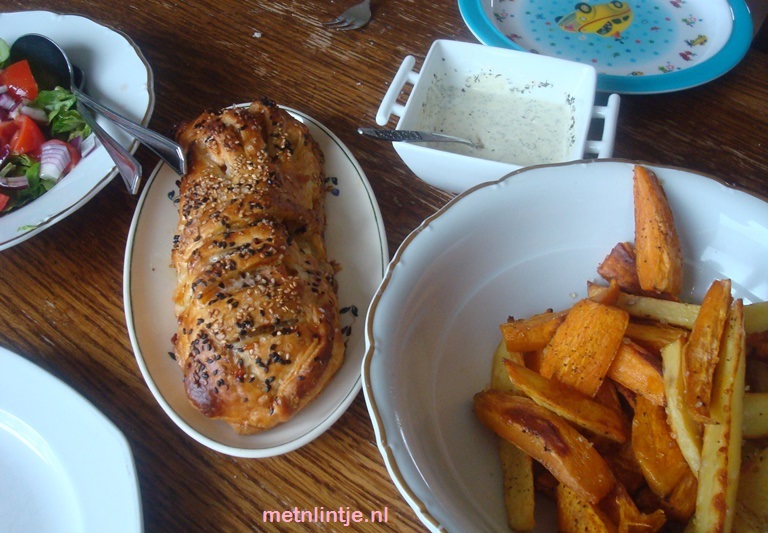
SalmonMeal

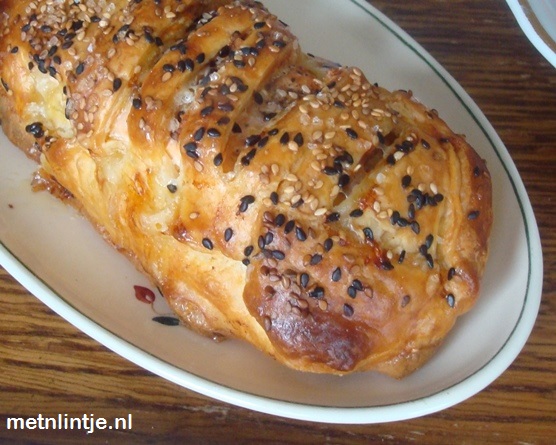
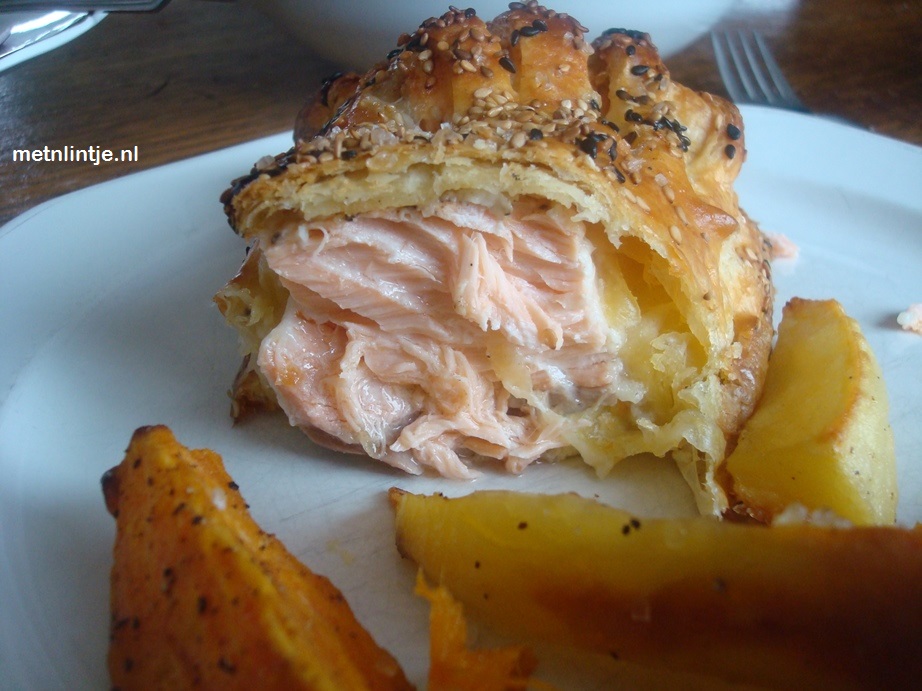
The title of this blog post is misleading, this posh dinner is easy to make. All you need is an oven and some patience. The recipe describes how to make a fancy but delicious salmon in a crust and delicious sweet and salty chips. As a side dish you can mix the suggested sauce. I also recommend making a simple green salad on the side.
I think this makes a great family meal. My son loves the sweet potato chips! It also makes an impressive dish if you have guests. Make a whole piece of salmon in a crust and cut lovely slices. Baking in the crust means your salmon will be moist but cooked, so enjoy!

Fish & chips (serves 2)

  • Salmon:
    • 300 gram salmon filet
    • 4 squares of ready made puff pastry
    • 4 tbsp herbed cream cheese
    • 1 beaten egg
    • 1 tbsp sesame seeds
  • 2 sweet potatoes
  • 2 large regular potatoes
  • 2 tbsp olive oil
  • rock salt
  • Sauce:
    • 1 tsp mustard
    • 1 tbsp mayonaise
    • 3 tbsp greek yoghurt
    • 1 tsp mint
    • 1 tsp dill
  1. Take your pastry squares out of the freezer and preheat your oven to 220 degrees C.
  2. Prepare your chips:
    • Clean and peel your potatoes.
    • Slice in long strips about 1 cm thick.
    • Lightly coat them in olive oil and sprinkle with sea salt and pepper.
    • Place on a baking sheet.
    • Bake in the oven for 30 minutes, the salmon can be added after 10 minutes.

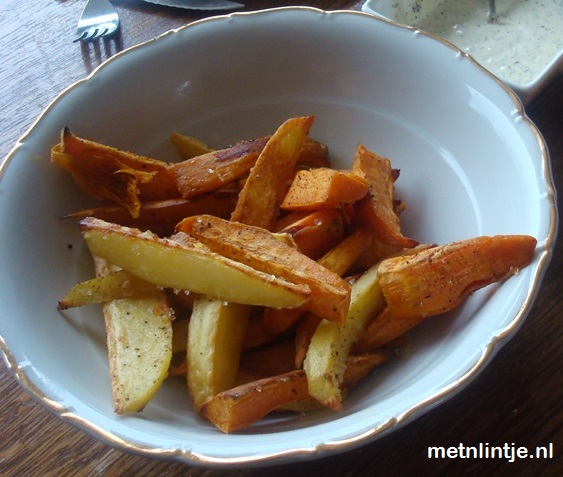
SweetSaltyChips

3. Prepare the salmon:

  • Connect the 2 dough squares.
  • Spread the cream cheese under the salmon.
  • Place the salmon filet on the cream cheese.
  • Season the salmon.
  • Make a few paralel slashes in your top dough squares.
  • Cover the salmon with the slashed squares.
  • Connect the bottom and top squares by pinching the dough together.
  • Brush the salmon package with egg.
  • Sprinkle with sesame and sea salt.

Salmon

  • After the potatoes have been in the oven for 10 minutes, you can place the salmon in the oven for 20 minutes.

This way all ingredients will be ready to eat simultaneously.

ZalmKorst

While the sweet&salty potato chips are cooking, mix your sauce ingredients and prepare your salad.

Bon apetit!

My tips for easter

Easter for me symbolizes new beginnings. It is also another occasion to relax and have a good time with people you love. Here’s my new and older suggestions for your Easter preparations:

  • Decorate some branches for Easter. Just trim any tree or shrub you like.

PaasBoom

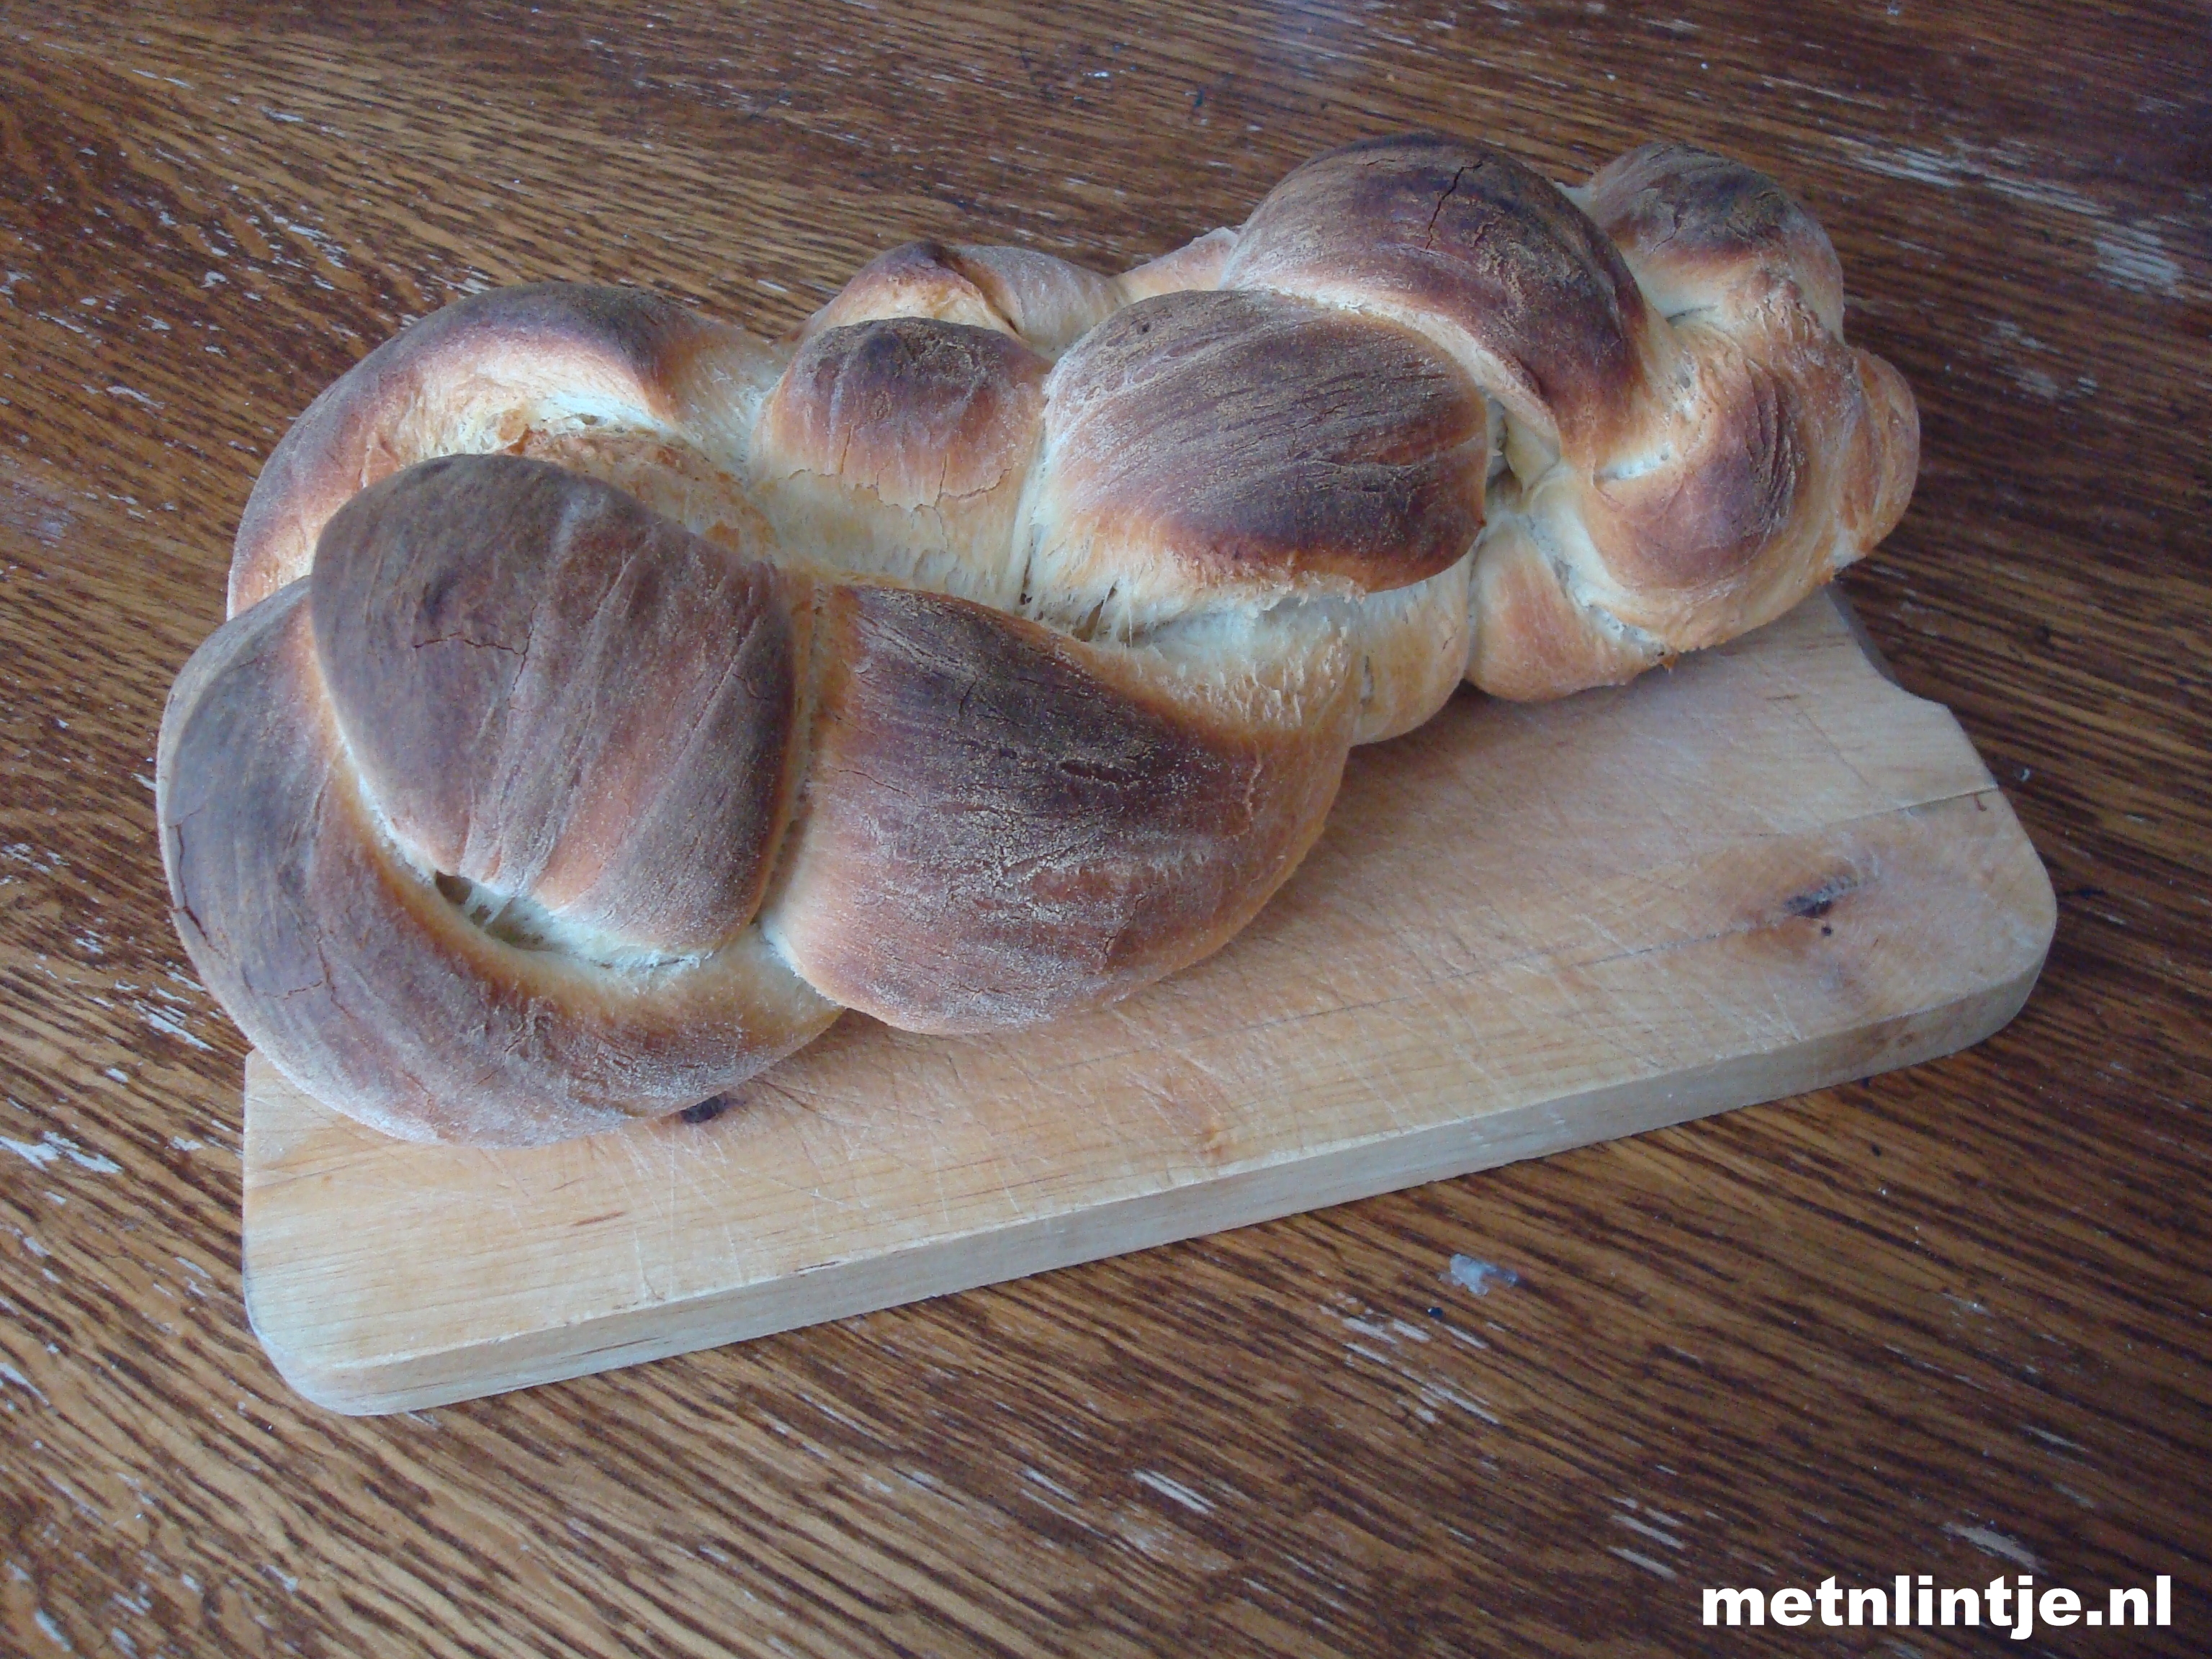
  • Make your own bread, it’s easier than you think. Read about baking bagels right here. By making the dough on Saturday evening, and doing the first proofing in your fridge, your timing will be perfect for brunch on Easter Sunday.

Vlechtbrood

  • Decorate Easter eggs, a fun activity for the whole family. Boiled eggs will keep for a few days in your fridge. Make them a few days in advance. For an even easier alternative: buy boiled eggs.

Eggbox

  • Make pancakes for your Easter brunch. The batter can also be made a day in advance and kept in your fridge.
  • Bake some yummy cupcakes and ice them in easter colors.
  • After hunting for Easter eggs, hand out home made bags to take your treasures home.

Tasjes

My lazy saturdays with James Martin

At the beginning of this year I descided to blog about anything I love. This blog is about 2 of my great loves: weekends and watching food television. When we were students, we used to love watching BBC together on a saturday morning, while recovering from a night out. Now, we get relax after an early start with our toddler. One thing remains the same; at 11.00 (local Dutch time) we watch Saturday Kitchen.

In this TV show a few things come together. You see BBC chefs cook some great recipes, James Martin hosts the show with a calming and entertaining flair and you get to see fragments of old and new BBC cooking TV program.

You are wondering why you should incorporate James Martin into your Saturday routine? Here are my 5 reasons why;

  1. You get a good impression of what cooking programs the BBC offers, and as far as I’m  concerned BBC cooking TV is the best in the world. If you are not convinced, watching this show might convince you any way.
  2. You learn about cheap but good wines. You learn the lingo, making it possible for me to bluff my way through wine conversation (I use words like “terroir” and “after taste”).
  3. You get to see a wide array of food TV; from star chefs to home cooking showing easy and hard recipes! This means my husband can actually enjoy this show too, the incidental appearance of Nigella obviously helps as well….
  4. You get inspiration on what to buy on your Saturday market and cook for your weekend meals. Let’s face it, weekend is the only moment a working mom has time for this.
  5. I have a secret crush on James Martin. A man who can cook…mmm…mmmm…..mmmmm!!!

Wanna read more? Look at the BBC website.

Perfect Pizza Paluzza

Thanks to a sweet friend of mine, I am the proud owner of the Italian cooking bible “the silver spoon”. The book itself ways several kilo’s, but is worth all the shelf space it occupies in my book cupboard.

My Italian cooking bible

What you notice when you leaf through this book is how delightfully simple the Italian cuisine really is. Few ingredients are used to make the star of the show shine. I would recommend this book to any starting home cook.

One of my favorite recipes from “The silver spoon” is pizza. I use the recipe for making pizza dough but for the toppings I let my guests decide. I knead the pizza dough the evening before. I let the dough proof in the fridge. This means that making the pizza’s takes little time on the day itself.

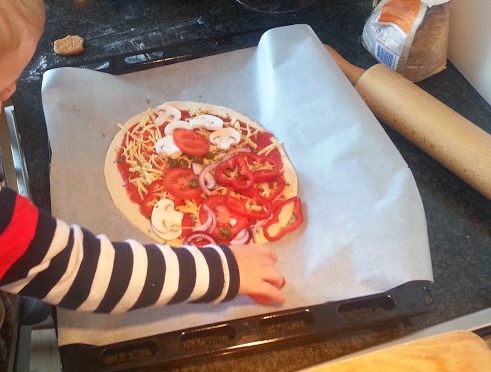
My toddler loves pizza. From the moment we bought his kitchen stool he has been joining me to “help” with my cooking. And pizza is the perfect opportunity for this because:

  • Your toddler can help you knead the dough. Simply give your toddler a small portion of the dough and continue kneading together. My son loves pushing his fingers or fists into the dough! Simply combine the dough every now and then, and give your toddler a new ball to knead.
  • Your toddler can help dusting your work top and roll out the dough. At this point in time my toddler runs to the kitchen  cabinet container a big and a small rolling pin. My toddler is so experienced now (3 years old), that he rolls out a pizza all by himself, but you might wanna help a bit the first few times.
  • Your toddler can prick holes in the pizza with a fork.
  • Your toddler can sprinkle cheese, oregano and veg on his own pizza.

pizza

My son is always extremely proud of his creation and walks to the oven to check on his pizza regularly. Both dad and son are big pizza lovers.

Pizza dough (for 2 adults and 1 toddler)

  • 500 gram plain flower and extra for dusting
  • 7 gram instant yeast
  • 1 1/2 tsp salt
  • 240 ml lukewarm water
  • Olive oil

Mix your flower, water, salt and yeast together. Cover the mixture with a kitchen towel and let this mixture stand for 10 minutes (you can skip this step, but I promiss you it makes the kneading easier.

Knead your dough for a minimum of 10 minutes. Time your kneading, it will seam like forever the first time, but after 10 minutes you will have that smooth, elastic stuff people like to rave about.

tip: knead your dough on a table top, not your kitchen counter. This lower surface makes it possible for you to use your body weight when pushing into the dough to stretch it.

Make sure your dough is covered in oil to protect it from sticking and place it in a large container. The dough (at least) will double in size. Make sure you prevent your dough from drying out by applying an air tight lid or use kling film. Now you have two choices: let your dough proof in the fridge for up to 24 hours, or proof it at room temperature for 1 hour.

pizza2

When you want to make your pizza, take the dough out of the fridge, knock it back and let it get to room temperature for at least 30 minutes. Now you can devide your dough into 2 large balls and one smaller ball. Protect your dough by covering it with a (damp) kitchen towel until you roll out your pizza.

Roll out your dough to form your pizza. Prick holes with a fork where the topping goes.

Place your toppings on your pizza and bake for 10 to 20 minutes at 220 degrees.

I will blog about my husband’s favorite pizza some other day.

Baking Bagels

I am not ashamed to admit  I am a big carb lover. As a student I used to work saturdays in a bakery. This experience instilled in me a devotion to well baked bread. Recently I have  been making my own home baked loaves.

Bagelbake

Bread is such a magical thing to make. Basically you take 4 basic ingredients (flower, salt, water and yeast) and after some work, it becomes a completely new entity: dough. This dough that transforms several times while proofing. Dough is almost a living thing, which you created! When you bake it, the dough is again transformed, changing in texture and flavor for the last and final time. I cannot emphasize enough how inspiring it is to be the master of such a process.

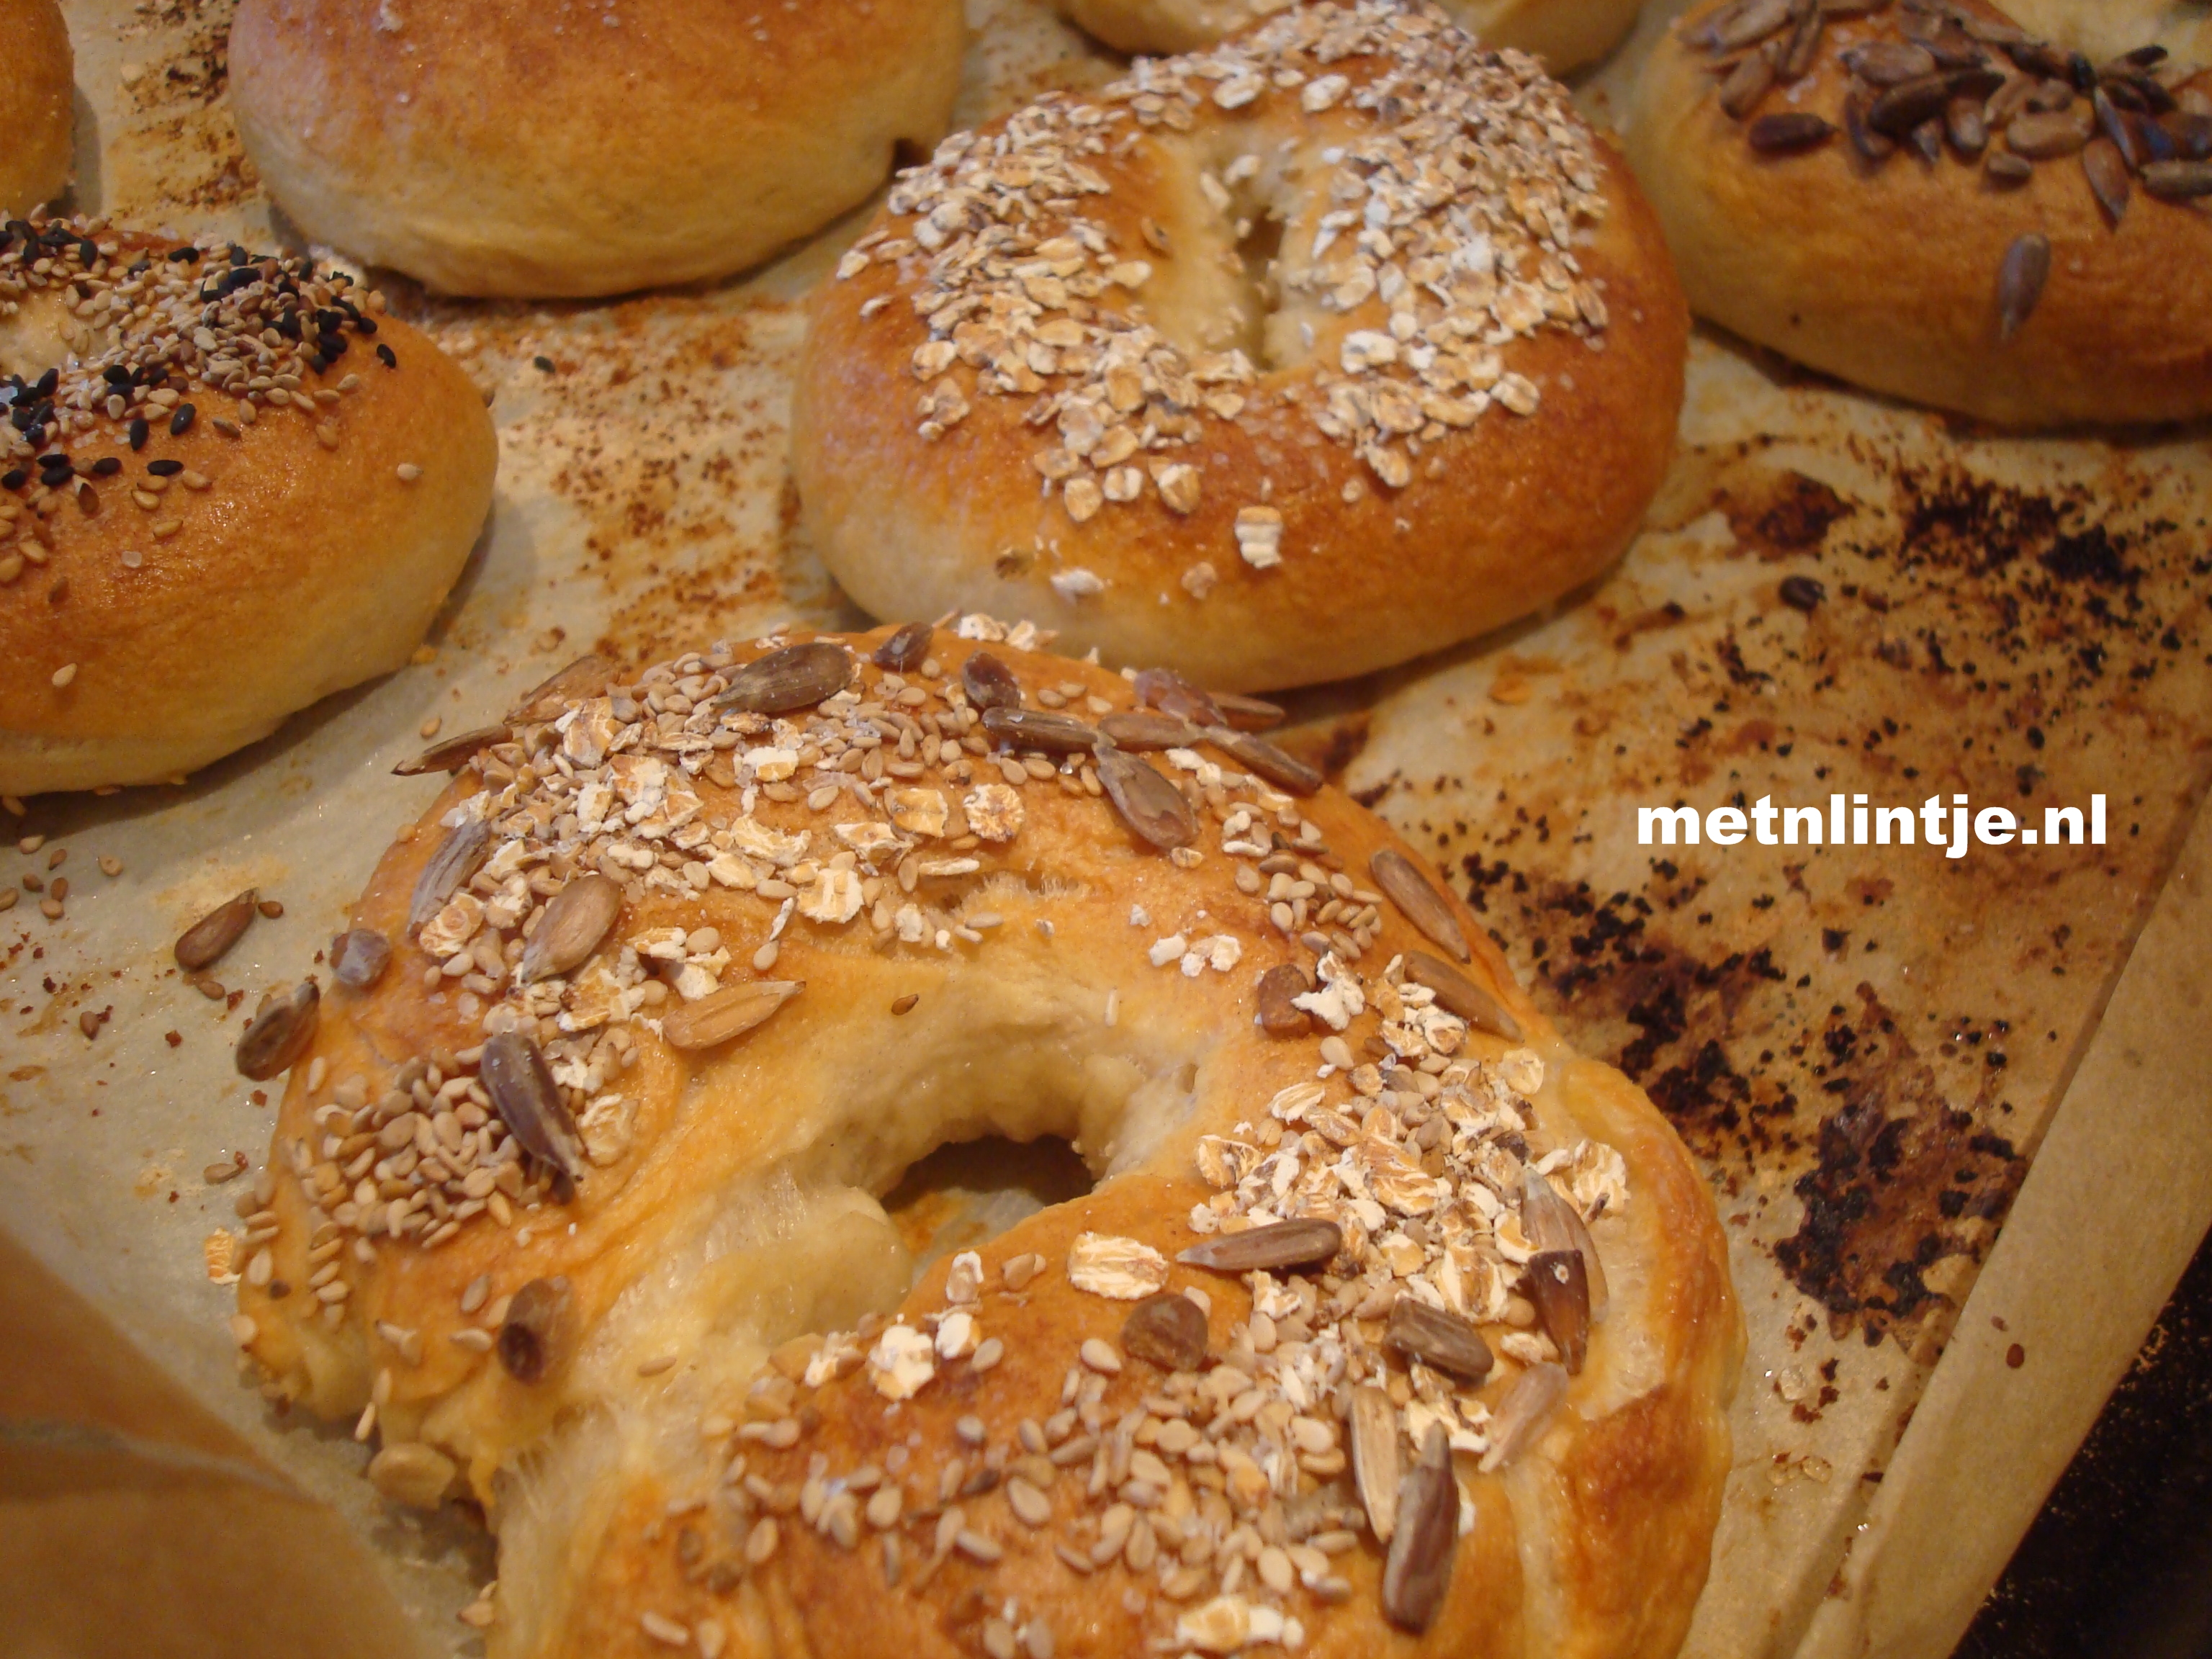
I hope I have inspired you! If you have never baked before; start with an easy white loaf. If you would like a fun bread baking challenge, make these bagels! I have watched many video’s and instructions, and this method works for me. If you wander why I added certain steps, you can read the explanation in Italics. Personally I recommend doing step 1 through 4 the evening before. This way, If you are an early riser, you can surprise your loved ones with these bagels for breakfast or brunch.

BagelFB

Bagels (about 10 bagels)

  • 7 g sachet dried yeast
  • 4 tsp sugar
  • 2 tsp salt
  • 450 g bread flour
  • 300 ml lukewarm water
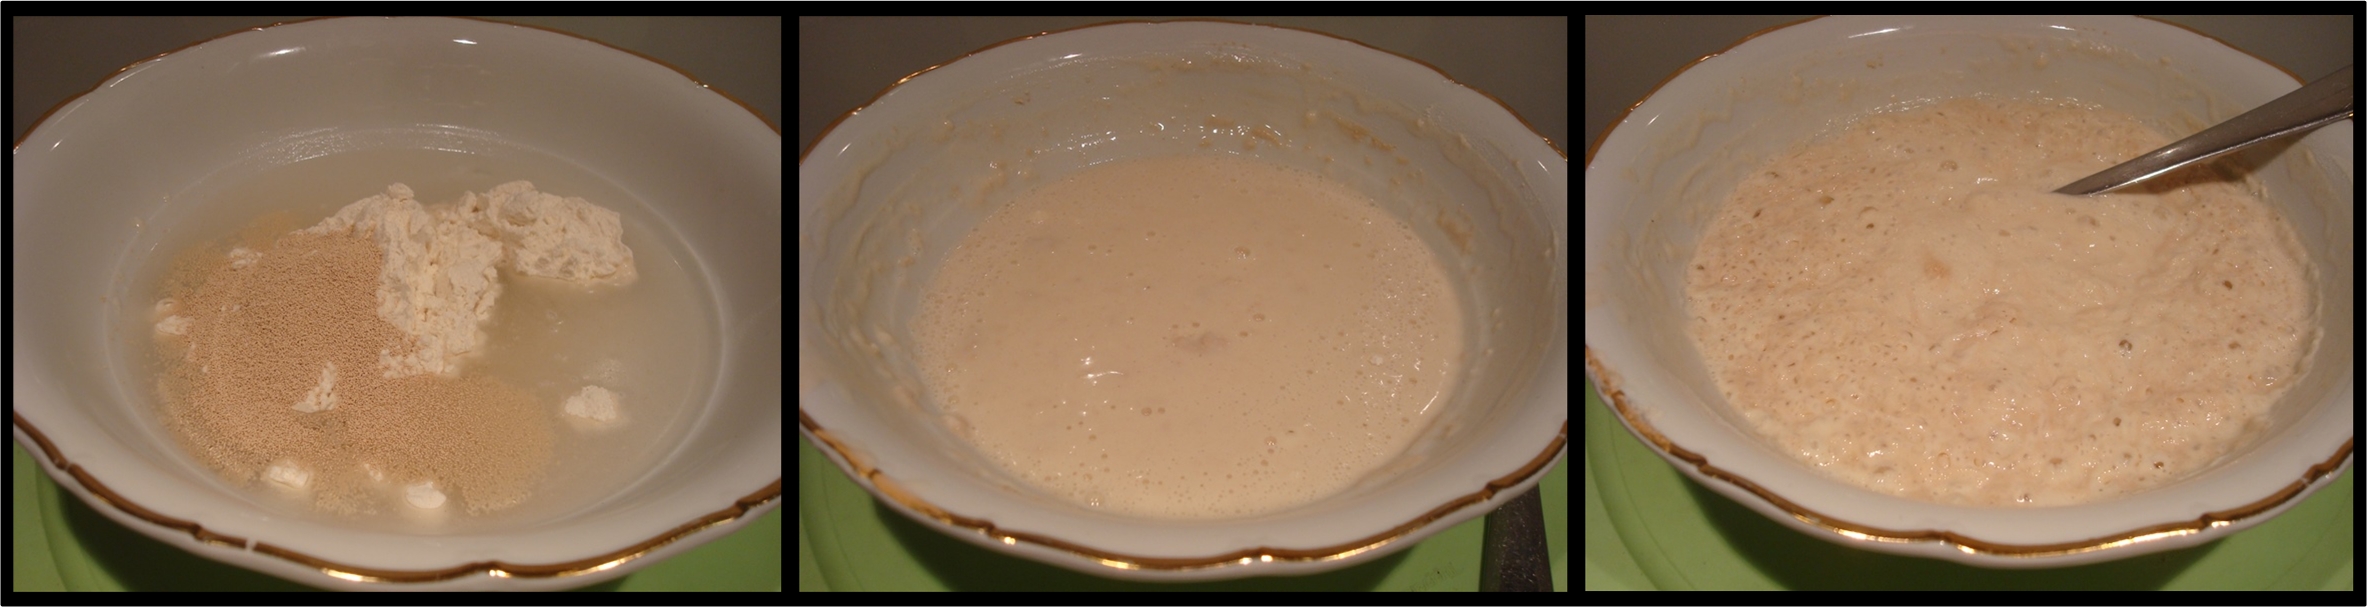
  1. Make your starter mixture – Combine 200 ml of water, the sugar, a large cup of the bread flower and the yeast in a mixing bowl. When combined, cover the bowl with clingfilm and leave in a warm place for 1 to 4 hours. Leaving this starter mixture for a while will add flavor to your bread as dough needs lots of time to develop. The starter should have the consistency of a runny pancake batter.
    bagelpap1
  2. Make your dough – When your starter mixture has developed, combine with the other ingredients. After combining, cover your bowl with a kitchen towel and leave your mix to stand for 15 minutes. Leaving this mix to stand makes kneading easier.
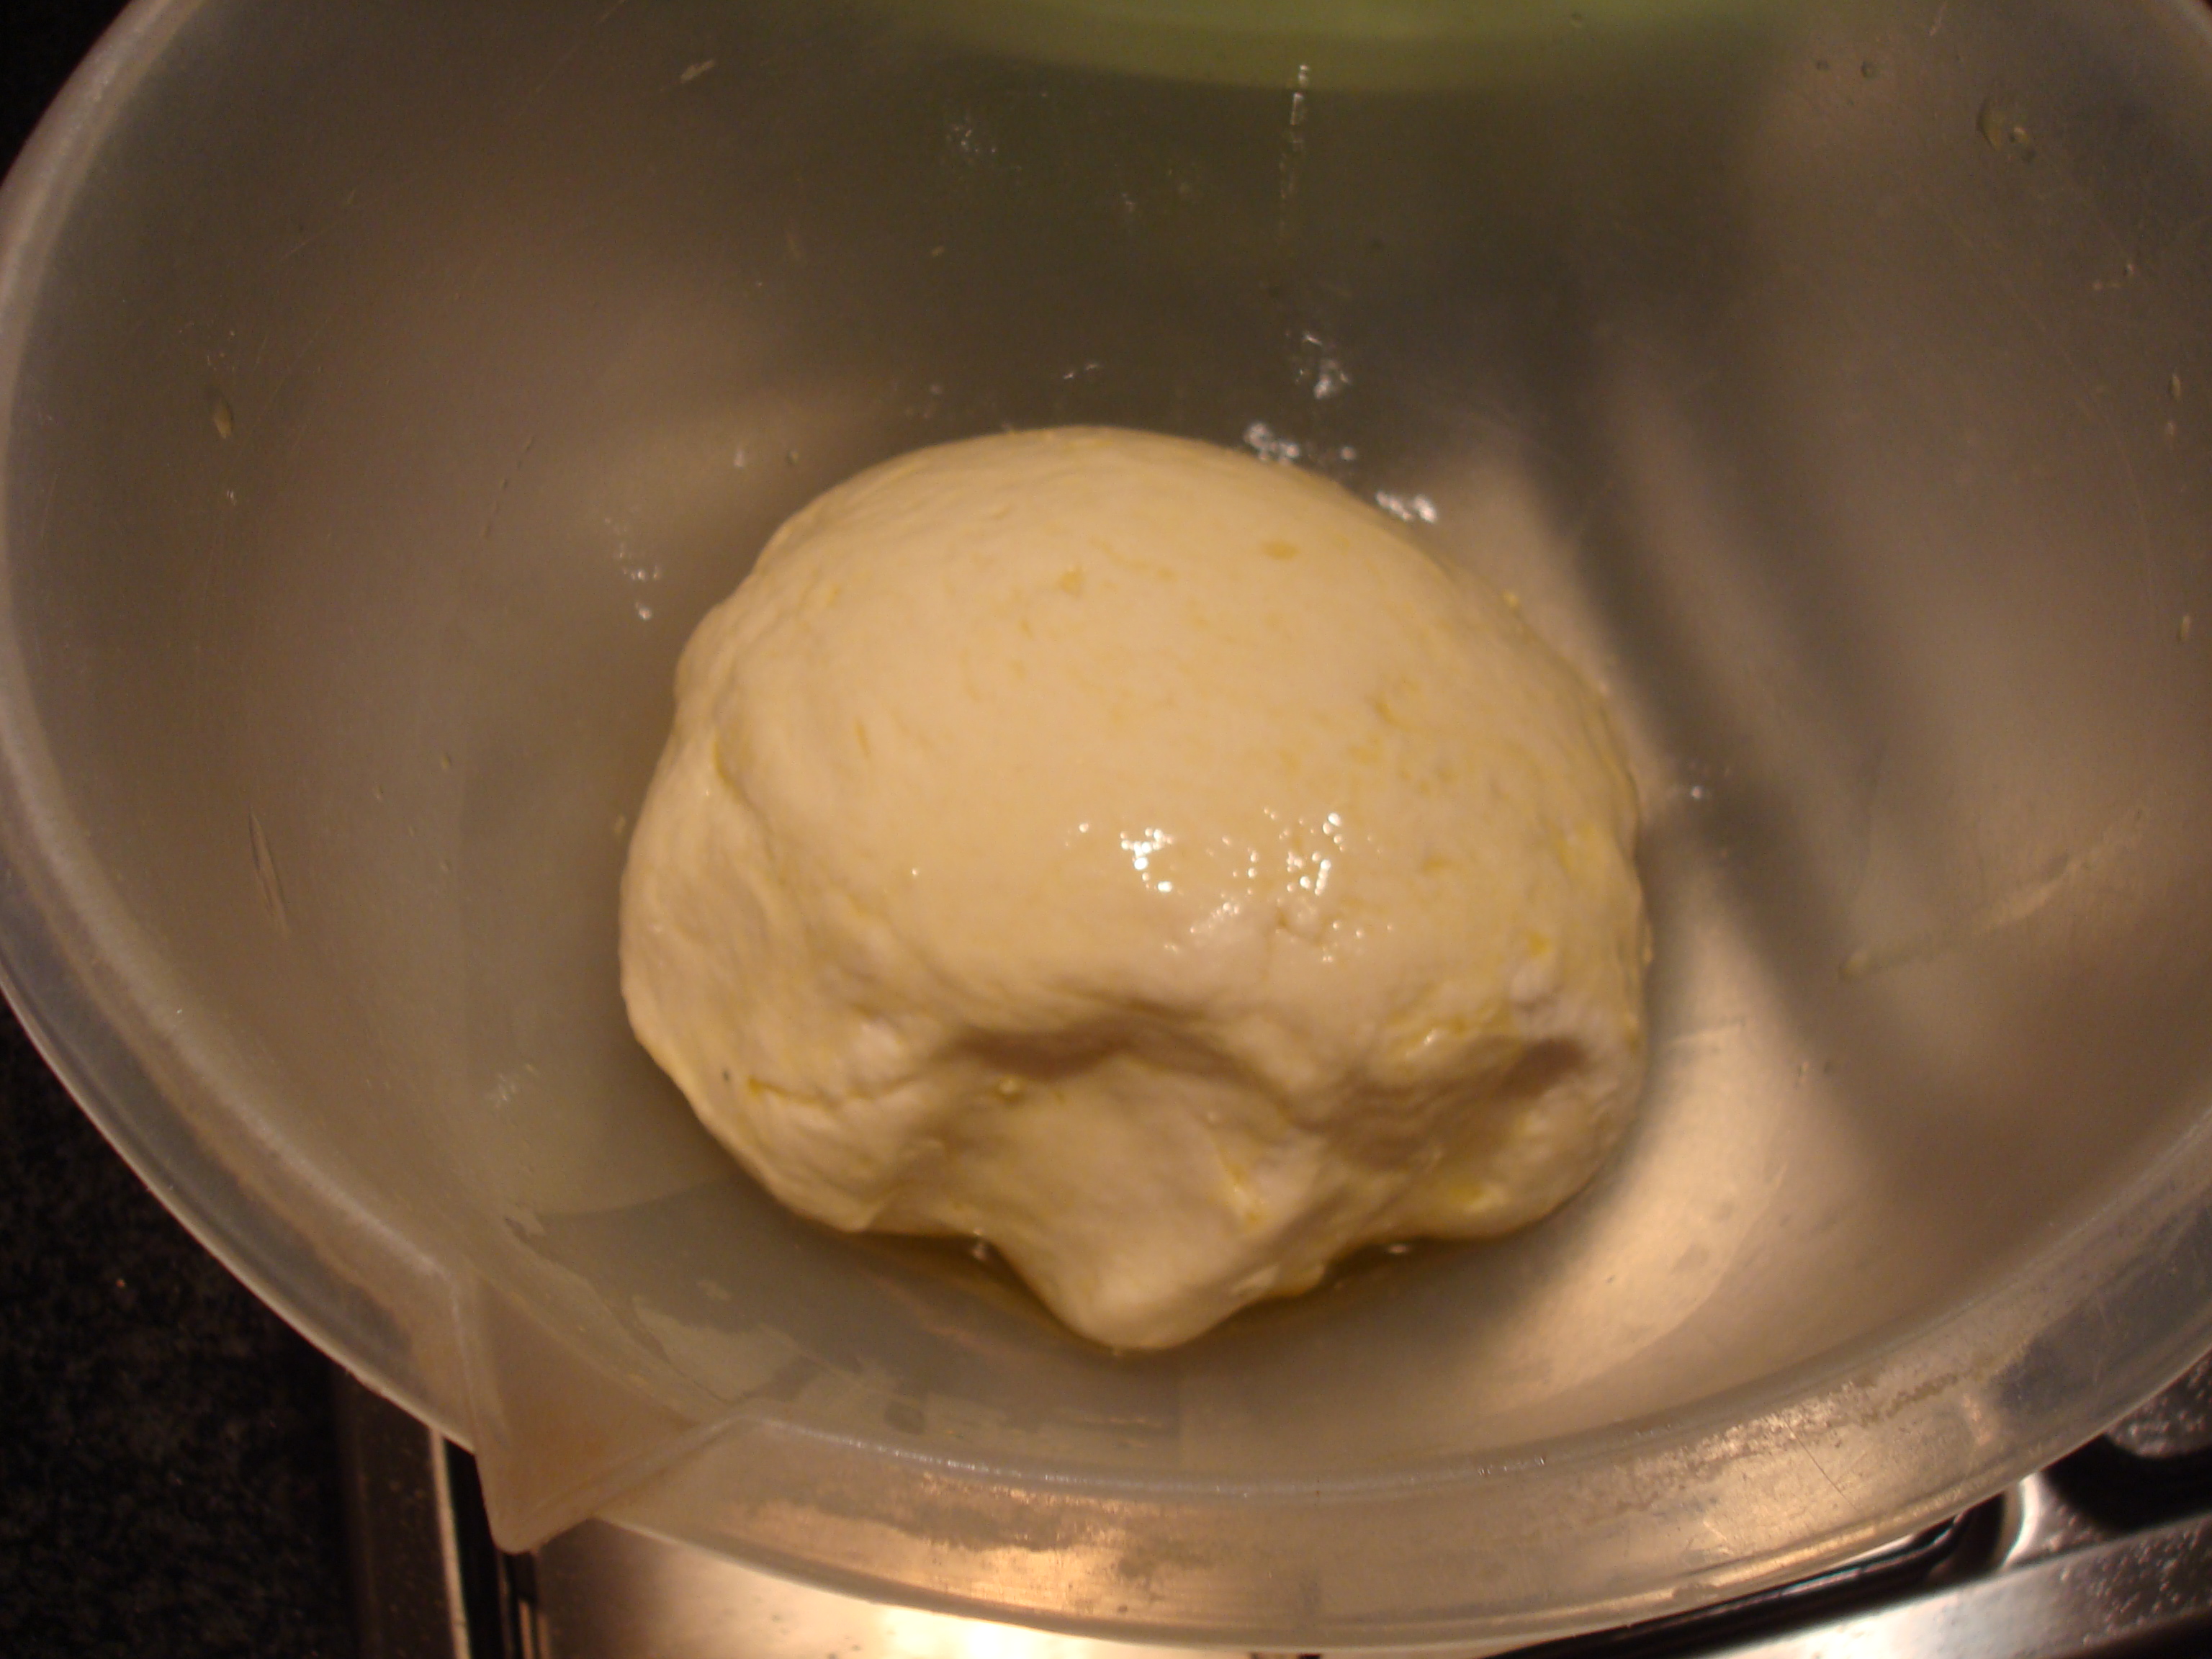
  3. Knead your dough for at least 10 minutes. If you are not used to kneading, just time your kneading, you cannot take any shortcuts with kneading, unless you have a machine to so it for you.
    BagelDeeg
  4. Proof your dough – Place your dough back in the bowl, cover with clingfilm and let your dough proof for at least an hour in a warm place, or let your dough proof in the fridge overnight. Letting your dough proof overnight is not only practical but this slow proofing means more flavor!
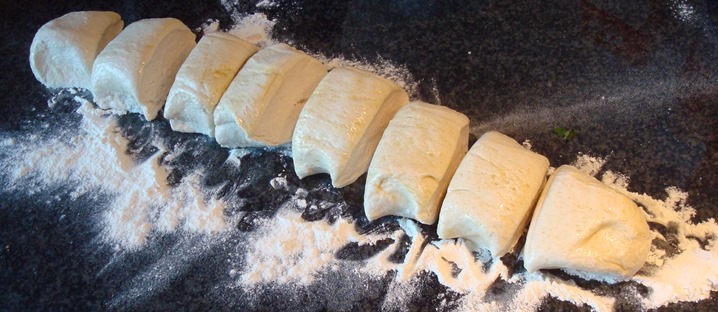
  5. Shape your dough –  If your dough comes from the fridge, leave it to get to room temperature for twenty minutes before shaping your bagels. Shape your donuts. Find instructions on Youtube for this step. Place your bagels on a baking tray dusted with semolina, flower or bread crumbs to prevent sticking.
    Bagelportie
  6. Proof your bagels – Cover your bagels with a damp kitchen towel and leave them to rest for 20 minutes.
  7. Preheat your oven to 220 degrees C.
  8. Poach your bagels – This step is what gives the bagels their unique texture. Put a large pot of simmering water on your hub. Gently slide your bagels in the water, let them poach 1-2 minutes on each side. Depending on the size of your pot, you will have to do this in batches as the bagels should not touch. After poaching, remove each bagel with a slotted spoon, and place the bagels on the baking tray.
    Bagelpoach
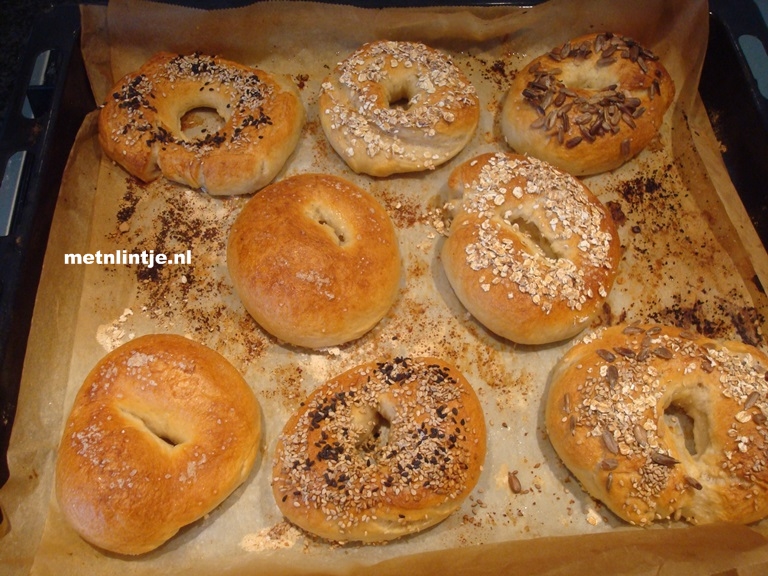
  9. Decorate your bagels – Your bagels will have grown during poaching and should have formed a skin around the outside. The bagels are now sticky and easy to garnish with seasalt and your favorite topping. You can use sesame, sun flower seeds or poppy.
    Bageltopping
  10. Bake your bagels for about 25 minutes or untill crispy and golden.

Bagels

Dutch Ceasar Salad

My mother used to make lovely salads with endives. I grew to love this bitter leaf. I have found it is the perfect ceasar salad leaf. You can substitute with your own favorite crunchy leaves.

Old gouda cheese is a good strong old and hardy cheese to replace Parmesan in this recipe.

Ceaser

Dutch Ceasar Salad

  • Dressing (for multiple salads):
    • 1 tbsp mayonaise
    • 1 tsp mustard
    • 50 ml butter milk
    • 1 pinch of dried chili
    • 1 tbsp lemon juice
    • 1 tbsp olive oil
    • 1 tsp thyme
    • 1 tsp oregano
    • 1 tsp salt
    • 1 tsp pepper
    • 1 cruched garlic clove
  • half a bunch of endives
  • 150 grams of grated old Gouda
  • 1 crouton recipe

Mix all the ingredients for the dressing in a jar. Shake the jar to combine the ingredients. You can make this dressing up to 4 days in advance and keep the dressing in the fridge in a jar or container. Preferably you let the dressing stand for at least 30 mins to let the flavors come together.

Clean your endives. Slives the leaves into chunky pieces.

Mix your ingredients at the last moment for a crunchy salad. Use the amount of dressing you prefer, I like a thin coating on my leaves.