Perfect Pizza Paluzza

Thanks to a sweet friend of mine, I am the proud owner of the Italian cooking bible “the silver spoon”. The book itself ways several kilo’s, but is worth all the shelf space it occupies in my book cupboard.

My Italian cooking bible

What you notice when you leaf through this book is how delightfully simple the Italian cuisine really is. Few ingredients are used to make the star of the show shine. I would recommend this book to any starting home cook.

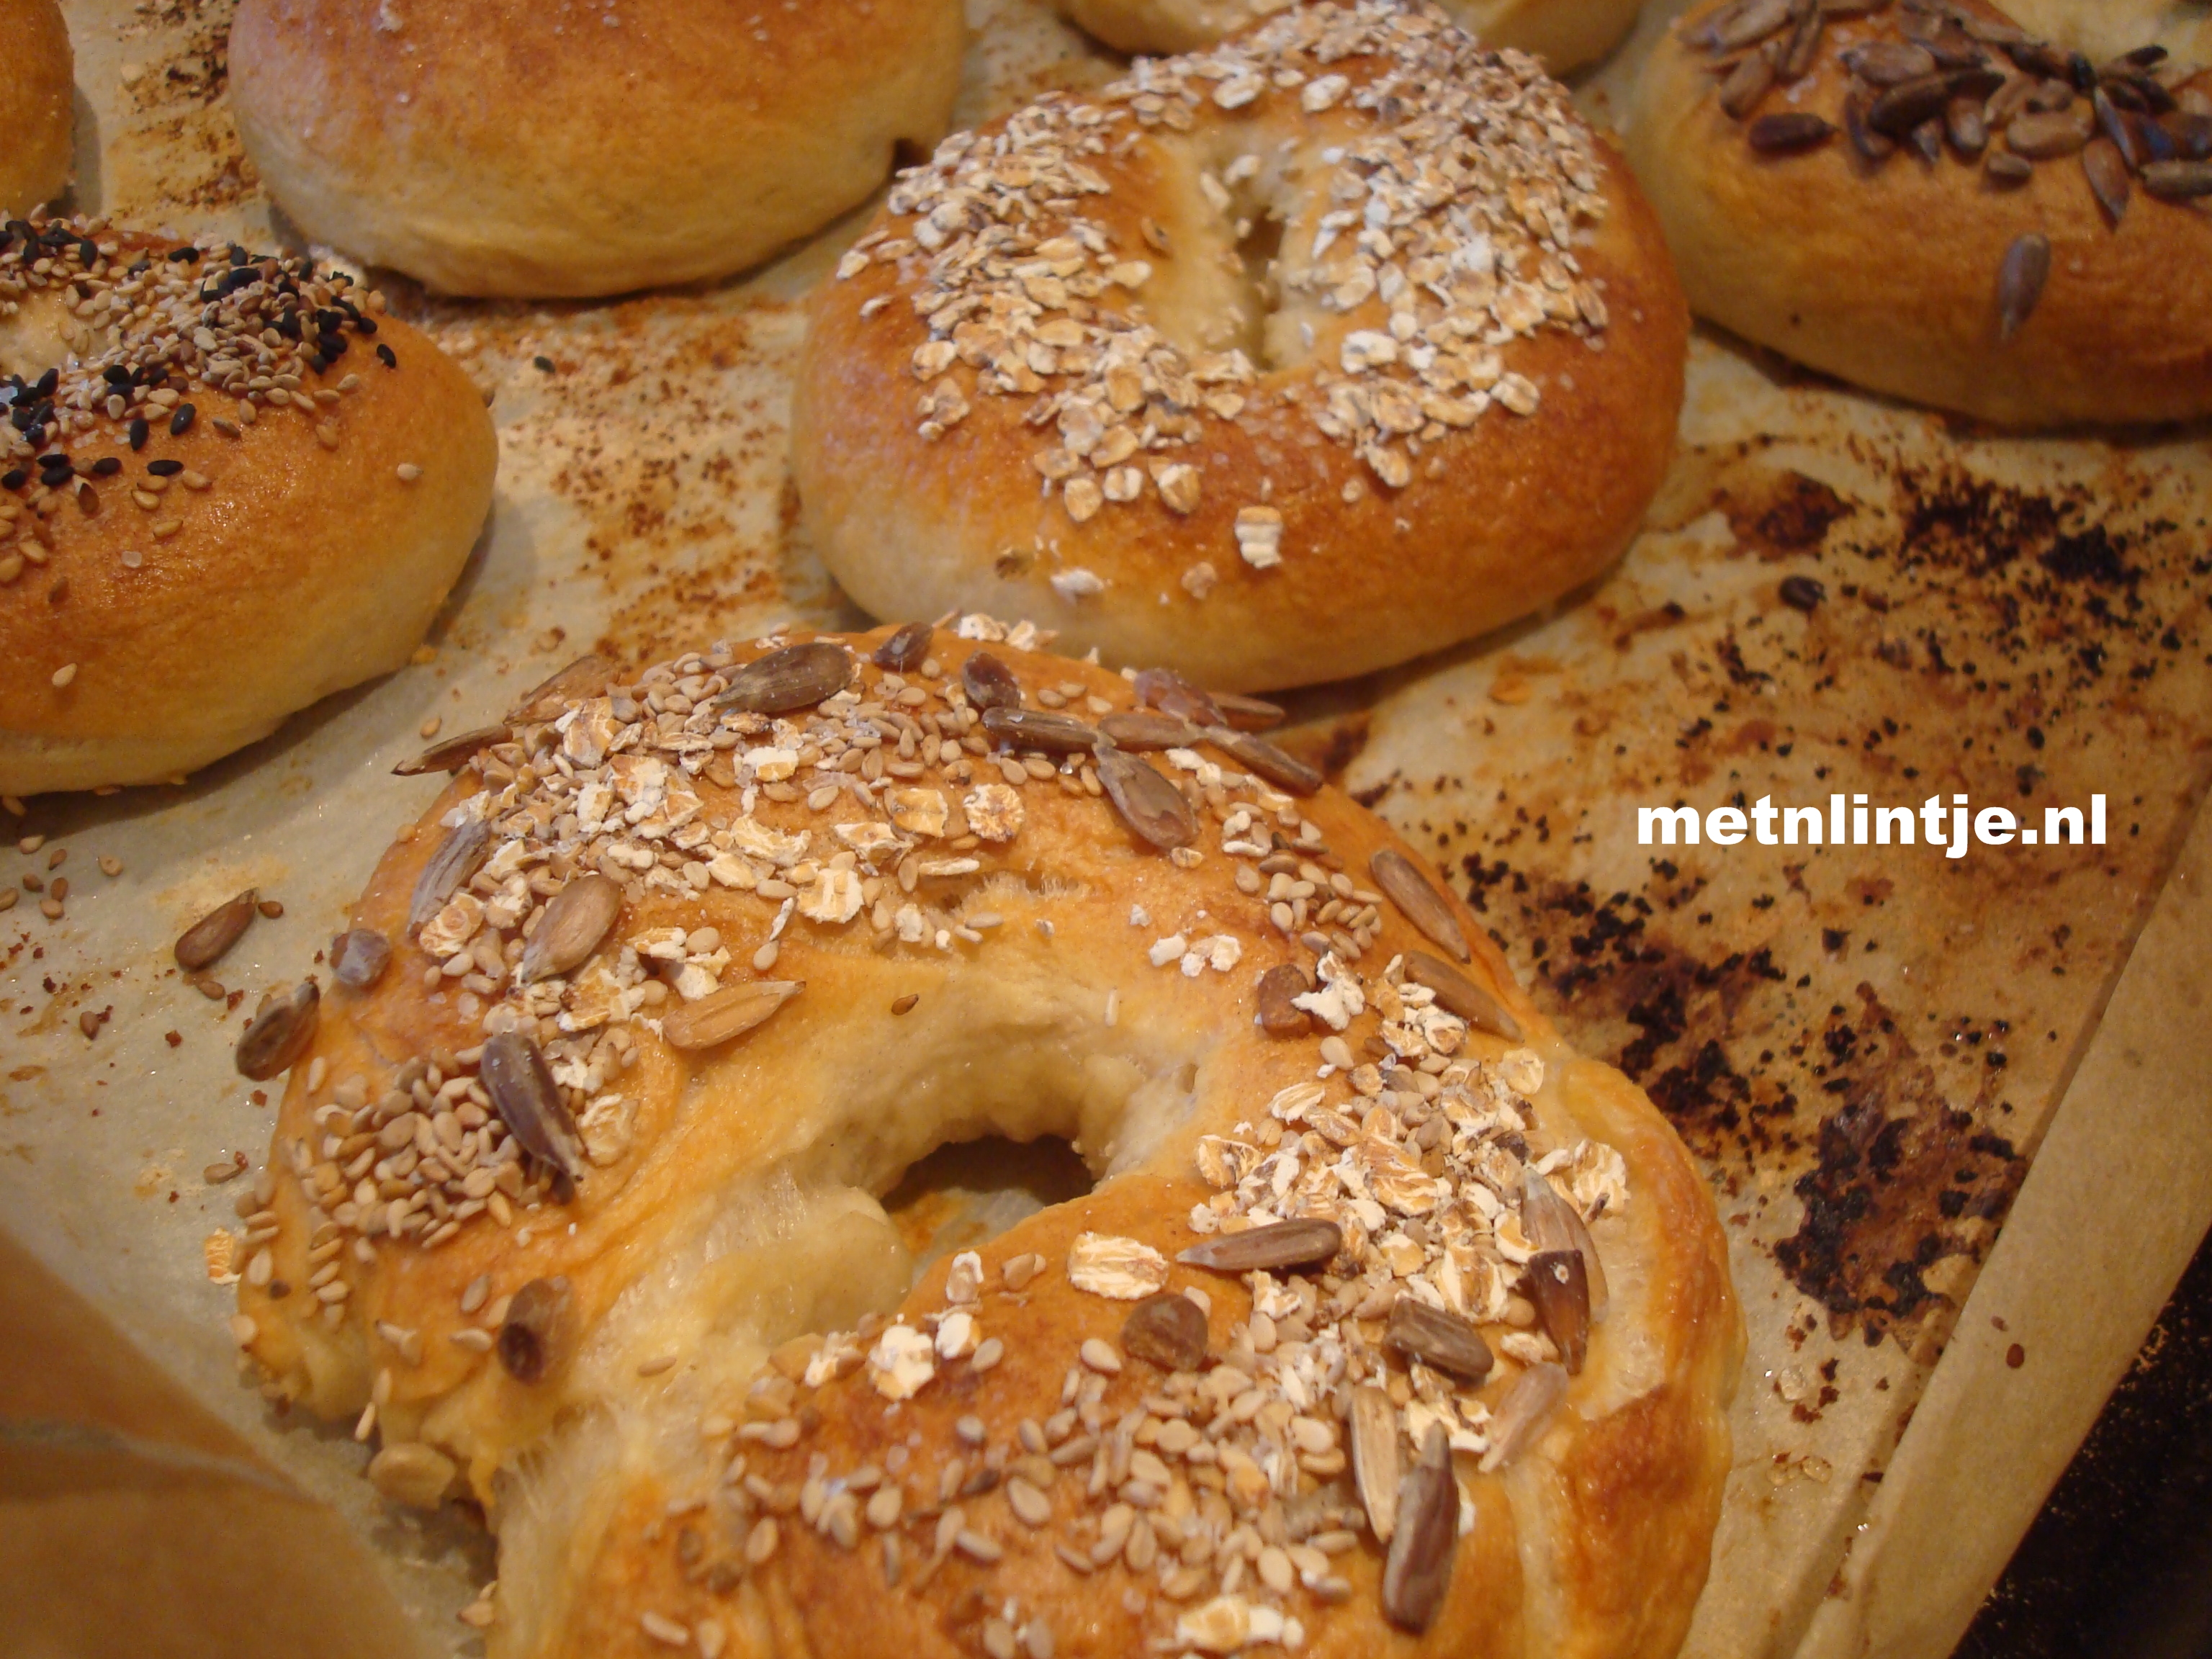
One of my favorite recipes from “The silver spoon” is pizza. I use the recipe for making pizza dough but for the toppings I let my guests decide. I knead the pizza dough the evening before. I let the dough proof in the fridge. This means that making the pizza’s takes little time on the day itself.

My toddler loves pizza. From the moment we bought his kitchen stool he has been joining me to “help” with my cooking. And pizza is the perfect opportunity for this because:

  • Your toddler can help you knead the dough. Simply give your toddler a small portion of the dough and continue kneading together. My son loves pushing his fingers or fists into the dough! Simply combine the dough every now and then, and give your toddler a new ball to knead.
  • Your toddler can help dusting your work top and roll out the dough. At this point in time my toddler runs to the kitchen  cabinet container a big and a small rolling pin. My toddler is so experienced now (3 years old), that he rolls out a pizza all by himself, but you might wanna help a bit the first few times.
  • Your toddler can prick holes in the pizza with a fork.
  • Your toddler can sprinkle cheese, oregano and veg on his own pizza.

pizza

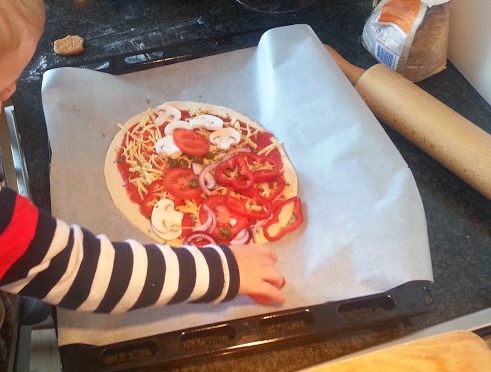
My son is always extremely proud of his creation and walks to the oven to check on his pizza regularly. Both dad and son are big pizza lovers.

Pizza dough (for 2 adults and 1 toddler)

  • 500 gram plain flower and extra for dusting
  • 7 gram instant yeast
  • 1 1/2 tsp salt
  • 240 ml lukewarm water
  • Olive oil

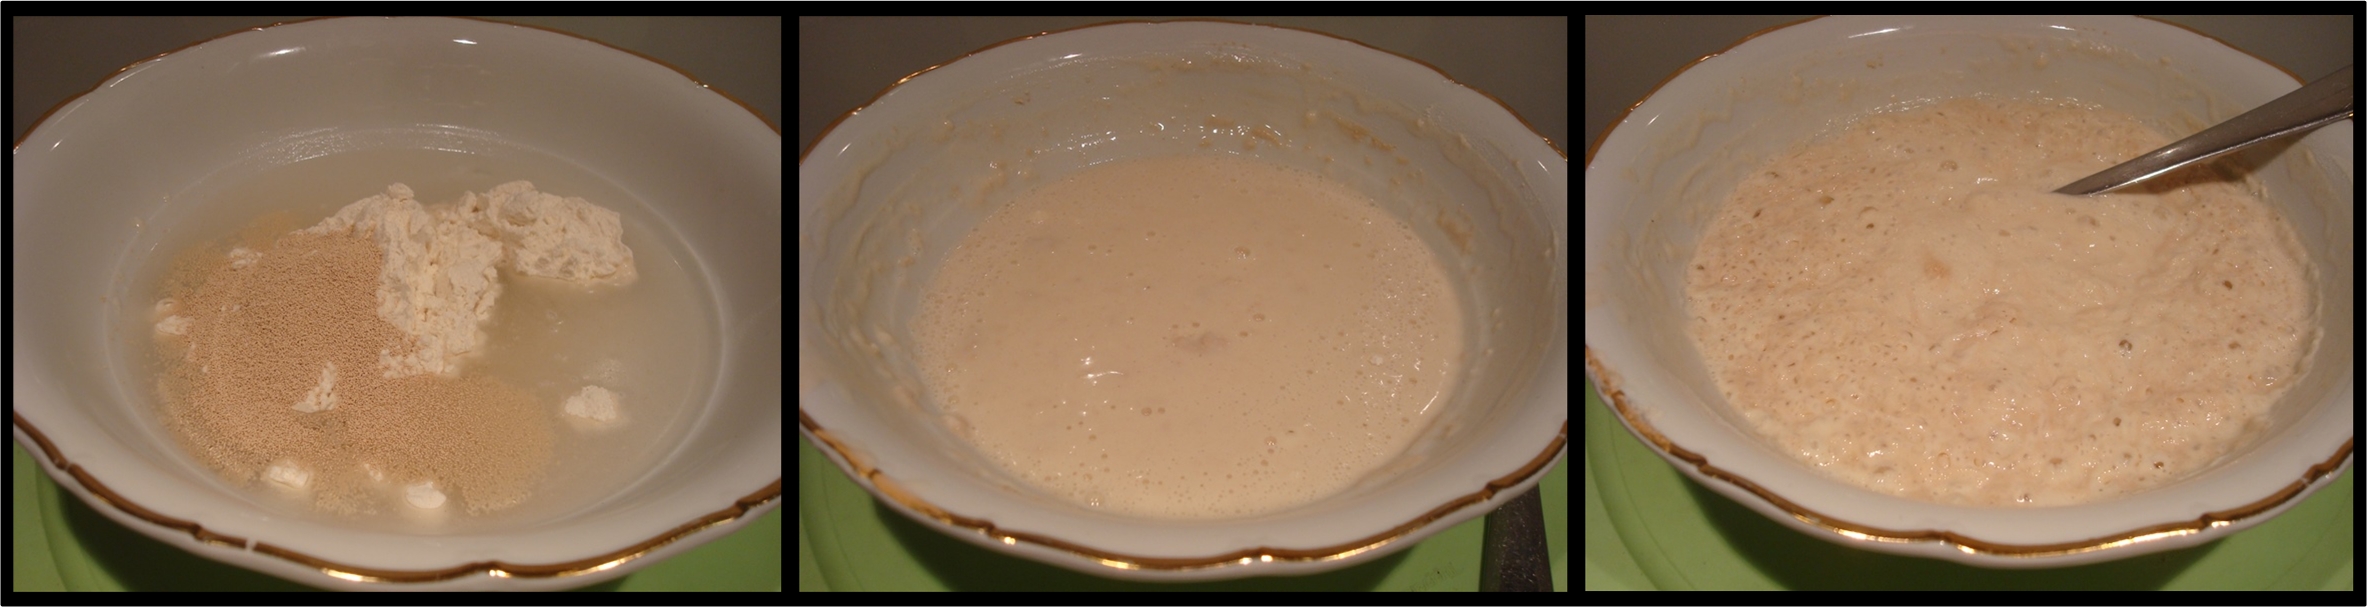
Mix your flower, water, salt and yeast together. Cover the mixture with a kitchen towel and let this mixture stand for 10 minutes (you can skip this step, but I promiss you it makes the kneading easier.

Knead your dough for a minimum of 10 minutes. Time your kneading, it will seam like forever the first time, but after 10 minutes you will have that smooth, elastic stuff people like to rave about.

tip: knead your dough on a table top, not your kitchen counter. This lower surface makes it possible for you to use your body weight when pushing into the dough to stretch it.

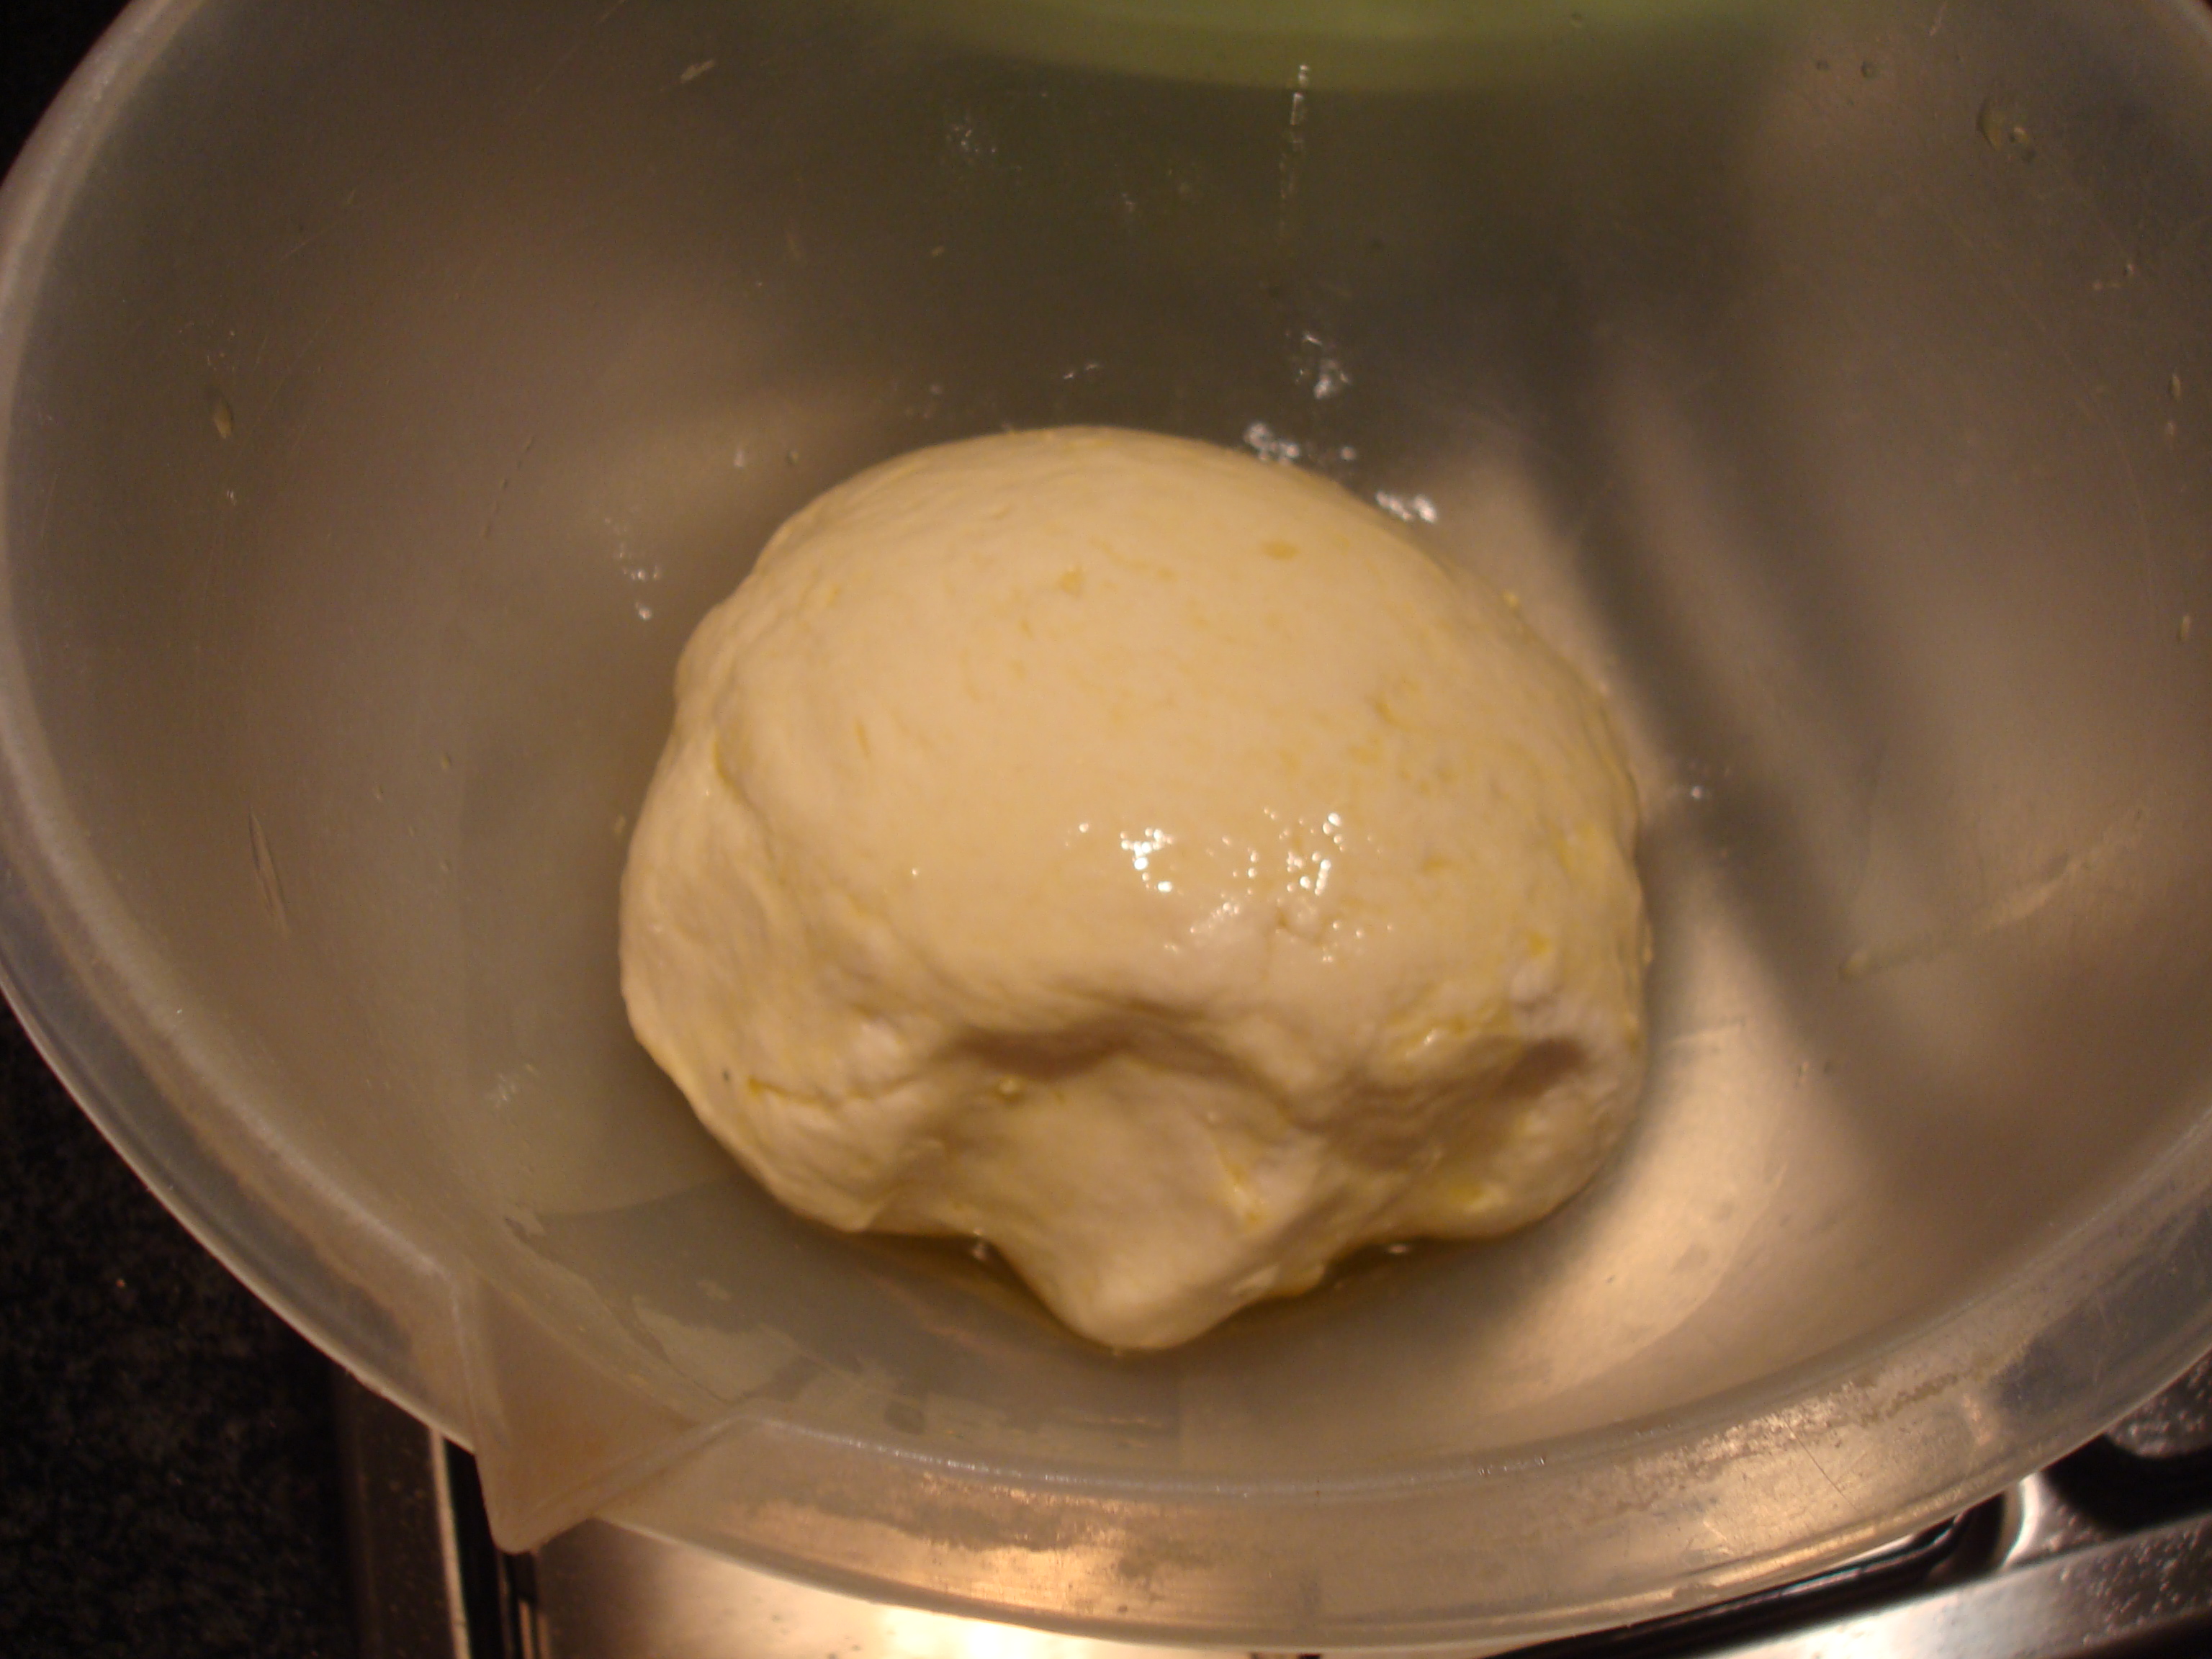
Make sure your dough is covered in oil to protect it from sticking and place it in a large container. The dough (at least) will double in size. Make sure you prevent your dough from drying out by applying an air tight lid or use kling film. Now you have two choices: let your dough proof in the fridge for up to 24 hours, or proof it at room temperature for 1 hour.

pizza2

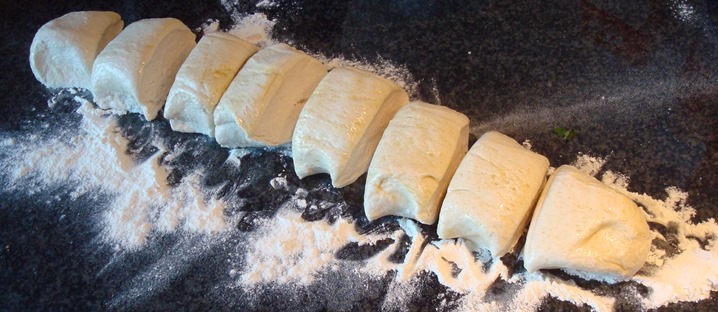
When you want to make your pizza, take the dough out of the fridge, knock it back and let it get to room temperature for at least 30 minutes. Now you can devide your dough into 2 large balls and one smaller ball. Protect your dough by covering it with a (damp) kitchen towel until you roll out your pizza.

Roll out your dough to form your pizza. Prick holes with a fork where the topping goes.

Place your toppings on your pizza and bake for 10 to 20 minutes at 220 degrees.

I will blog about my husband’s favorite pizza some other day.

Baking Bagels

I am not ashamed to admit  I am a big carb lover. As a student I used to work saturdays in a bakery. This experience instilled in me a devotion to well baked bread. Recently I have  been making my own home baked loaves.

Bagelbake

Bread is such a magical thing to make. Basically you take 4 basic ingredients (flower, salt, water and yeast) and after some work, it becomes a completely new entity: dough. This dough that transforms several times while proofing. Dough is almost a living thing, which you created! When you bake it, the dough is again transformed, changing in texture and flavor for the last and final time. I cannot emphasize enough how inspiring it is to be the master of such a process.

I hope I have inspired you! If you have never baked before; start with an easy white loaf. If you would like a fun bread baking challenge, make these bagels! I have watched many video’s and instructions, and this method works for me. If you wander why I added certain steps, you can read the explanation in Italics. Personally I recommend doing step 1 through 4 the evening before. This way, If you are an early riser, you can surprise your loved ones with these bagels for breakfast or brunch.

BagelFB

Bagels (about 10 bagels)

  • 7 g sachet dried yeast
  • 4 tsp sugar
  • 2 tsp salt
  • 450 g bread flour
  • 300 ml lukewarm water
  1. Make your starter mixture – Combine 200 ml of water, the sugar, a large cup of the bread flower and the yeast in a mixing bowl. When combined, cover the bowl with clingfilm and leave in a warm place for 1 to 4 hours. Leaving this starter mixture for a while will add flavor to your bread as dough needs lots of time to develop. The starter should have the consistency of a runny pancake batter.
    bagelpap1
  2. Make your dough – When your starter mixture has developed, combine with the other ingredients. After combining, cover your bowl with a kitchen towel and leave your mix to stand for 15 minutes. Leaving this mix to stand makes kneading easier.
  3. Knead your dough for at least 10 minutes. If you are not used to kneading, just time your kneading, you cannot take any shortcuts with kneading, unless you have a machine to so it for you.
    BagelDeeg
  4. Proof your dough – Place your dough back in the bowl, cover with clingfilm and let your dough proof for at least an hour in a warm place, or let your dough proof in the fridge overnight. Letting your dough proof overnight is not only practical but this slow proofing means more flavor!
  5. Shape your dough –  If your dough comes from the fridge, leave it to get to room temperature for twenty minutes before shaping your bagels. Shape your donuts. Find instructions on Youtube for this step. Place your bagels on a baking tray dusted with semolina, flower or bread crumbs to prevent sticking.
    Bagelportie
  6. Proof your bagels – Cover your bagels with a damp kitchen towel and leave them to rest for 20 minutes.
  7. Preheat your oven to 220 degrees C.
  8. Poach your bagels – This step is what gives the bagels their unique texture. Put a large pot of simmering water on your hub. Gently slide your bagels in the water, let them poach 1-2 minutes on each side. Depending on the size of your pot, you will have to do this in batches as the bagels should not touch. After poaching, remove each bagel with a slotted spoon, and place the bagels on the baking tray.
    Bagelpoach
  9. Decorate your bagels – Your bagels will have grown during poaching and should have formed a skin around the outside. The bagels are now sticky and easy to garnish with seasalt and your favorite topping. You can use sesame, sun flower seeds or poppy.
    Bageltopping
  10. Bake your bagels for about 25 minutes or untill crispy and golden.

Bagels