Tasty tuna melt

Tasty tuna melt
Print Recipe
This is a lovely store cupboard recipe. We have all ingredients for this recipe in our home any day of the week. If you like tuna as much as I do, it makes for great comfort food. I love the contrast between the luke warm tuna salad and the piping hot melting cheese.
Servings Prep Time
4 people 20 minutes
Cook Time
5 minutes
Servings Prep Time
4 people 20 minutes
Cook Time
5 minutes
Ingredients
Tuna salad
Tuna melt
Servings: people
Instructions
  1. Preheat your oven grill. If your oven does not have a grill setting, heat to the highest temperature.
  2. Mix the ingredients for the tuna salad well.
  3. Add olive oil or mayonaise to make your salad more creamy if needed.
  4. Spread the tuna salad on the toasted bread.
  5. Sprinkle with cheese.
  6. Grill for about 5 minutes. Monitor carefully, you don't want the cheese to melt and brown slightly.
  7. Sprinkle with your favorite hot sauce.
Recipe Notes

If you serve these with a salad, they make a great dinner.

Share this Recipe

Fabulous five: Cooking with toddlers

My toddler is always exploring the world and bursting with energy. From the moment he was born he has been observing me in the kitchen. From the moment he could, he has been my most eager little helper. I always indulge him and find a way for him to help me. I find it important he understands what he eats and he learns to appreciate how much work goes into making his dinner.

My toddler surprised me with his cooking. He loves to help create something, and he loves eating his creations. However grown-up I thought the recipes were, my son knows what he likes.

If you are wondering what your toddler can do in the kitchen here’s some things my toddler can do:

  • Knead, shape and roll out dough (as he has plenty of practice with play dough)
  • Cut soft food like mushrooms, cucumber, cheese with a table knife
  • Add ingredients and sprinkle seasoning
  • Pealing your boiled eggs
  • Stirring (although this does require lots of practice, my toddler toppled over the pancake batter once!)
  • Cleaning up afterwards, my toddler can really enjoy washing up, drying and placing utensils back in their right place.
  • Tasting and testing

A last and final warning for all young parents: lower your expectations. With their short attention span, toddlers help you for 5 minutes and leave a mess that might take you 10 minutes to clean up. Ironically, they will tell everyone they made this food (with no help what so ever, haha). With time, this will improve, and I promise you the pride on their faces when they get to eat their creations makes it all worth while!

These are our favorites recipes:

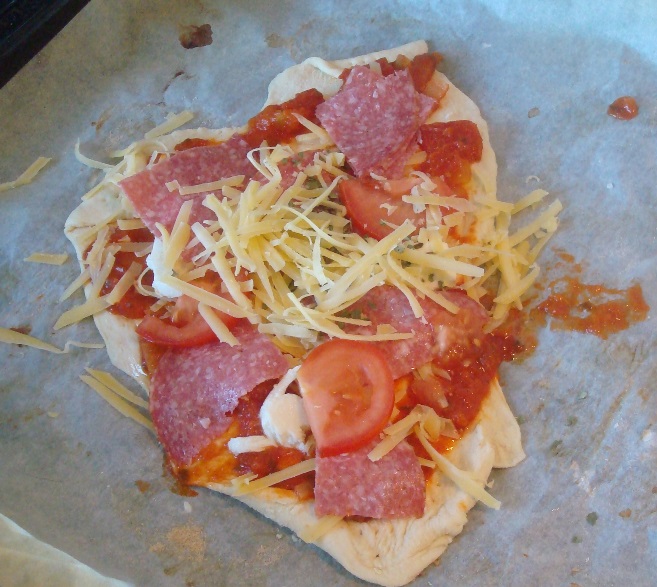
1. Pizza – my toddler gets to pick his own toppings. When his creation is done, he can’t wait till the pizza has finished baking. Find the recipe for pizza dough or our favorite topping.
???????????????????????????????

2. Cookies – I make the dough beforehand (without my busy toddler slowing me down). The dough rests in the fridge until my son and I have a moment to make cookies together. We still want to make funfetti cookies together some day!

3. Pancakes – my toddler loves helping me mix the batter and we break eggs together, doesn’t any toddler love breaking stuff? He is in charge of ladling the batter in the pan, I am in charge of frying and flipping the pancakes in the air. Find my pancake recipe here.

4. Sushi – making simple sushi is perfect toddler fun. My toddler eats the (healthy) ingredients before they are even made into sushi! Molding the rice and placing the ingredients in the roll is his task and mommy rolls the sushi and we eat them together.

5. Bread – my toddler loves kneading dough with me. He gets to mold his own rolls, brush them and sprinkle them with his favorite seeds. You could also let your toddler make bread sticks.

BBQ favorites : Carrot soda bread

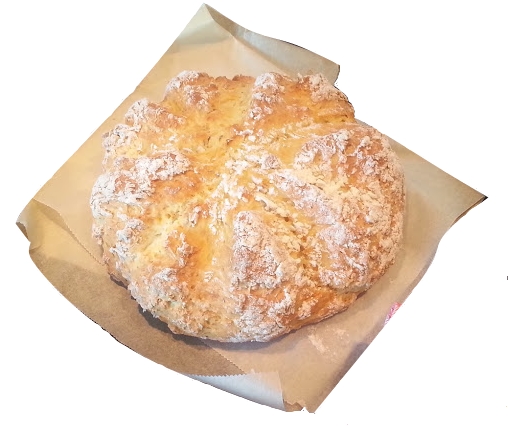
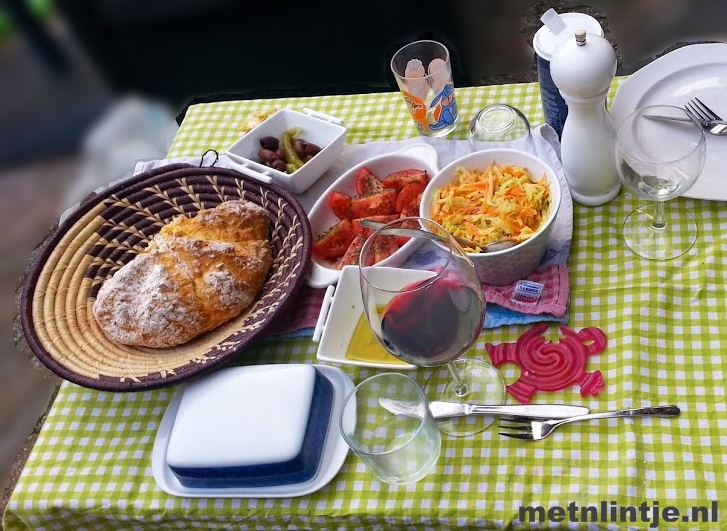
I love making soda bread. It makes the perfect dipping material with a freshly made tzaziki or with plain olive oil and vinegar. I inspired this bread on a recipe by Lorraine Pascale. I was out of olives at the time. Which meant adding sweet carrots to the mix, and a matching herb; caraway.

Remember this is a soda bread: Which means no kneading, just mixing and combining! This creates that light and cake-like texture.

carrot soda bread

Carrot soda bread

  • 450 grams self raising flower
  • 1/2 tsp of salt
  • 1 tbsp olive oil
  • 1 cup of finely grated carrot
  • 2 tsp caraway seeds
  • 225 ml water

Preheat your oven at 200 degrees C.

Combine all the dry ingredients and the carrots. Combine the olive oil and water.

Mix all ingredients with fork. When it all seems combined, tip the bowl on your counter and combine into a ball. Place the ball on a baking tray which you dusted with flower against sticking.

Flower the handle of a wooden spoon. Push the handle into your loaf to create, halves, quarters and then 1/8 wedges.

Bake your loaf in the oven for 35 minutes. Leave to cool for 15 mins before eating, bon apetit!

BBQtable

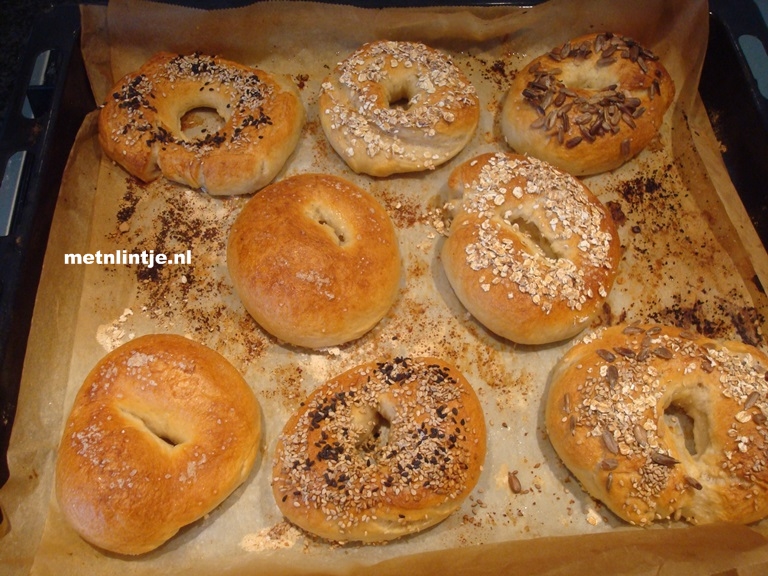
Baking Bagels

I am not ashamed to admit  I am a big carb lover. As a student I used to work saturdays in a bakery. This experience instilled in me a devotion to well baked bread. Recently I have  been making my own home baked loaves.

Bagelbake

Bread is such a magical thing to make. Basically you take 4 basic ingredients (flower, salt, water and yeast) and after some work, it becomes a completely new entity: dough. This dough that transforms several times while proofing. Dough is almost a living thing, which you created! When you bake it, the dough is again transformed, changing in texture and flavor for the last and final time. I cannot emphasize enough how inspiring it is to be the master of such a process.

I hope I have inspired you! If you have never baked before; start with an easy white loaf. If you would like a fun bread baking challenge, make these bagels! I have watched many video’s and instructions, and this method works for me. If you wander why I added certain steps, you can read the explanation in Italics. Personally I recommend doing step 1 through 4 the evening before. This way, If you are an early riser, you can surprise your loved ones with these bagels for breakfast or brunch.

BagelFB

Bagels (about 10 bagels)

  • 7 g sachet dried yeast
  • 4 tsp sugar
  • 2 tsp salt
  • 450 g bread flour
  • 300 ml lukewarm water
  1. Make your starter mixture – Combine 200 ml of water, the sugar, a large cup of the bread flower and the yeast in a mixing bowl. When combined, cover the bowl with clingfilm and leave in a warm place for 1 to 4 hours. Leaving this starter mixture for a while will add flavor to your bread as dough needs lots of time to develop. The starter should have the consistency of a runny pancake batter.
    bagelpap1
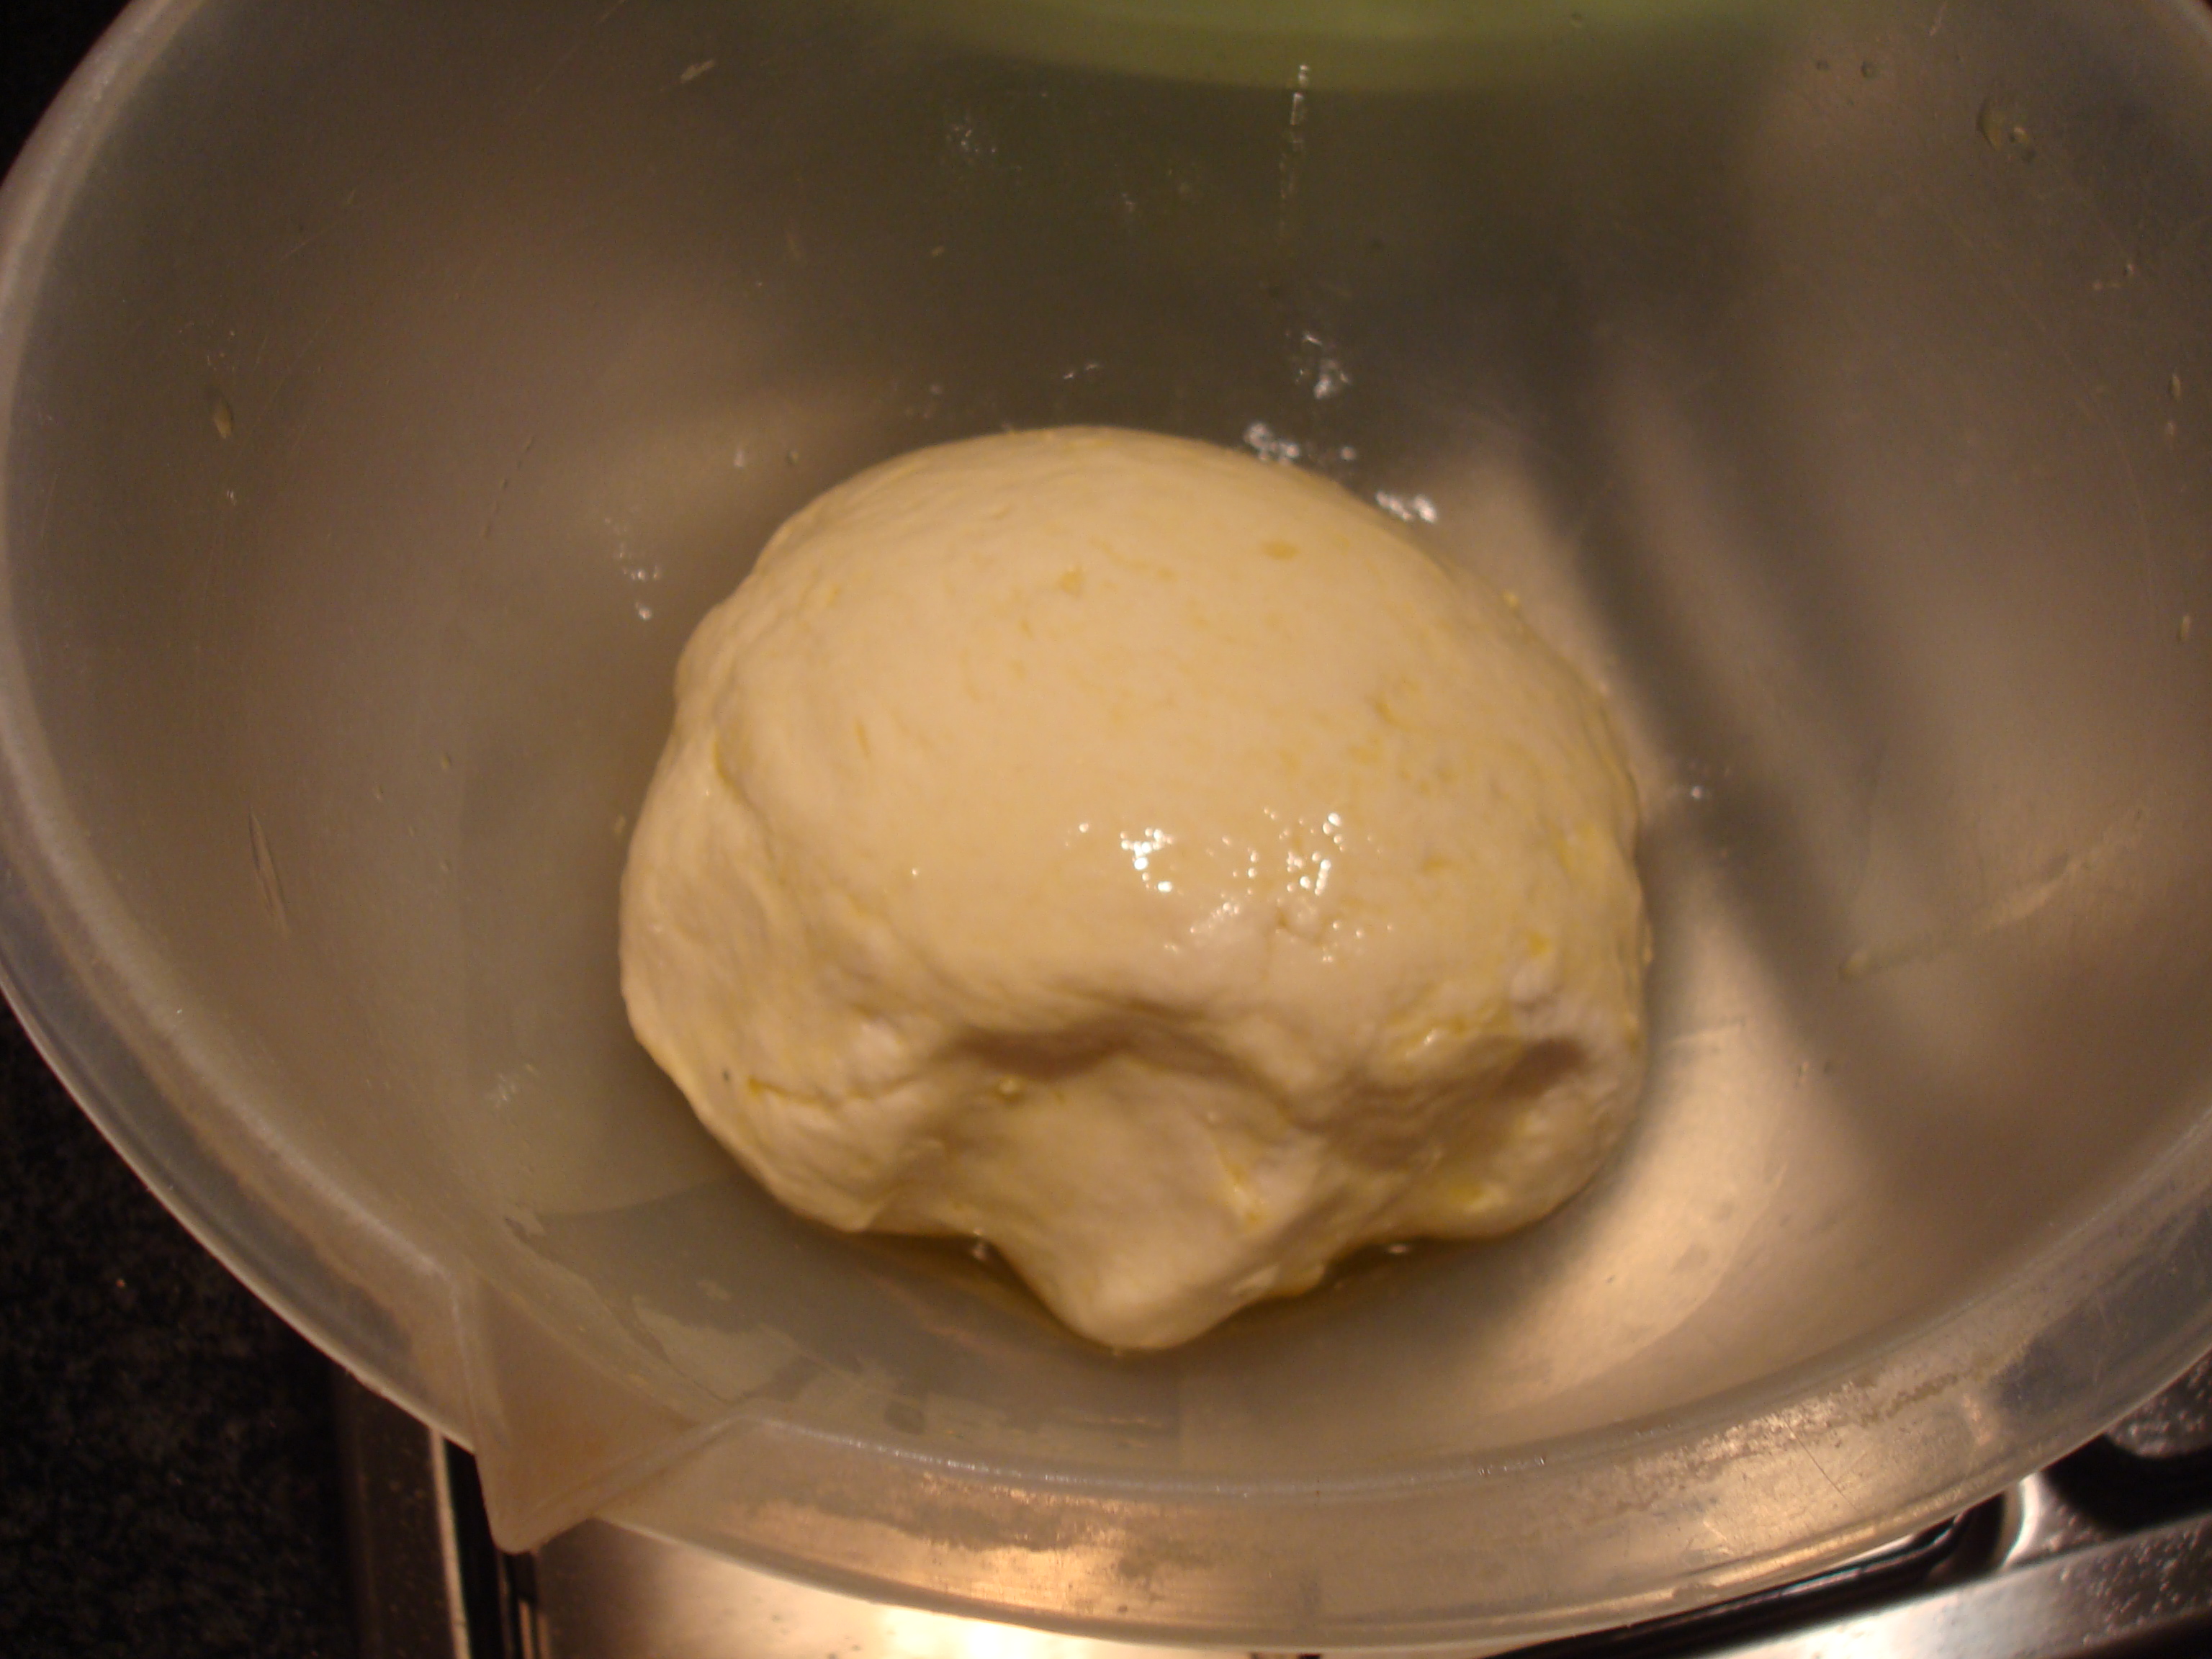
  2. Make your dough – When your starter mixture has developed, combine with the other ingredients. After combining, cover your bowl with a kitchen towel and leave your mix to stand for 15 minutes. Leaving this mix to stand makes kneading easier.
  3. Knead your dough for at least 10 minutes. If you are not used to kneading, just time your kneading, you cannot take any shortcuts with kneading, unless you have a machine to so it for you.
    BagelDeeg
  4. Proof your dough – Place your dough back in the bowl, cover with clingfilm and let your dough proof for at least an hour in a warm place, or let your dough proof in the fridge overnight. Letting your dough proof overnight is not only practical but this slow proofing means more flavor!
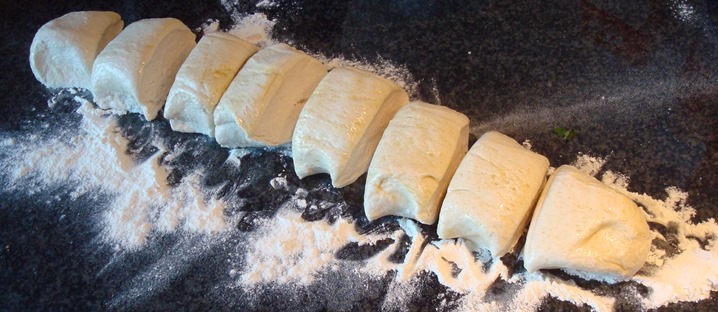
  5. Shape your dough –  If your dough comes from the fridge, leave it to get to room temperature for twenty minutes before shaping your bagels. Shape your donuts. Find instructions on Youtube for this step. Place your bagels on a baking tray dusted with semolina, flower or bread crumbs to prevent sticking.
    Bagelportie
  6. Proof your bagels – Cover your bagels with a damp kitchen towel and leave them to rest for 20 minutes.
  7. Preheat your oven to 220 degrees C.
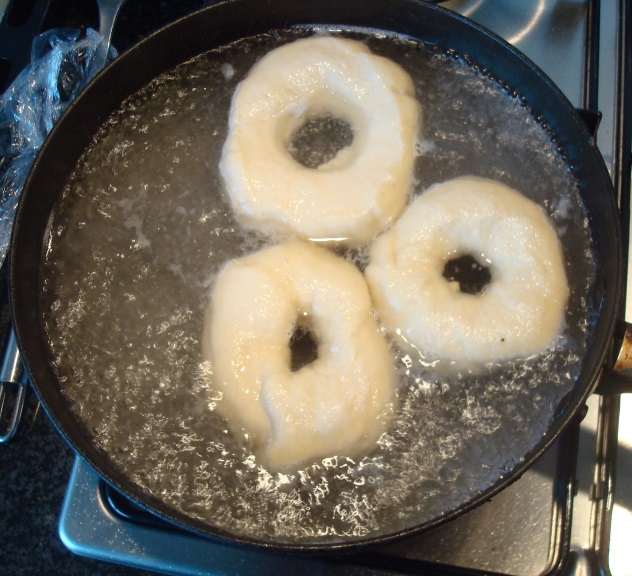
  8. Poach your bagels – This step is what gives the bagels their unique texture. Put a large pot of simmering water on your hub. Gently slide your bagels in the water, let them poach 1-2 minutes on each side. Depending on the size of your pot, you will have to do this in batches as the bagels should not touch. After poaching, remove each bagel with a slotted spoon, and place the bagels on the baking tray.
    Bagelpoach
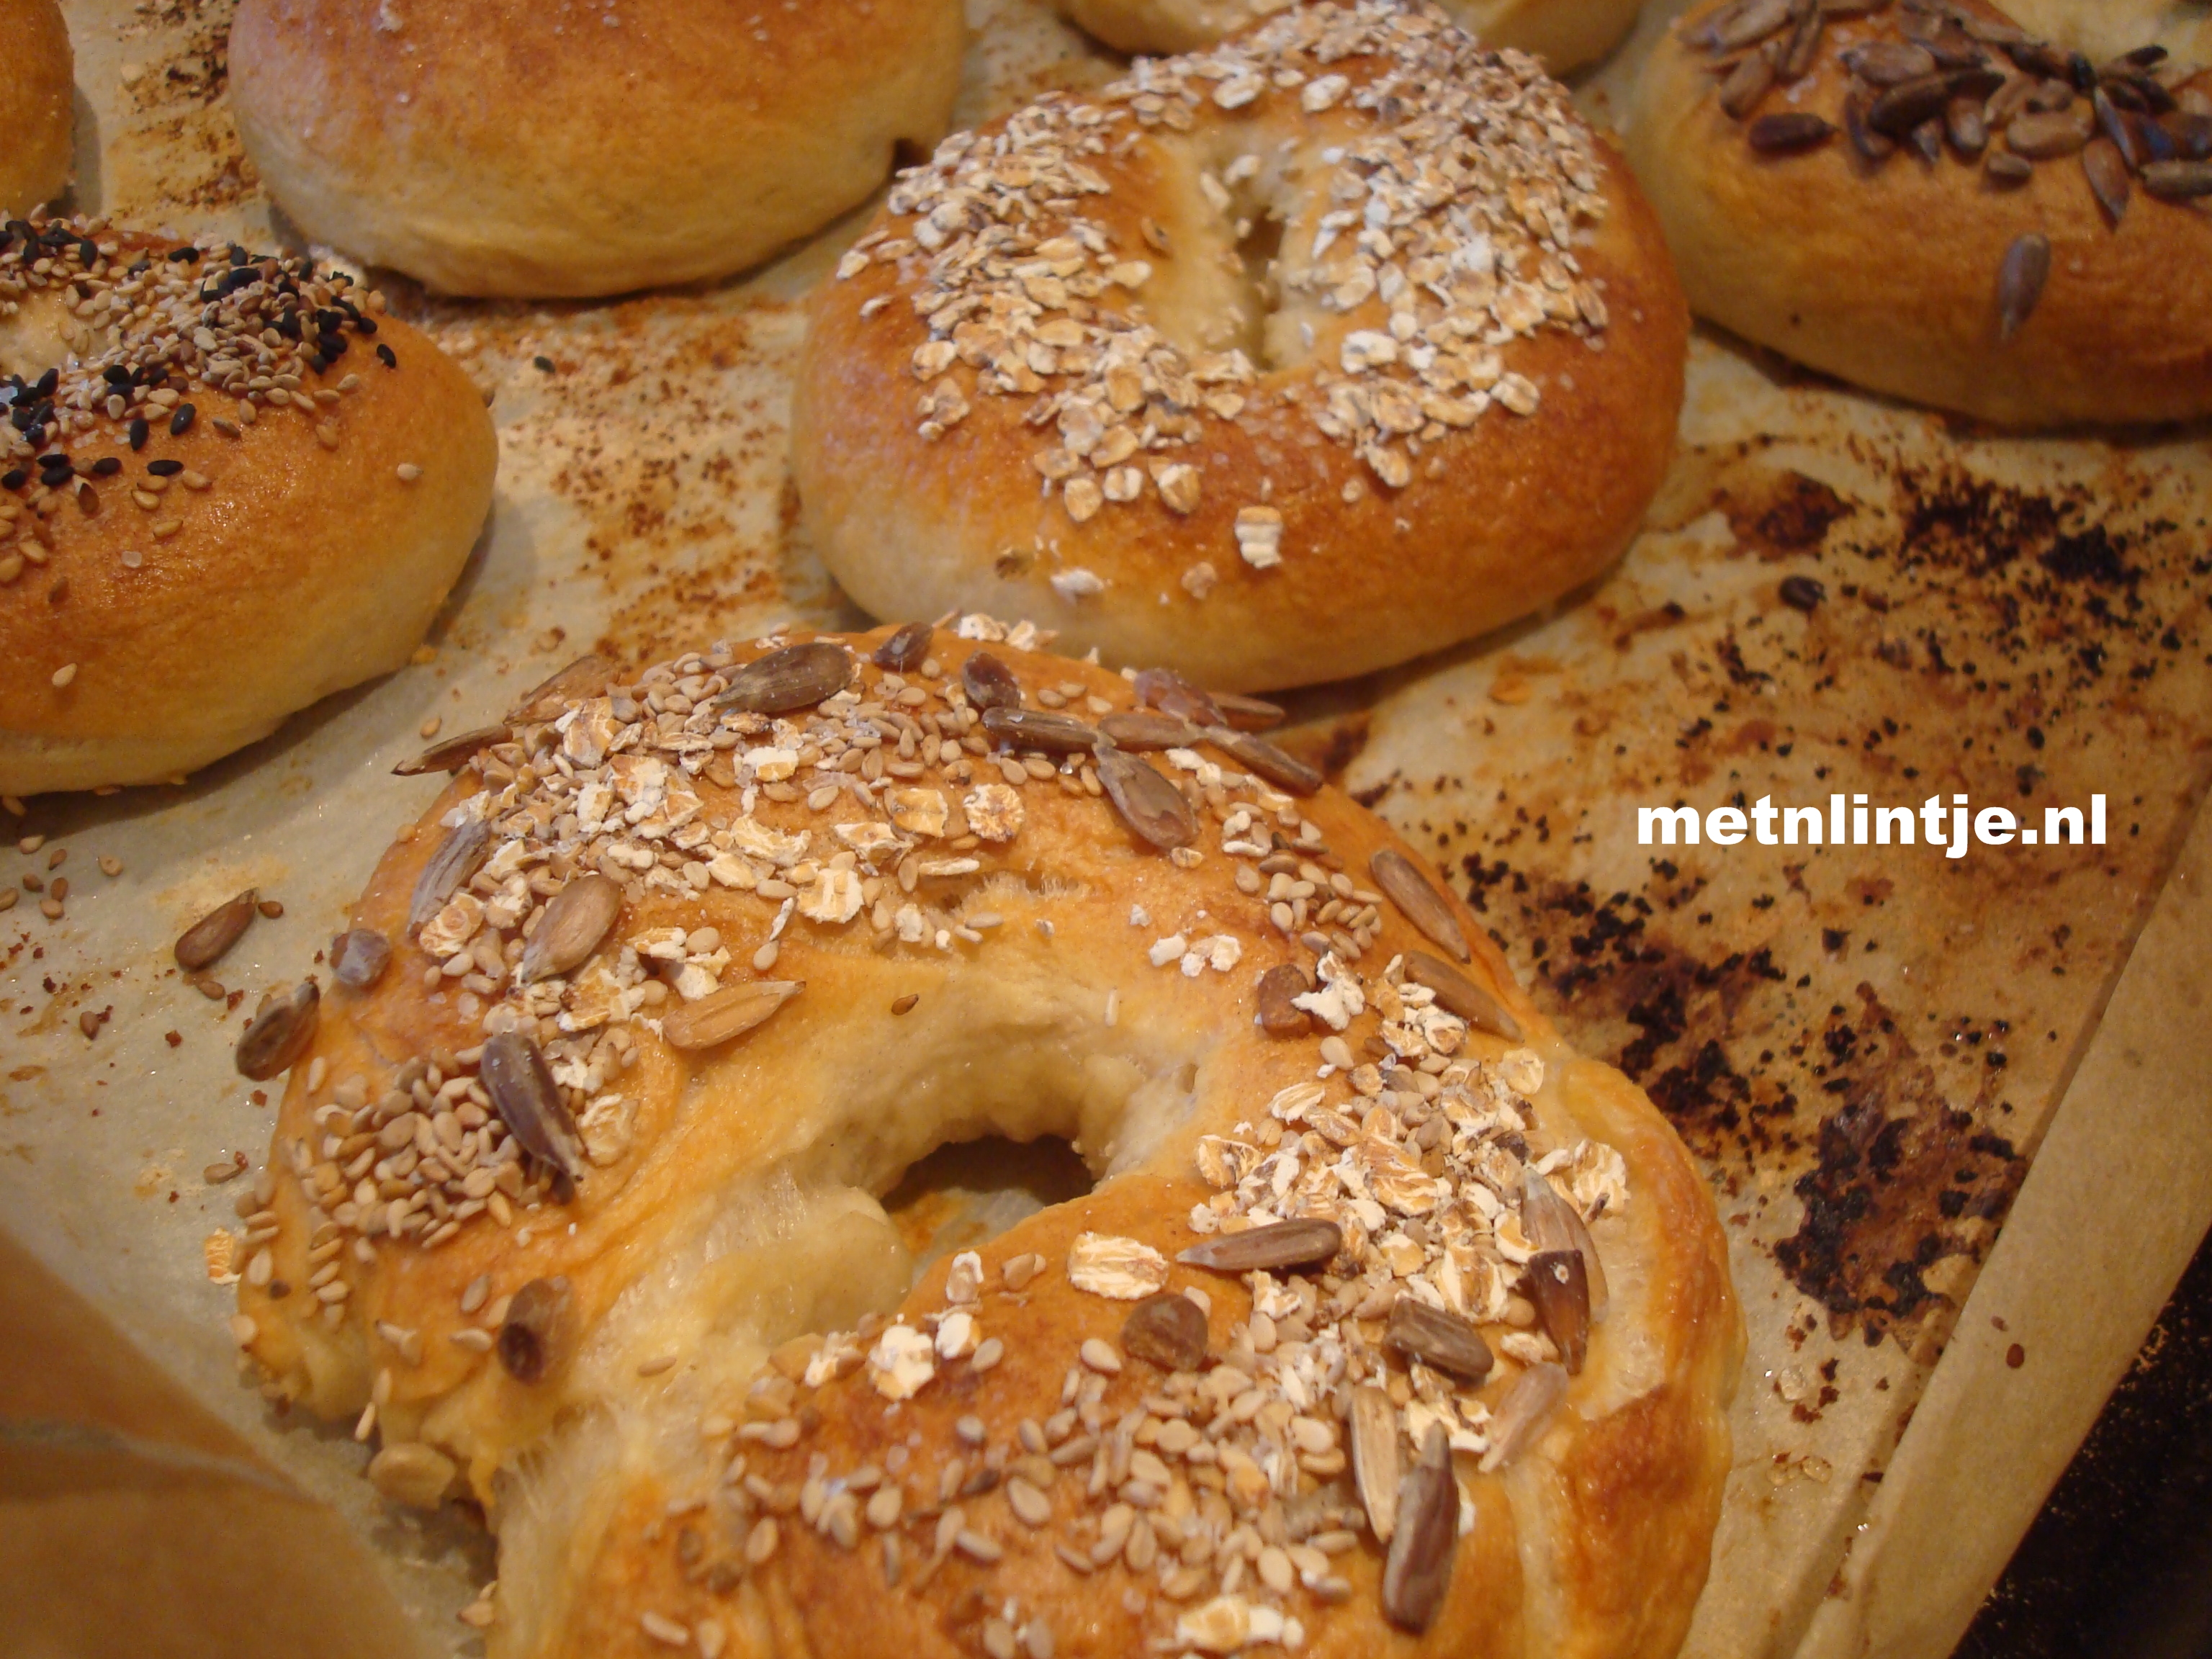
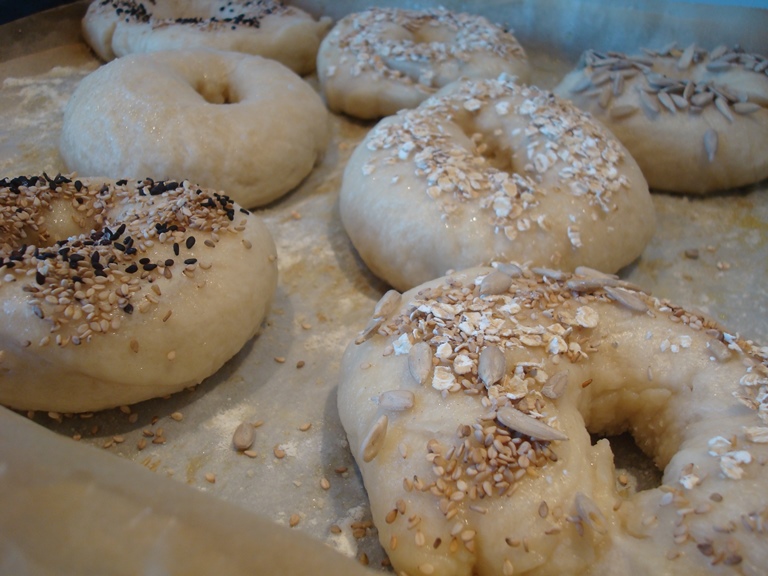
  9. Decorate your bagels – Your bagels will have grown during poaching and should have formed a skin around the outside. The bagels are now sticky and easy to garnish with seasalt and your favorite topping. You can use sesame, sun flower seeds or poppy.
    Bageltopping
  10. Bake your bagels for about 25 minutes or untill crispy and golden.

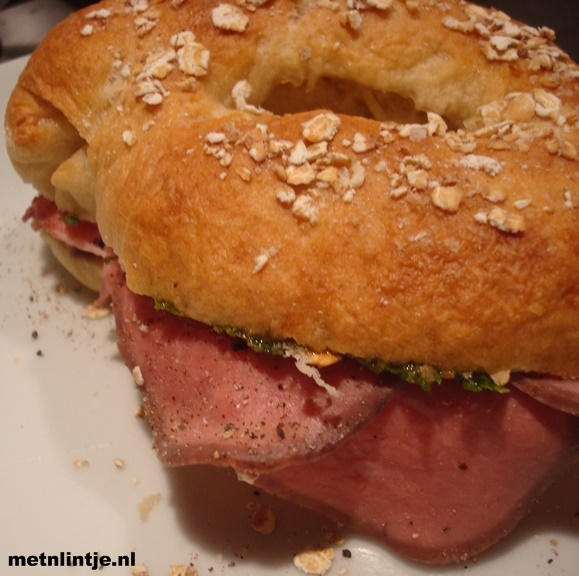
Bagels

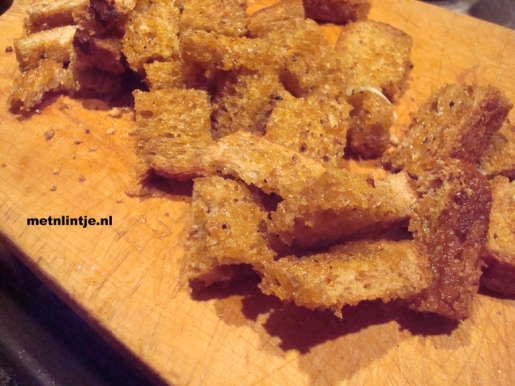
Quick and easy garlic croutons

Anyone can make croutons. It is a quick and easy way to liven up a salad or soup and a good way to get rid of old bread. You can use any bread you like to eat. We like whole wheat, but white bread or sour dough is yummy too.

You can also freeze bread slices and take these out whenever you need to make croutons.

Croutons

Garlic croutons (for 4 servings of salad) 

  • 2 slices of bread
  • 4 tbsp olive oil
  • 2 garlic cloves
  • salt & pepper

Brush your bread with olive oil on both sides. Toast the slices in your regular toaster until golden and crispy.

Slice your garlic in half length ways. Rub the toast with the garlic slices on each side. Generously season the toast on each side.

Let your garlic toast cool slightly. Slice your toast into cubes in your favorite crouton size.