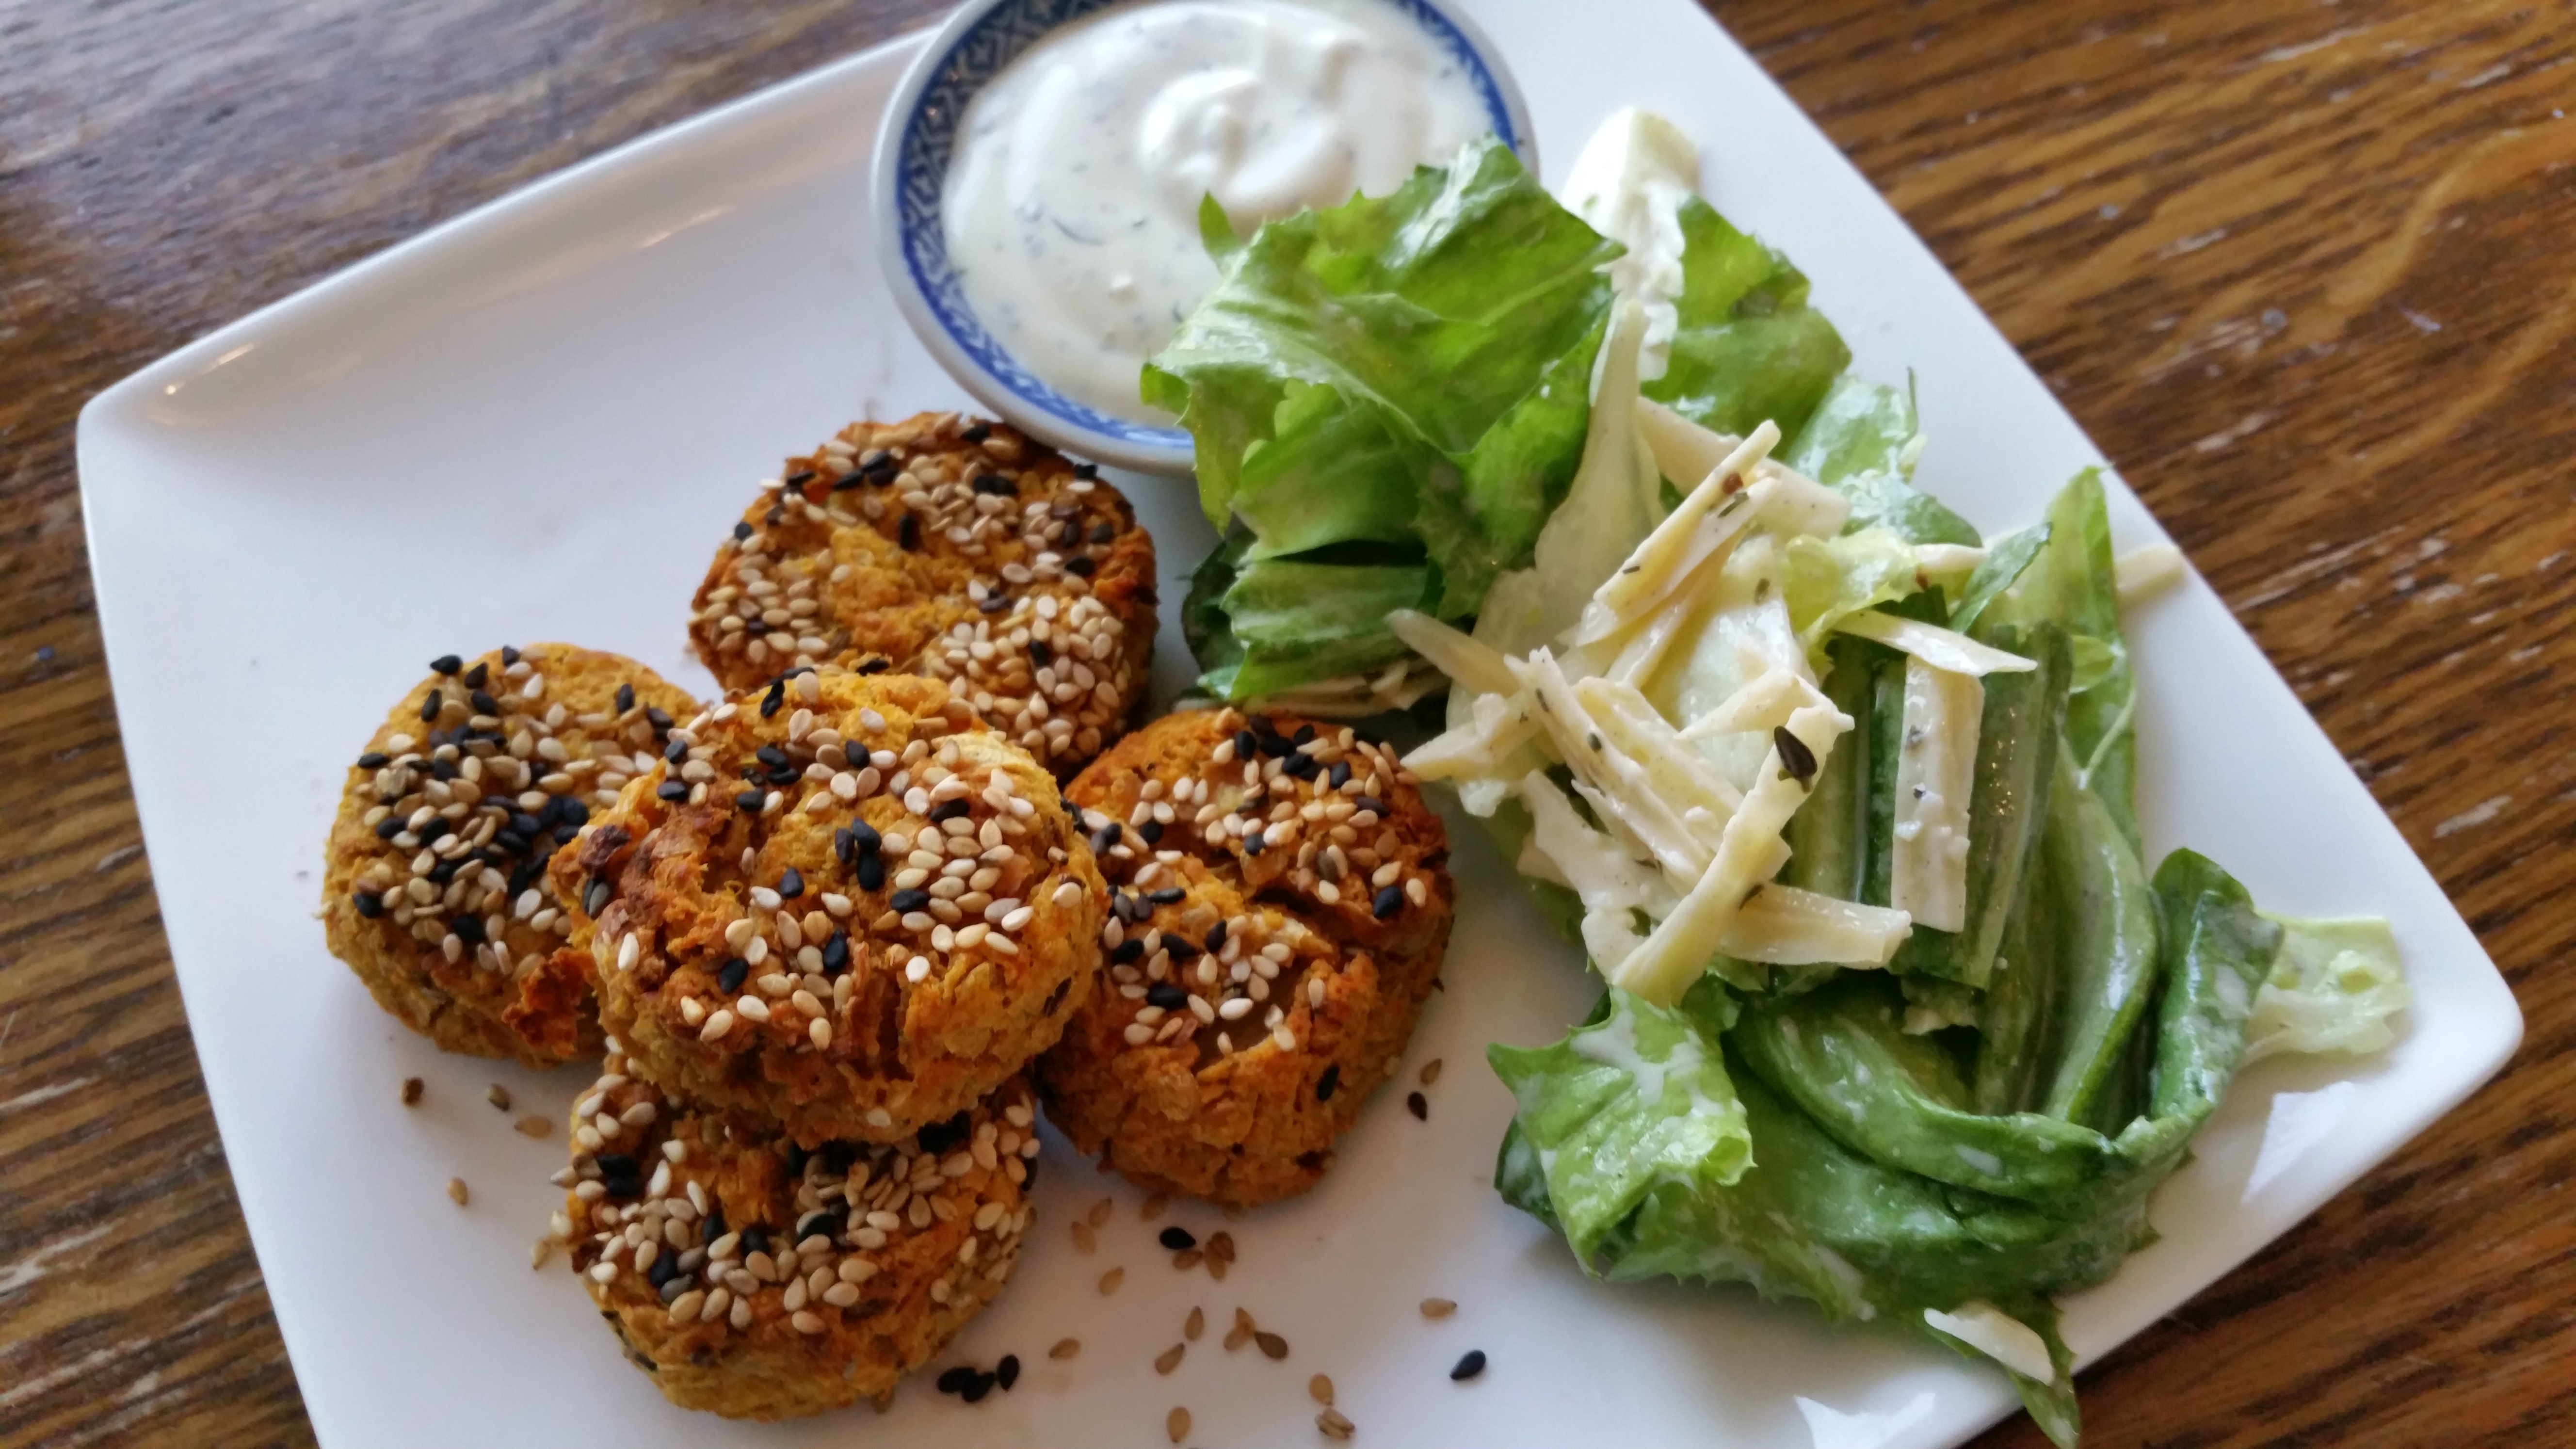
Sweet mini veggie burgers

I love making my own vegetarian balls and falafel look-a-likes. I was looking for a new way to cook with sweet potatoes. I sometimes find them overly sweet. This is why I thought of a sweet potato and chick pea mini burger. I packed the mini burgers full of flavors and textures complementing each other. Instead of mixing salt into the burgers, you coat them with it. The sesame seeds add even more flavors.

These little veggie burgers make it easy to eat a vegetarian meal, because they are so satisfying and filling.
SweetVeggieMiniBurger

Sweet veggie burger

  • 1 tin of chickpeas (265 grams)
  • 1 large sweet potato
  • 1 cup of grated grated carrot
  • 1 finely sliced union
  • 1 garlic clove finely sliced
  • 1 tsp cumin
  • 1 tsp carraway
  • 1 tsp sweet paprika
  • 1 tsp crushed black pepper
  • For the coating:
    • 2 tbsp sesame seeds
    • 2 tbsp black sesame seeds
    • 1 tbsp sea salt
  • Sauce:
    • 1 tsp mustard
    • 1 tbsp mayonaise
    • 3 tbsp greek yoghurt
    • 1 tsp mint
    • 1 tsp dill
    • 1 garlic clove, finely sliced
  1. Preparations
    1. Preheat your oven to 220 degrees C.
    2. Prick some holes in your sweet potato and place it in your microwave for 3 to six minutes until it feels soft to the touch.
    3. Fry your union and carrot in some oil until they are soft.
    4. In a blender, chop your chickpeas. Don’t blitz them to a pulp, keep some chunky bits in for a bite.
  2. Shaping your mini veggie burgers
    1. Mix all the ingredients the veggie burgers. Mold them into mini burgers or balls, whatever shape makes you happy.
    2. Mix the coating ingredients in a plate. Place the mini burgers in the coating on each side.
    3. Place the mini burgers on baking parchment on an oven tray. Be careful your mini burgers are delicate and slightly crumbly!
  3. Bake the veggie mini burgers in your oven for 20 minutes or until golden. You can bake your mini burgers for 15 minutes, then refrigerate or freeze them. They can be reheated at 200 degrees for 20 minutes.
  4. Mix the ingredients for your sauce and prepare your side dishes while your mini burgers bake.

Veggie mini burgers taste great squashed inside pita bread with some Dutch Ceasar Salad on the side.

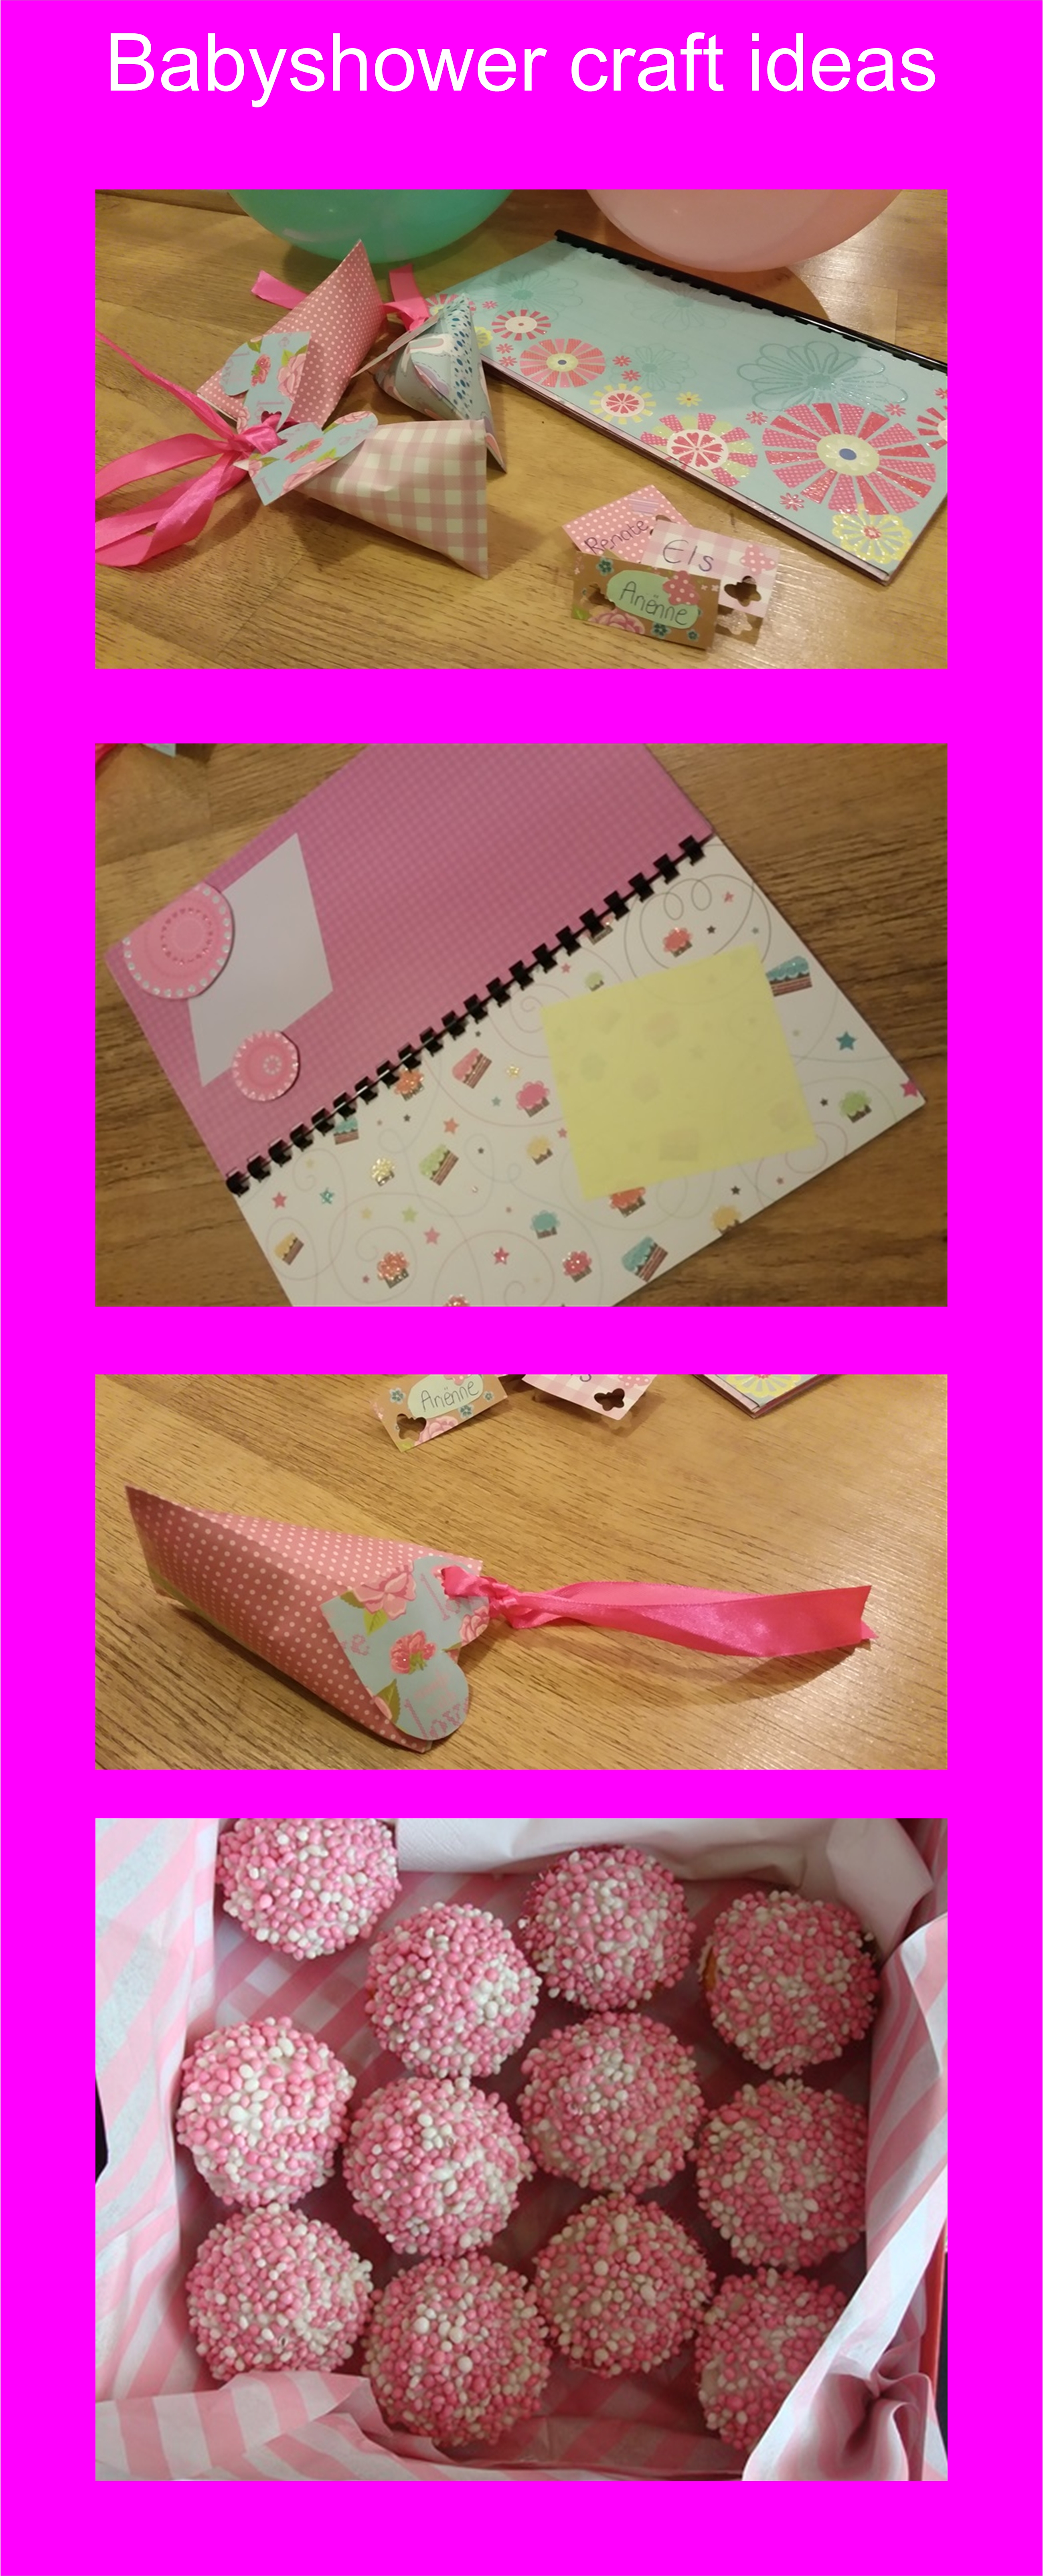
Babyshower craft ideas

I firmly believe in celebrating all the milestones in your life. Baby showers are not yet a common tradition in the Netherlands. Among my friends they are very popular at the moment…or it might be because my friends are all entering a certain phase in their lives…

babyshower ideas

Wherever you are, here’s some ideas to give your baby shower a personal touch:

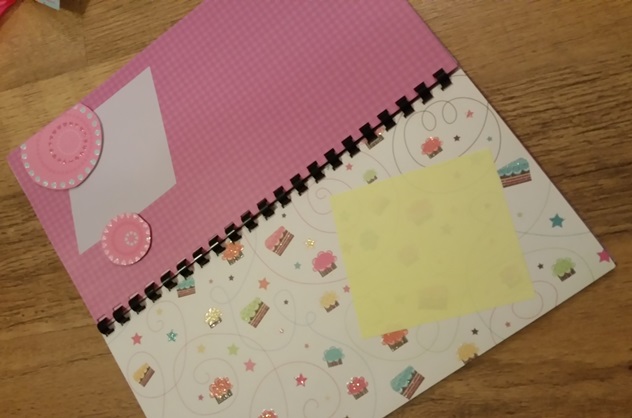
  1. Create a personalized guest book. People can write down personal wishes, you can add pictures of the baby shower later. I made this guest book with some lovely scrapbook pages I had lying around.
    BabyShower1
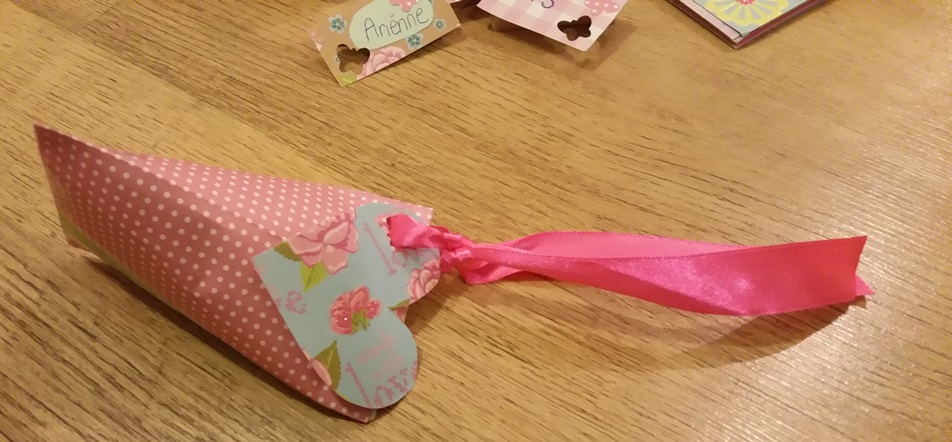
  2. Give your guests a party favor before they go home, with a thank you card attached. Babyshower2
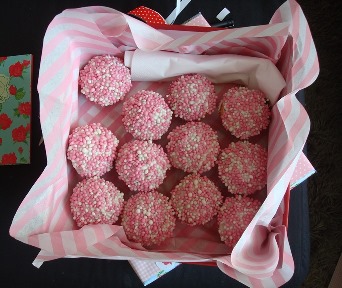
  3. Make some cupcakes in the theme color
    BabyCupCakes
  4. Looking for a fun craft activity during the baby shower? Pimp the clothe hangers for the baby clothes. Or decorate some pegs.
  5. Make personalized felt figures, like Cloudette or this plane rattle.
    Elly

Check out my pinterest board for more inspiration.

BBQ favorites : Carrot soda bread

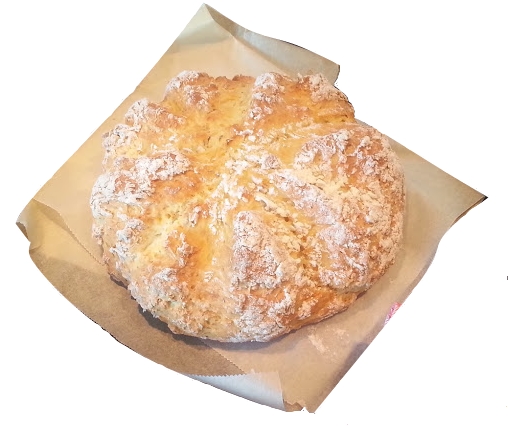
I love making soda bread. It makes the perfect dipping material with a freshly made tzaziki or with plain olive oil and vinegar. I inspired this bread on a recipe by Lorraine Pascale. I was out of olives at the time. Which meant adding sweet carrots to the mix, and a matching herb; caraway.

Remember this is a soda bread: Which means no kneading, just mixing and combining! This creates that light and cake-like texture.

carrot soda bread

Carrot soda bread

  • 450 grams self raising flower
  • 1/2 tsp of salt
  • 1 tbsp olive oil
  • 1 cup of finely grated carrot
  • 2 tsp caraway seeds
  • 225 ml water

Preheat your oven at 200 degrees C.

Combine all the dry ingredients and the carrots. Combine the olive oil and water.

Mix all ingredients with fork. When it all seems combined, tip the bowl on your counter and combine into a ball. Place the ball on a baking tray which you dusted with flower against sticking.

Flower the handle of a wooden spoon. Push the handle into your loaf to create, halves, quarters and then 1/8 wedges.

Bake your loaf in the oven for 35 minutes. Leave to cool for 15 mins before eating, bon apetit!

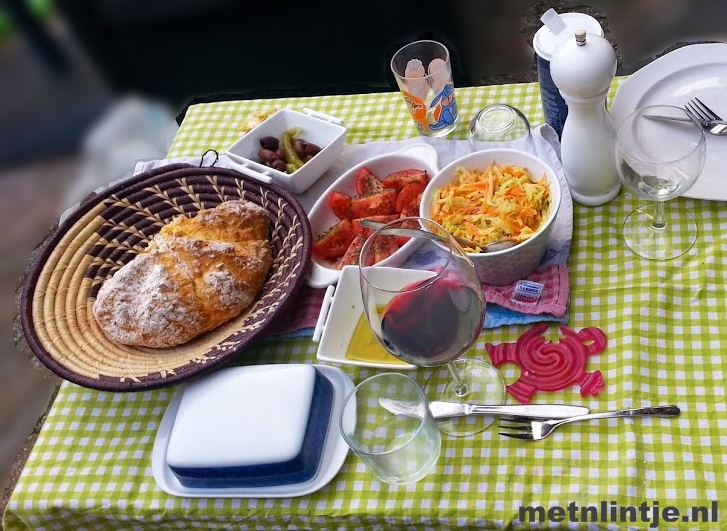
BBQtable

Pizza Angry Monkey

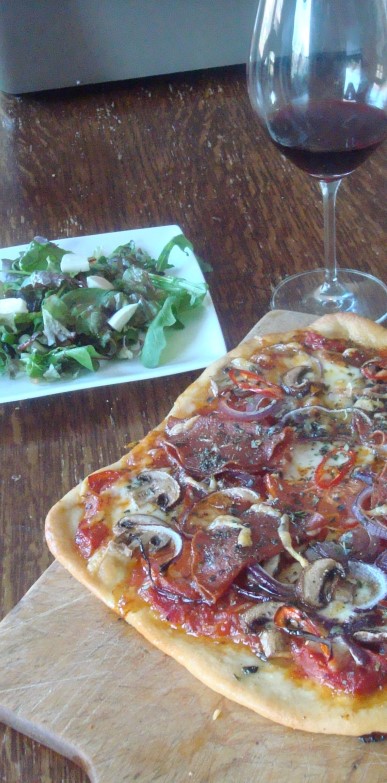
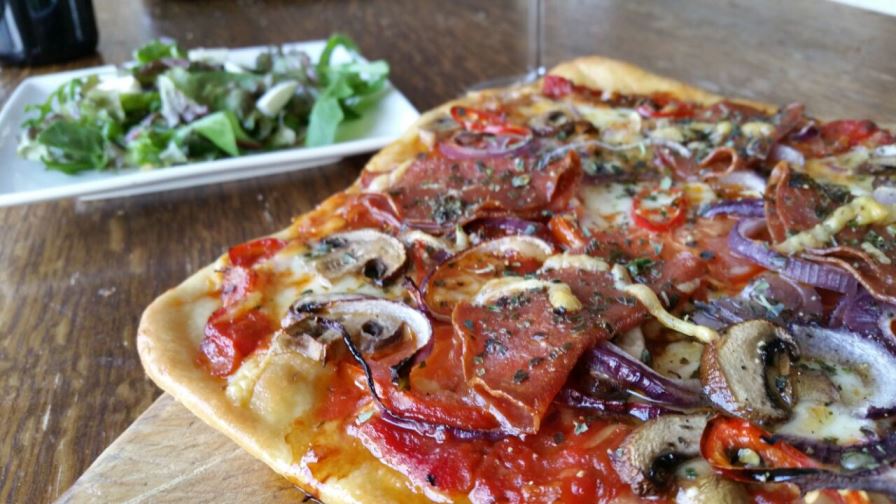
AngryPizza2My husband named this pizza and it is his idea of food heaven. You can make this pizza using the dough I described in the Perfect Pizza Peluzza. Angry is a reference to the chilies used in this pizza, giving it a kick. And monkey is a reference to the primal state your husband will be in while he waits for this pizza.

Please remember not to put to many ingredients on your pizza, it should be a thin slice of goodness that cooks in a short amount of time. This recipe is for 1 pizza, feel free to make many more and discover your own favorite pizza.

Pizza Angry Monkey

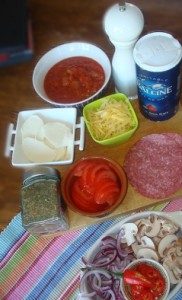
  • Pizza doughAngryIngredients
  • 1 cup of tinned, diced tomatoes
  • grated cheese (I use Gouda because I’m dutch, but any hard neutral cheese would do)
  • 3-5 slices of mozzarella
  • 3-5 slices of tomato
  • 1 tbsp oregano
  • 5 sliced button mushrooms
  • half an onion in rings
  • 3-5 slices of salami
  • 2 chilies (jalapeno or regular red chilies) in rings
  • 1 finely sliced garlic clove
  • 3 tbsp olive oil

Preheat your oven to 220 degrees C. Make sure it is well and hot before placing the pizza in, as this guarantees the best crust.

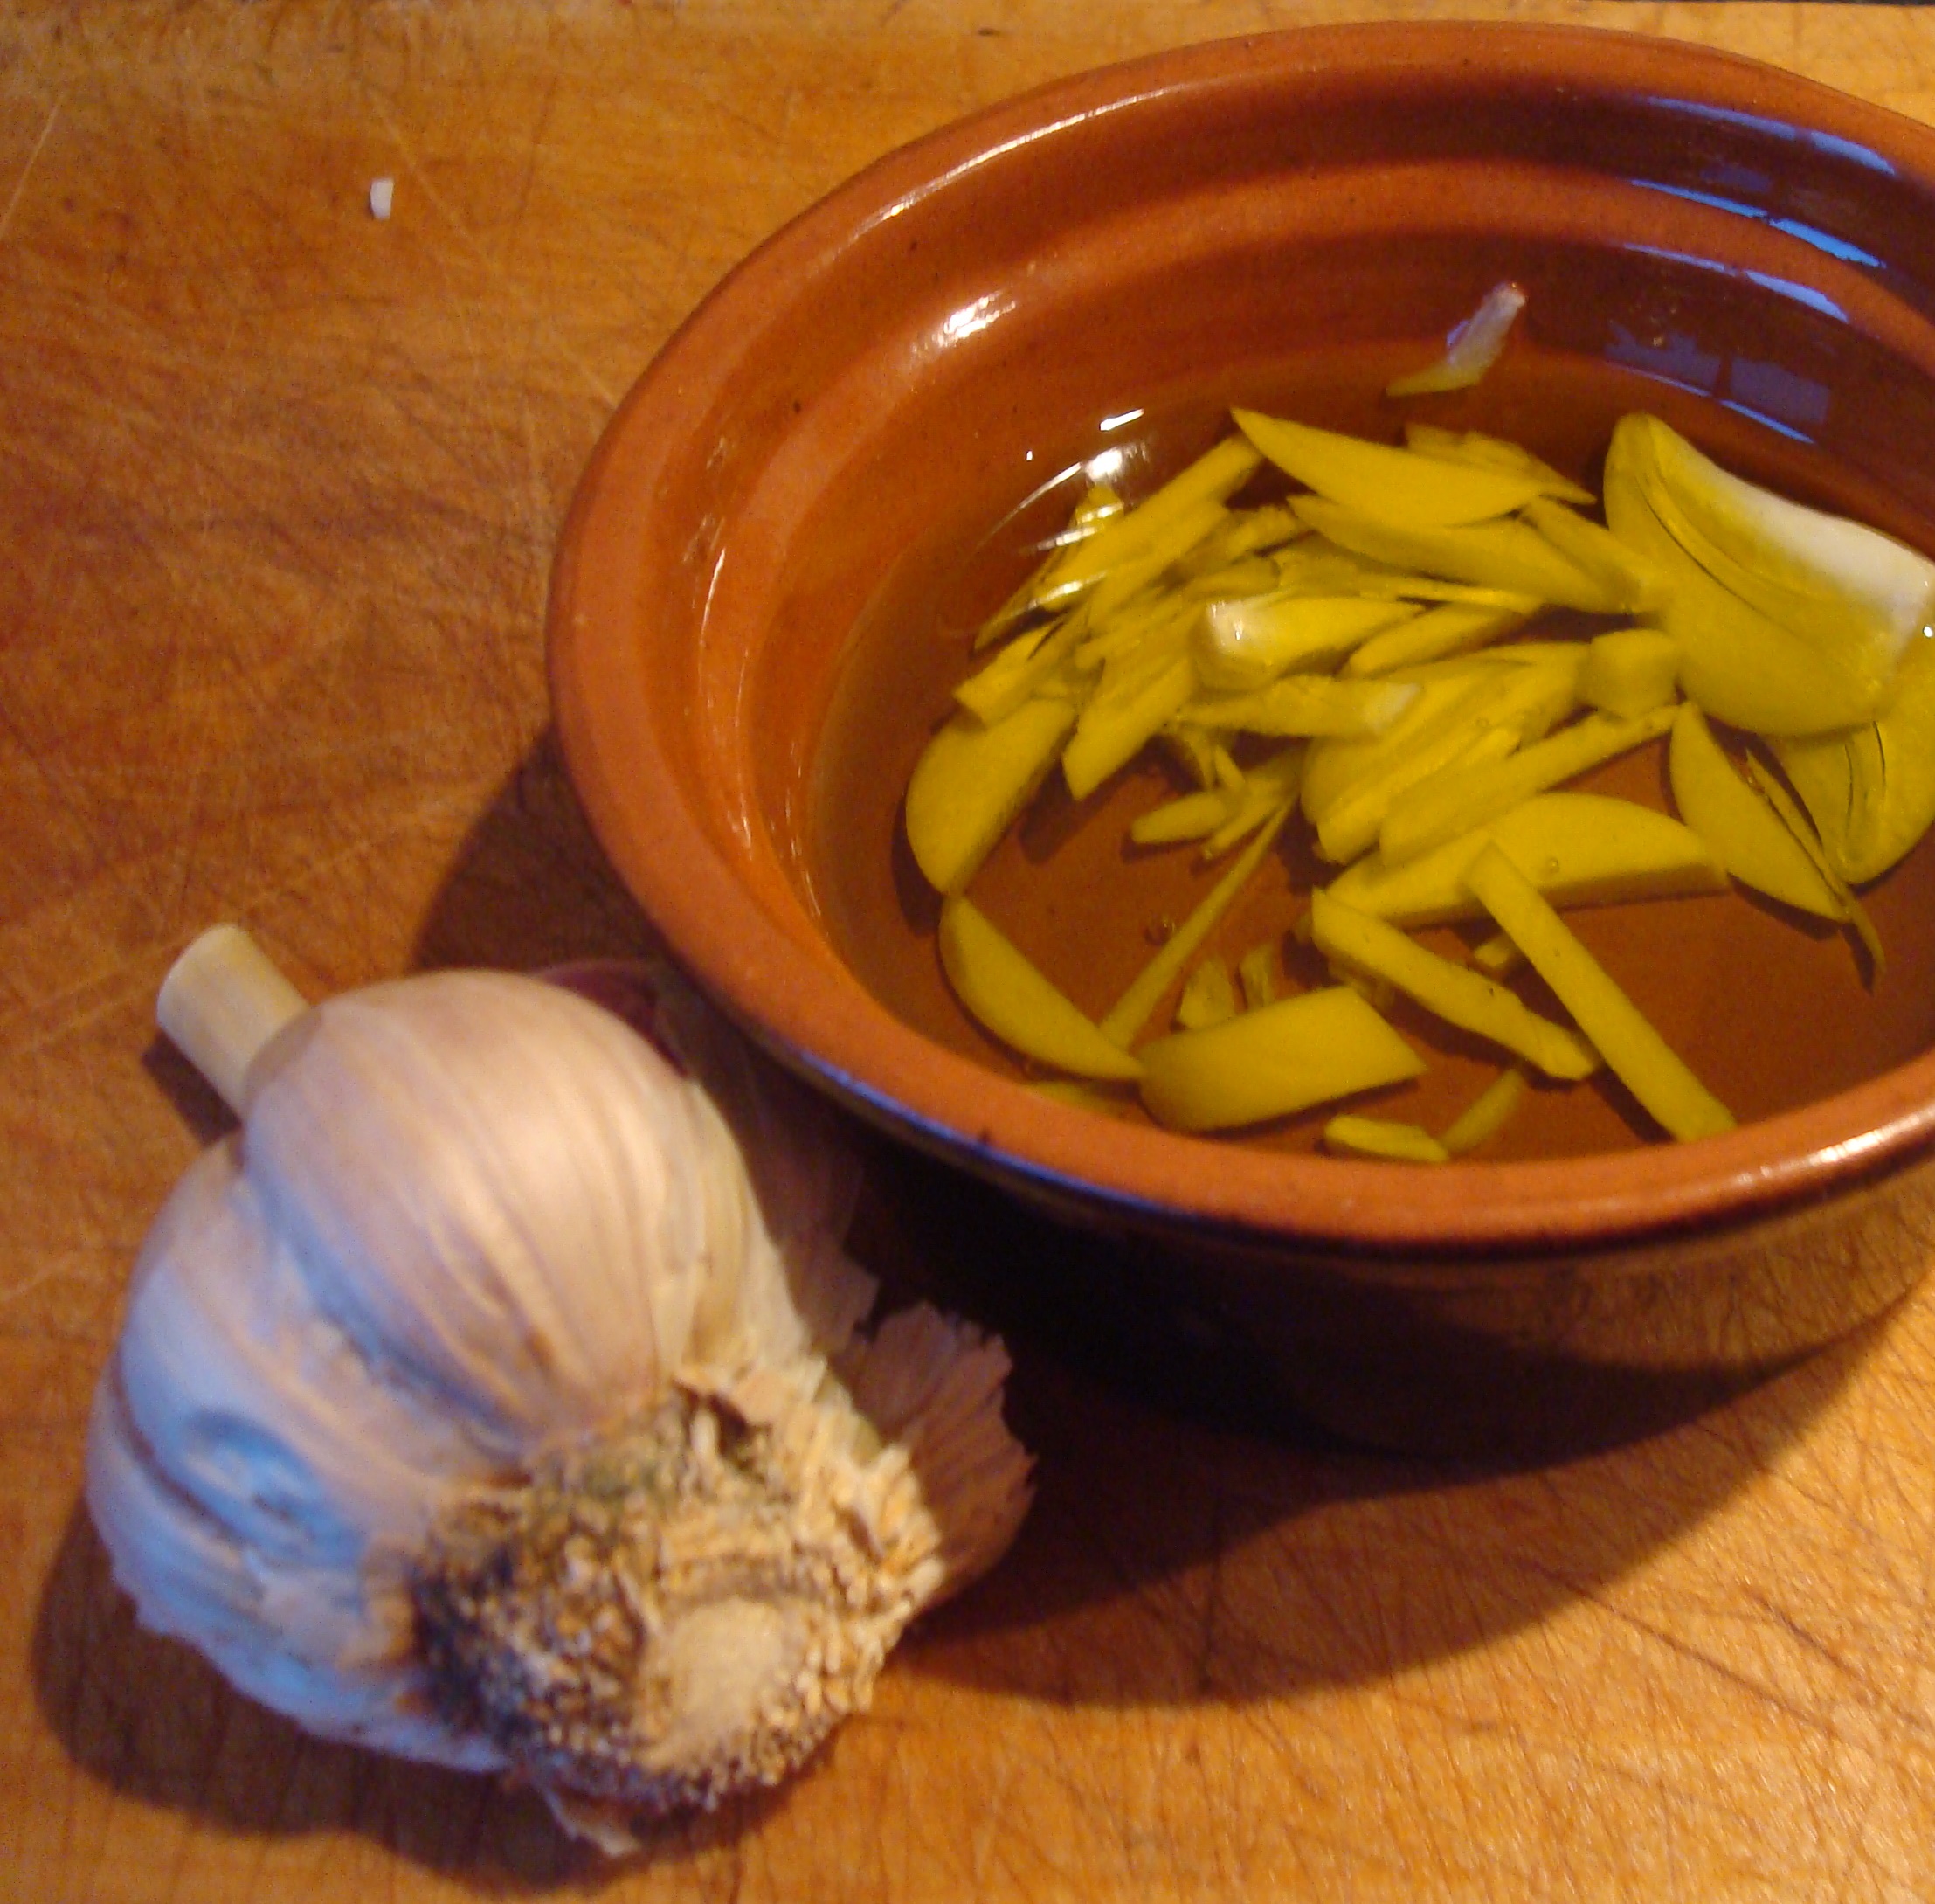
Combine the olive oil and garlic and set aside for after baking.

GarlicOil

Roll out your dough to a 30 cm diameter. Prick the bottom thoroughly with a fork. This prevents the dough from puffing up under the topping, and pushing your topping of.

Place your pizza base on the oven plate. Spread the tinned tomatoes over the pizza. Generously season this sauce. Sprinkle with oregano, then with cheese.

Evenly spread out layers of Mozzarella, fresh tomatoes, mushrooms, salami, onion and chili slices.

Bake your pizza for 10 to 20 minutes. Brush your pizza crust with the garlic oil and crack fresh black pepper on top….. and enjoy!

AngrPizza2By the way, pizza’s are a great recipe to make with your toddler.


Car garage birthday treat

Every year it’s a challenge, what will may toddler hand out at his day care. This year i made a garage full box full of car shaped treats.

Justlovecars

The cars

I made these cars by wrapping raisin boxes in colored paper. I glued some dutch “pepernoten” on the boxes using a thick icing made with icing sugar and some drops of egg white.

The garage

I upcycled a delivery box to make the garage.I first wrapped it, to hide the ugly box. I used strong black strips of card board. When my toddler starts playing, he can be a bit rough. This is why I connected all the strips with cello tape.

A plane baby rattle

The coming months it seems all my friends will be having babies. This means that I get to make beautiful felt figures. This airplane has a rattle to make it more fun.

I first drew and cut out 2 identical airplane figures of red and orange felt. I then attached a white star to the red air plane. I glued the felt planes together at the wings with textile glue. I stitched along the wings. This way the wings are unstuffed, flat and sturdy from the glue. After this I connected the 2 planes using a blanket stitch. I stuffed the plane with filling and placed a rattle around the nose. You can download the Free Pattern here.

Amaim

For felt inspiration, check out my Fuzzy felty figures board on Pinterest.

Find another free felt pattern here.

Fabulos five! Edible flowers…

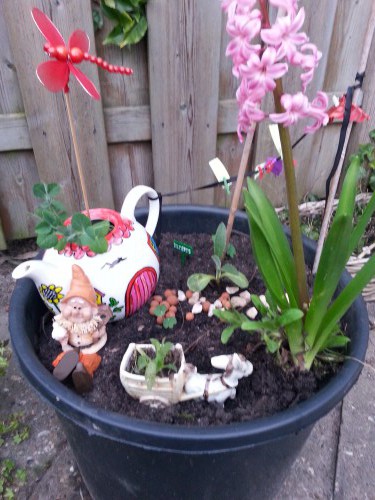
I love flowers and I love eating. In my garden, I try to combine these loves. Here are my favorites.

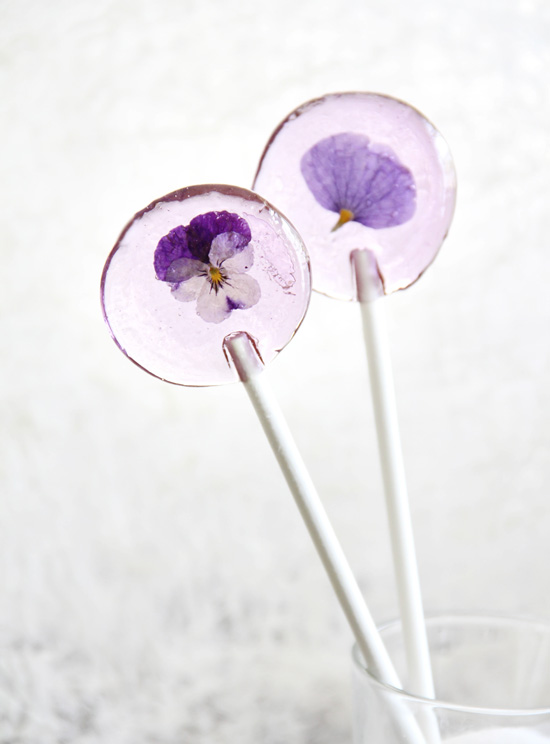
  1. Pansies – Make these lollipops, or use them in a salad
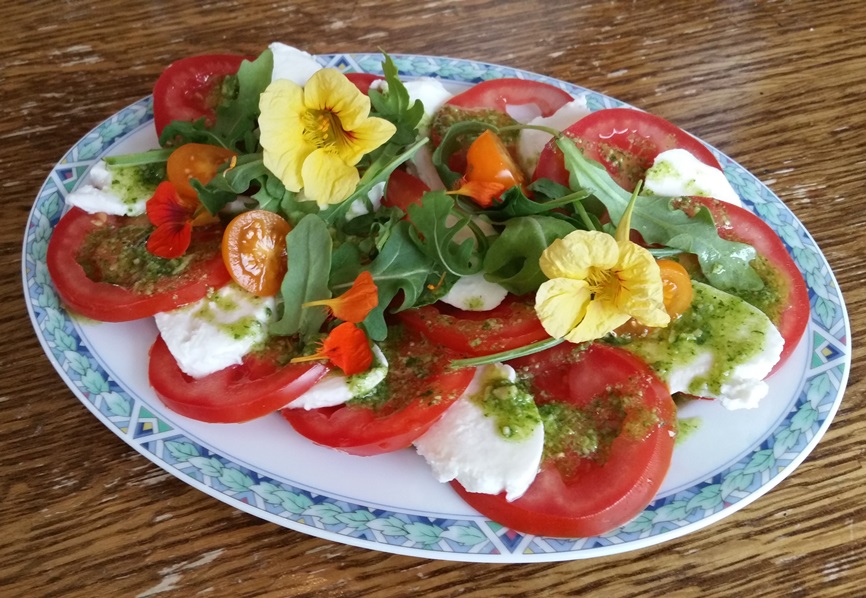
  2. Nasturtium (Oostindische kers) – This stunning garnish is so easy to grow! Use it in this salad.
    RocketPesto_Salad
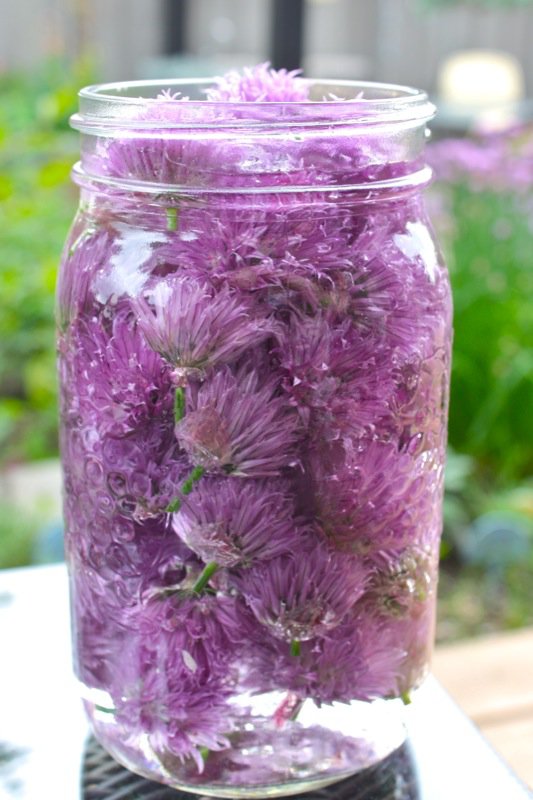
  3. Chive flowers – a real pungent tasty treat, your can make your own chive flower vinegar. I like mixing them into garlic butter. The purple specks are tasty and pretty.
  4. Lavender – makes for a subtle flavored sugar for baking
  5. Borage – this used to grow in my mum’s garden, lovely in this salad and such a beautiful blue color!


Posh Fish & Chips

SalmonMeal

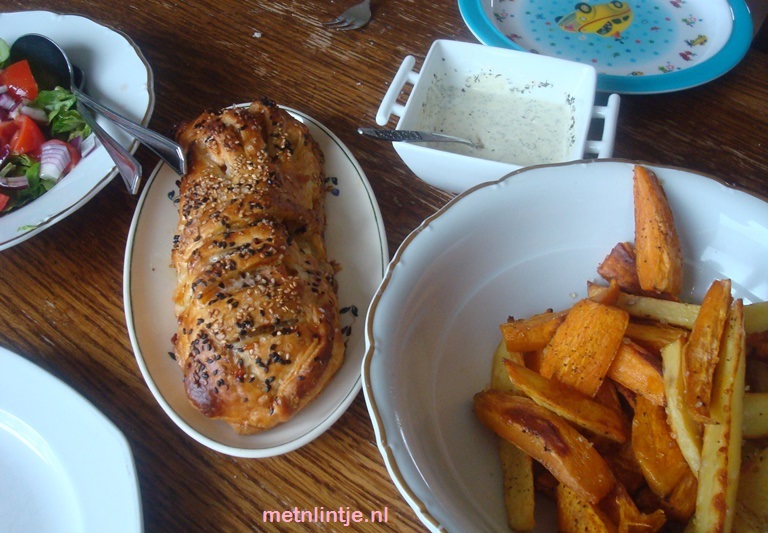
The title of this blog post is misleading, this posh dinner is easy to make. All you need is an oven and some patience. The recipe describes how to make a fancy but delicious salmon in a crust and delicious sweet and salty chips. As a side dish you can mix the suggested sauce. I also recommend making a simple green salad on the side.
I think this makes a great family meal. My son loves the sweet potato chips! It also makes an impressive dish if you have guests. Make a whole piece of salmon in a crust and cut lovely slices. Baking in the crust means your salmon will be moist but cooked, so enjoy!

Fish & chips (serves 2)

  • Salmon:
    • 300 gram salmon filet
    • 4 squares of ready made puff pastry
    • 4 tbsp herbed cream cheese
    • 1 beaten egg
    • 1 tbsp sesame seeds
  • 2 sweet potatoes
  • 2 large regular potatoes
  • 2 tbsp olive oil
  • rock salt
  • Sauce:
    • 1 tsp mustard
    • 1 tbsp mayonaise
    • 3 tbsp greek yoghurt
    • 1 tsp mint
    • 1 tsp dill
  1. Take your pastry squares out of the freezer and preheat your oven to 220 degrees C.
  2. Prepare your chips:
    • Clean and peel your potatoes.
    • Slice in long strips about 1 cm thick.
    • Lightly coat them in olive oil and sprinkle with sea salt and pepper.
    • Place on a baking sheet.
    • Bake in the oven for 30 minutes, the salmon can be added after 10 minutes.

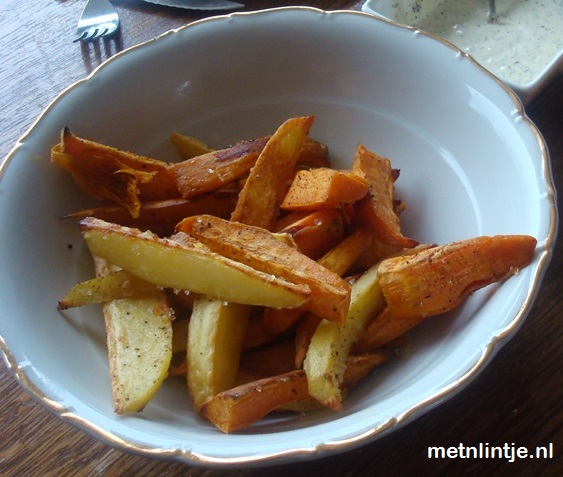
SweetSaltyChips

3. Prepare the salmon:

  • Connect the 2 dough squares.
  • Spread the cream cheese under the salmon.
  • Place the salmon filet on the cream cheese.
  • Season the salmon.
  • Make a few paralel slashes in your top dough squares.
  • Cover the salmon with the slashed squares.
  • Connect the bottom and top squares by pinching the dough together.
  • Brush the salmon package with egg.
  • Sprinkle with sesame and sea salt.

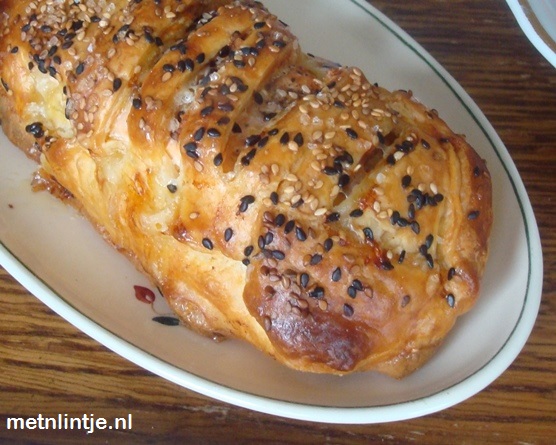
Salmon

  • After the potatoes have been in the oven for 10 minutes, you can place the salmon in the oven for 20 minutes.

This way all ingredients will be ready to eat simultaneously.

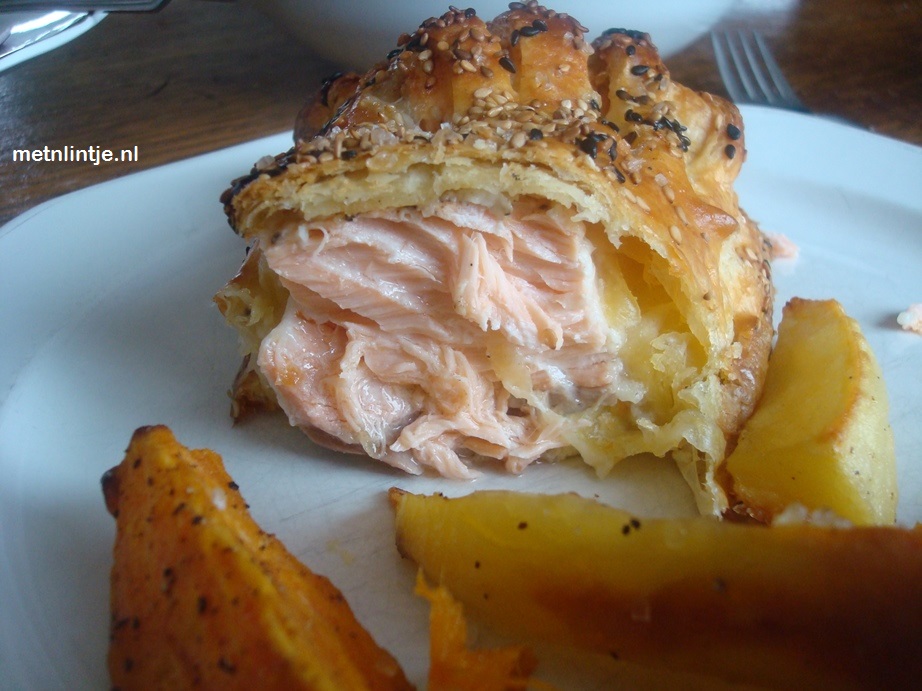
ZalmKorst

While the sweet&salty potato chips are cooking, mix your sauce ingredients and prepare your salad.

Bon apetit!