Rockin Rocket Pesto

rrpIf you ever tried growing rocket (or arugula) you know it grows like a weed. You can eat these lovely leaves every day once your rocket plants get going.

In Holland you find them in the wild too. They grow on sandy soil, so you find them in the dunes, next to rail roads and just on side walks.

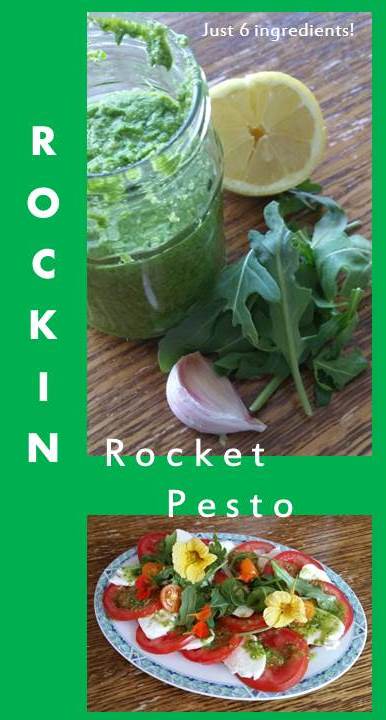
If you are lucky enough to have an abundance of rocket, you might be looking for a new way to use it up. I like to do this by making my own pesto.

This recipe has no exact quantities, I suggest going with your instincts, and go by what you have in your fridge and adding ingredients to your taste.

Rocket_Pesto

Rockin Rocket Pesto

  • 1 – 2 handfulls of rocket
  • 1 handful of cashews (or hazelnuts, walnuts, peanuts, whatever nut you like)
  • a piece of hard cheese
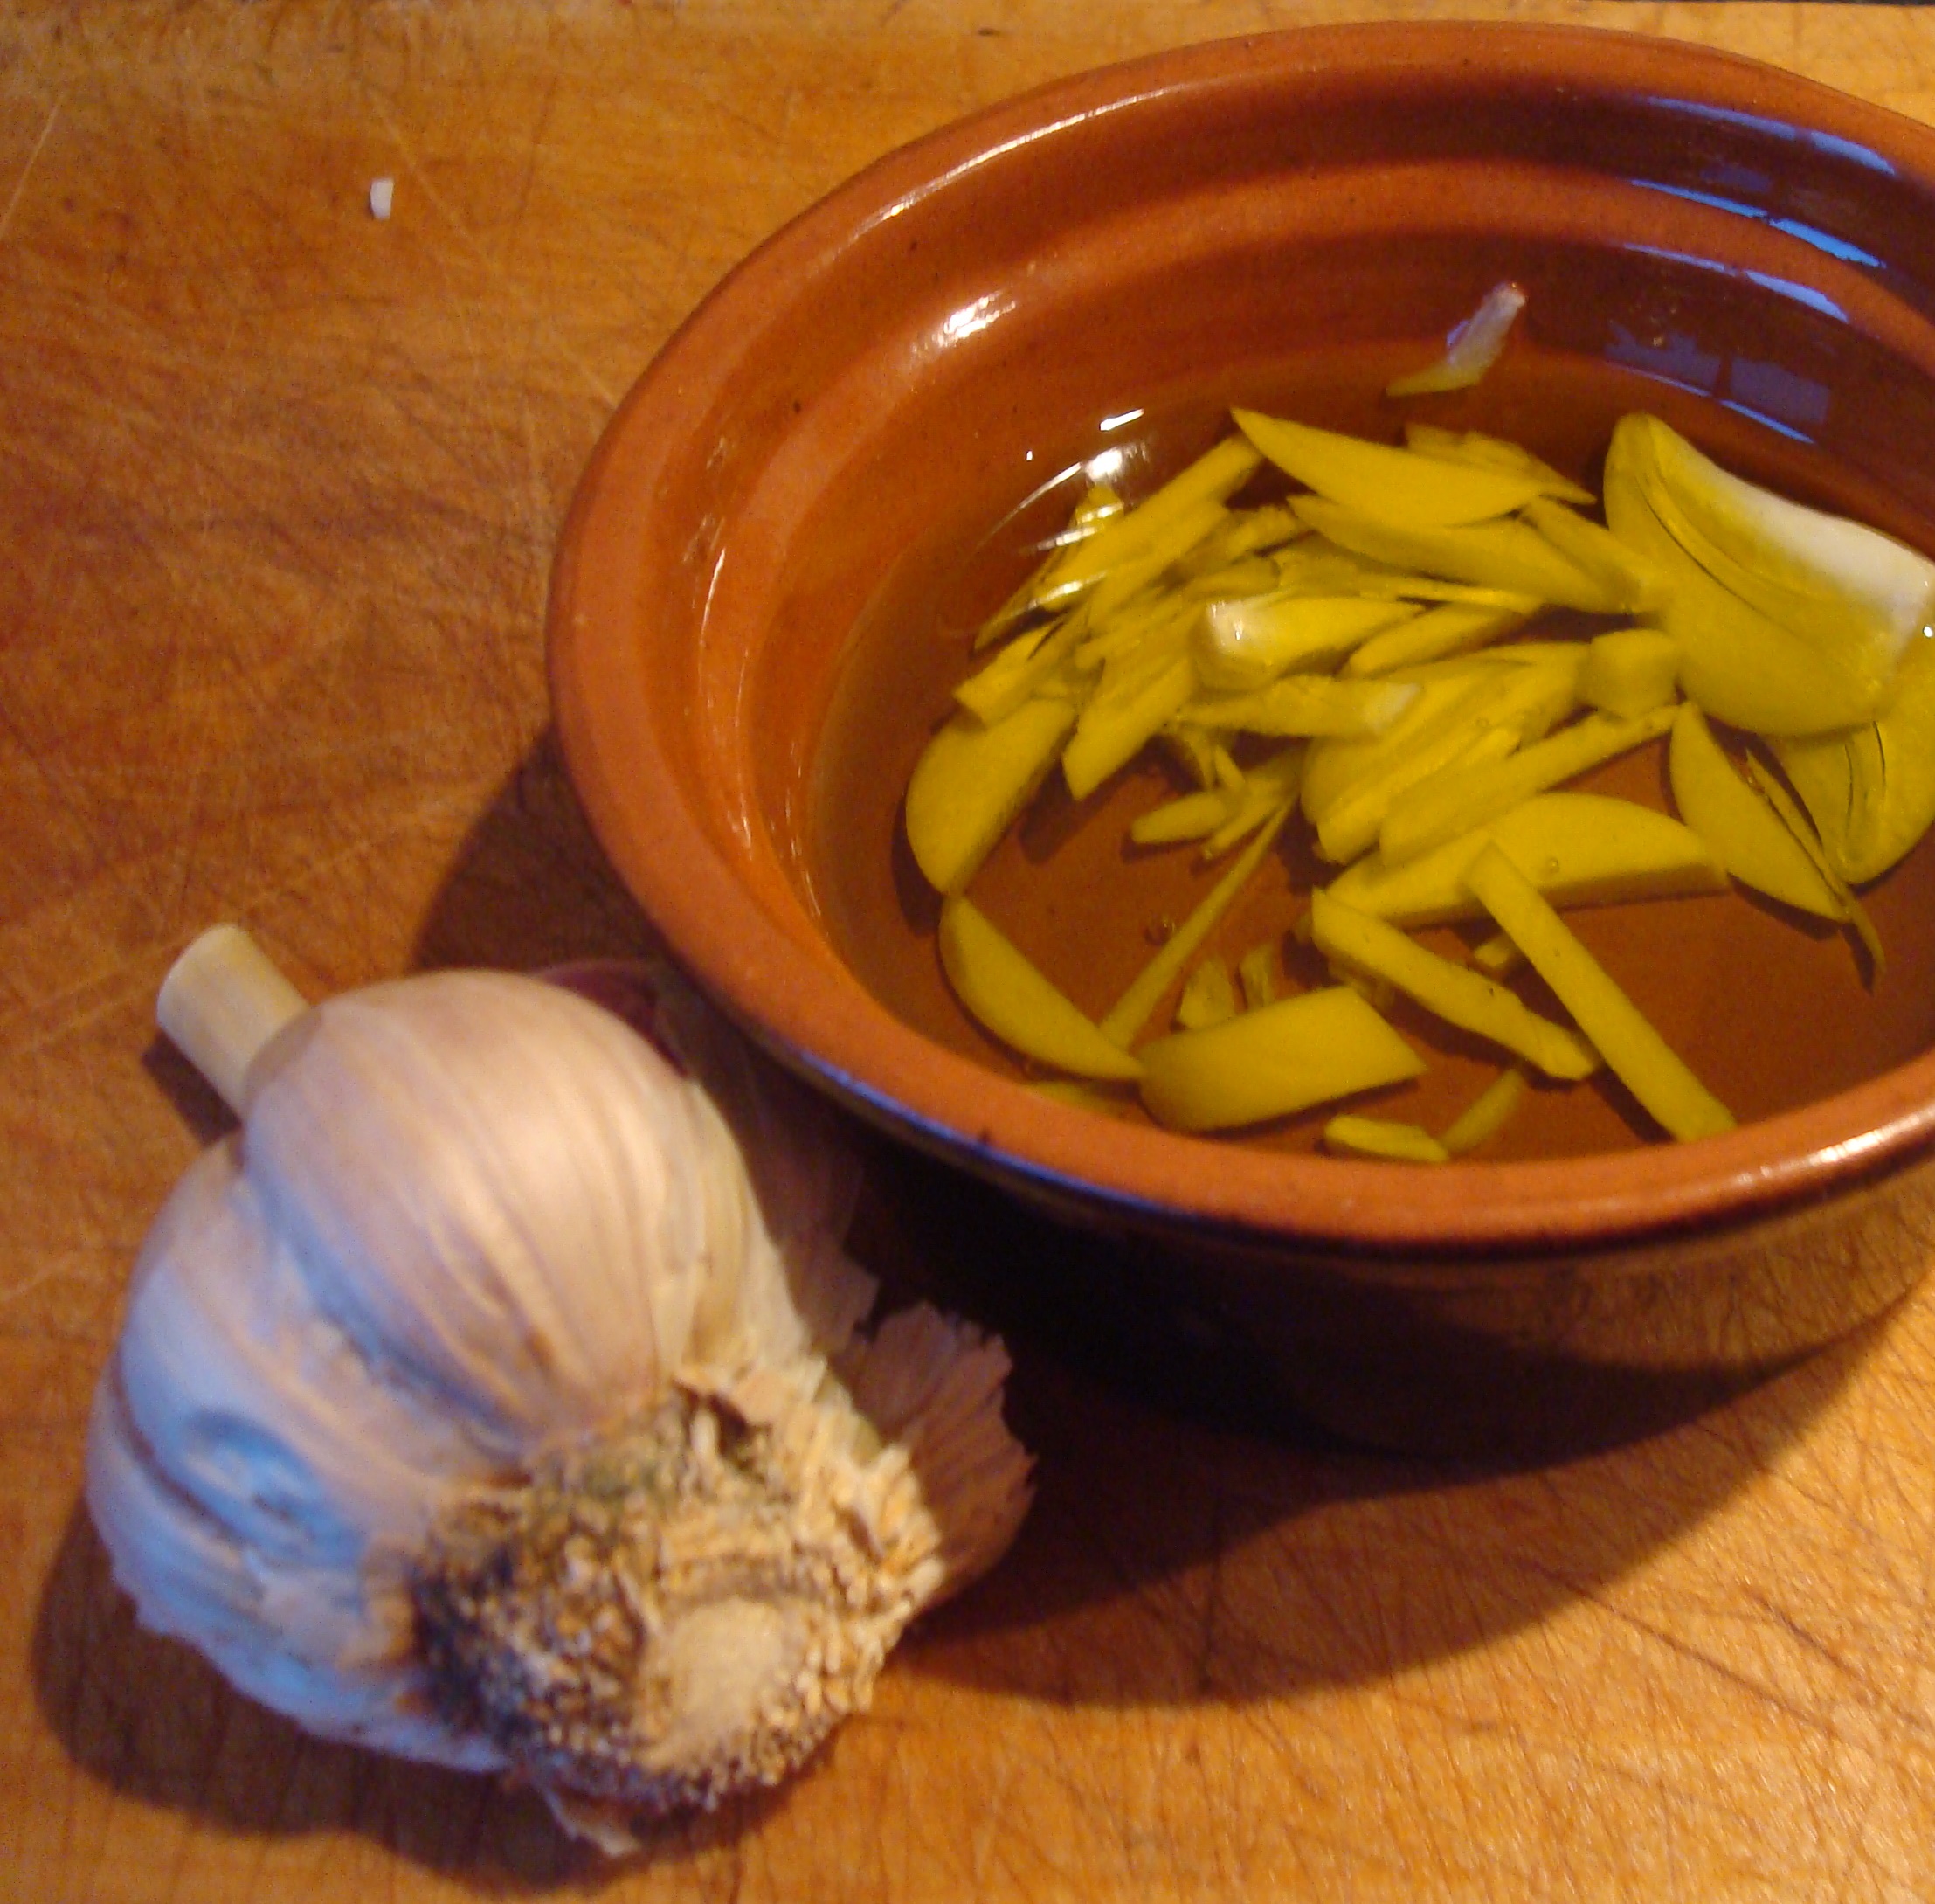
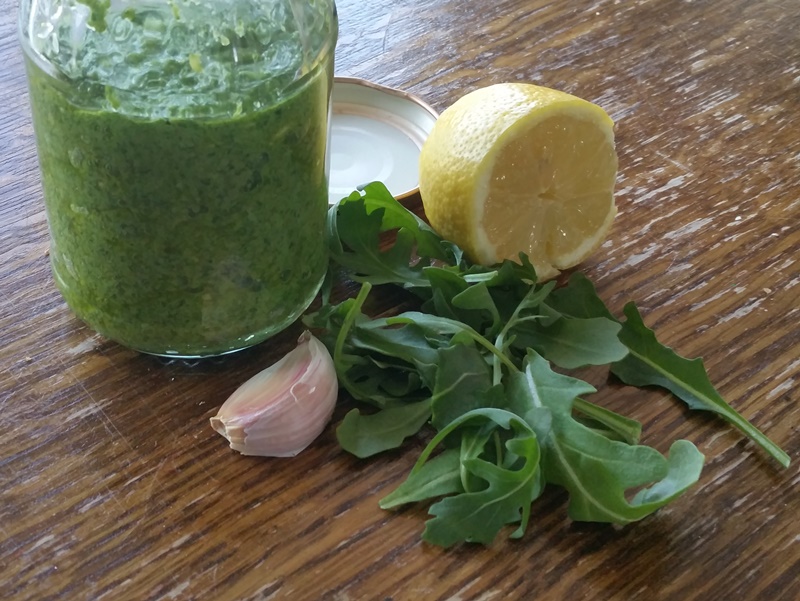
  • 1 clove of garlic
  • 1 – 2 tbsp of lemon juice
  • 2 tbsp olive oil
  • Salt and pepper to taste

I grind and mix my ingredients in my trusty little blender. Make sure you have enough oil in the blender.

Store your pesto in a jar or container in the fridge. Keep a layer of oil on top of your pesto to keep it fresh. Eat it within a week, but for us this is not a challenge!

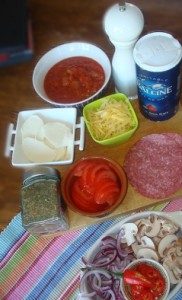
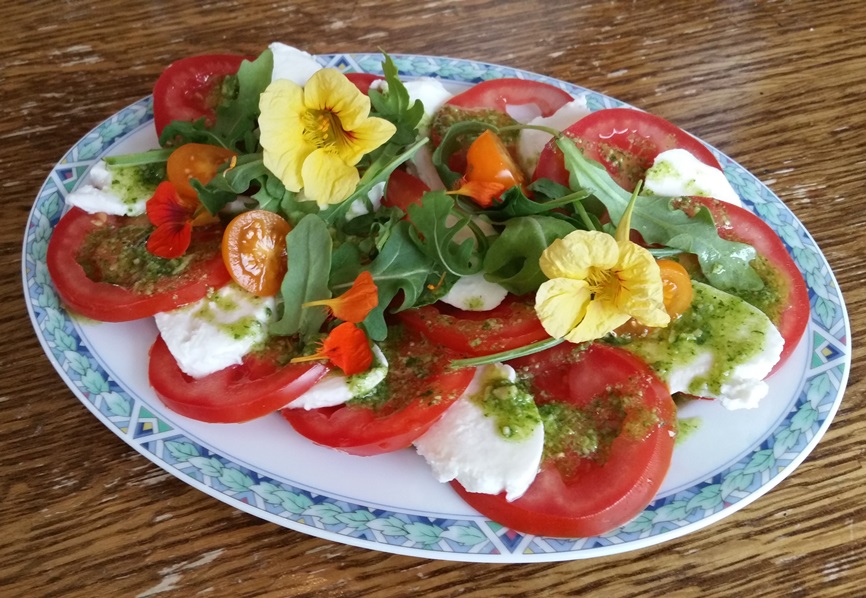
This pesto is lovely as a dip with some home made bread, on your (meat) sandwich or through your pasta. If you add some more oil and lemon juice, it makes a lovely dressing for your tomatoes and mozzarella salad.

RocketPesto_Salad


This recipe works with basil or fenil tops too.

Simple Seasonal treat: Spinach quiche

As you might know. I like making vegetable quiches and pies. This is a lovely way to eat your spinach!

For a vegetarian alternative I would replace the bacon with a handful of toasted nuts like pine nuts.

Spinaziquiche

Spinach quiche

  • Pastry:
    • 100 gr flower
    • 60 gr butter
    • 1 tsp salt
    • 50 ml water
  • Filling:
    • 300 gr of fresh spinach leaves
    • 1 tbsp olive oil
    • 100 gr Bacon cubes
    • 125 gr soft goats cheese of feta cheese
    • 3 free range eggs
    • 75 ml cream
    • Pepper and ground nutmeg to tast
  1. Prepare your base as described in my asparagus pie recipe.
  2. While your base bakes:
    1. Clean your spinach leaves.
    2. Fry your leaves in the oil until all spinach has wilted.
    3. Place your spinach in a collinder and let the access water drain out.
    4. Fry your bacon cubes until they are crisp.
    5. Wisk and mix your eggs and mix in your cream.
  3. Build your pie:
    1. Divide your spinach and bacon over the base.
    2. Pour over the egg and cream mixture.
    3. Crumble the cheese over the top.
  4. Bake for 20 minutes in a 200 degrees C oven.

Simple Seasonal treat: green asparagus pie

I love eating vegetables at their absolute best. Asparagus are one of the most seasonal vegetables for me. During the asparagus season I am always looking for simple dishes that do this tasty ingredient justice.

Aspergetaart3

The cheese and eggs in this recipe enhance the asparagus flavor. Serve it with a salad , a glass of white wine and you have a complete and healthy spring meal.

Feel free to use ready-made short crust pastry or quiche dough, for an even easier meal.

Because I am a busy mom, I like making pies ahead. That way, I can play with my toddler when I get home from a busy day while the pie warms in the oven. To warm up your pie place it in a preheated oven of 160 degrees C for twenty minutes.

Aspergetaart

Asparagus pie

This recipe is for a 25 cm quiche mold.

  • Short crust pastry:
    • 100 g flower
    • 60 g butter
    • 1 tsp salt
    • 50 ml water
  • 150 gr green asparagus
  • Filling:
    • 3 free range eggs
    • 75 ml cream
  • 1 cup of grated strong cheese like old Gouda or Parmigiana
  • Pepper and ground nutmeg to taste
  1. Preheat your oven to 200 degrees C.
  2. Make your short crust pastry:
    1. Rub the butter into the salt and flower until the texture resembles bread crumbs.
    2. Combine the crumbles into a dough by stirring the water in gradually. Combine the dough, don’t knead it. If you fuss around less with your dough, your dough will be more crumbly. For an even more crumbly result, wrap your dough in cling film and let it rest in the fridge for 30 minutes.
  3. Make your pie base:
    1. Roll out your pastry to a 5 mm thickness.
    2. Line the a greased quiche mold with your delicious pastry.
    3. Line your mold with some baking parchment and fill your pie with dried beans or actual baking beans.
    4. Bake in the oven for 20 minutes.
  4. While your base is in the oven, prepare your asparagus:
    1. Remove the hard section of each asparagus. This is usually about 2 cm, depending on how fresh your asparagus is.
    2. Place your asparagus in a pan of cold water. Bring the water to the boil.
    3. When the water boils, immediately take your pan of the heat and cool your asparagus in cold water.
    4. Let your asparagus dry.
  5. Prepare your filling by mixing the cream and eggs.
  6. Take your base out of the oven and let it cool for 10 minutes. (Leave your oven on!)
  7. Build your pie:
    1. Cover the base of your pie with cheese.
    2. Pour in half your filling.
    3. Sprinkle with pepper and nutmeg.
    4. Arrange your asparagus. You might need to trim your asparagus a bit for this step. Try to make one nice even and neat layer of asparagus.
    5. Add the rest of the filling.
    6. Sprinkle over the remaining cheese.
  8. Bake your pie in the oven for 20 minutes at 200 degrees C.

Enjoy!

Asparagus pie

Pizza Angry Monkey

AngryPizza2My husband named this pizza and it is his idea of food heaven. You can make this pizza using the dough I described in the Perfect Pizza Peluzza. Angry is a reference to the chilies used in this pizza, giving it a kick. And monkey is a reference to the primal state your husband will be in while he waits for this pizza.

Please remember not to put to many ingredients on your pizza, it should be a thin slice of goodness that cooks in a short amount of time. This recipe is for 1 pizza, feel free to make many more and discover your own favorite pizza.

Pizza Angry Monkey

  • Pizza doughAngryIngredients
  • 1 cup of tinned, diced tomatoes
  • grated cheese (I use Gouda because I’m dutch, but any hard neutral cheese would do)
  • 3-5 slices of mozzarella
  • 3-5 slices of tomato
  • 1 tbsp oregano
  • 5 sliced button mushrooms
  • half an onion in rings
  • 3-5 slices of salami
  • 2 chilies (jalapeno or regular red chilies) in rings
  • 1 finely sliced garlic clove
  • 3 tbsp olive oil

Preheat your oven to 220 degrees C. Make sure it is well and hot before placing the pizza in, as this guarantees the best crust.

Combine the olive oil and garlic and set aside for after baking.

GarlicOil

Roll out your dough to a 30 cm diameter. Prick the bottom thoroughly with a fork. This prevents the dough from puffing up under the topping, and pushing your topping of.

Place your pizza base on the oven plate. Spread the tinned tomatoes over the pizza. Generously season this sauce. Sprinkle with oregano, then with cheese.

Evenly spread out layers of Mozzarella, fresh tomatoes, mushrooms, salami, onion and chili slices.

Bake your pizza for 10 to 20 minutes. Brush your pizza crust with the garlic oil and crack fresh black pepper on top….. and enjoy!

AngrPizza2By the way, pizza’s are a great recipe to make with your toddler.


Dutch Ceasar Salad

My mother used to make lovely salads with endives. I grew to love this bitter leaf. I have found it is the perfect ceasar salad leaf. You can substitute with your own favorite crunchy leaves.

Old gouda cheese is a good strong old and hardy cheese to replace Parmesan in this recipe.

Ceaser

Dutch Ceasar Salad

  • Dressing (for multiple salads):
    • 1 tbsp mayonaise
    • 1 tsp mustard
    • 50 ml butter milk
    • 1 pinch of dried chili
    • 1 tbsp lemon juice
    • 1 tbsp olive oil
    • 1 tsp thyme
    • 1 tsp oregano
    • 1 tsp salt
    • 1 tsp pepper
    • 1 cruched garlic clove
  • half a bunch of endives
  • 150 grams of grated old Gouda
  • 1 crouton recipe

Mix all the ingredients for the dressing in a jar. Shake the jar to combine the ingredients. You can make this dressing up to 4 days in advance and keep the dressing in the fridge in a jar or container. Preferably you let the dressing stand for at least 30 mins to let the flavors come together.

Clean your endives. Slives the leaves into chunky pieces.

Mix your ingredients at the last moment for a crunchy salad. Use the amount of dressing you prefer, I like a thin coating on my leaves.