Bookmarks made with love

BookMark1

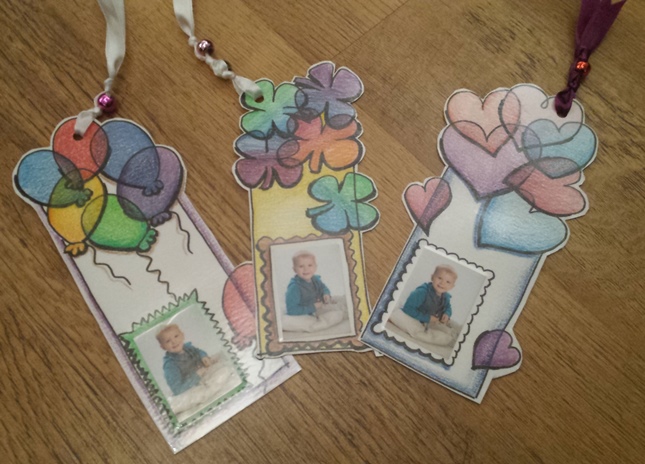
My sweet mother bought me a laminating machine the other day (thank you mum!). And I must say I have been feeling very inspired! I used this machine to create a beautiful gift for my son’s daycare lady’s. They are like second mothers to him, which makes them extra special!

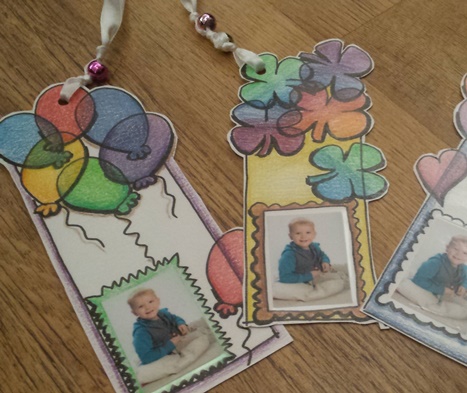
I drew 3 bookmarks with a black marker. One with a lucky theme with clover fours, one with a love theme with hearts and one book marker with a party theme with balloons. After this I went crazy with the coloring pencils. Of course I wrote a personal message on the back of the book marks and I added a foto of my toddler. To preserve the book marks I laminated them first, after which I cut them out. I attached ribbons with a bead that can stick out the book they read.
BookMark2

I attached each marker to a beautiful bouquet for a festive surprise. Of course you could also let your toddler do the coloring for a personal touch too.
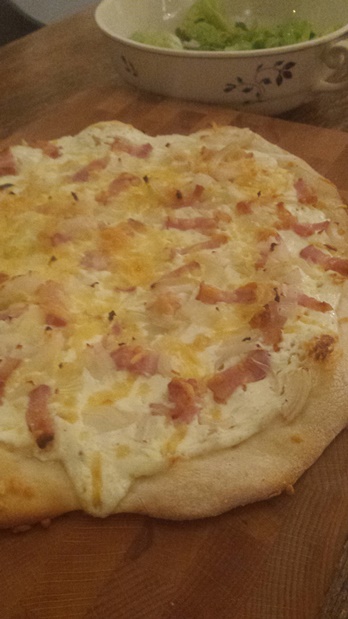
Simple pizza alternative

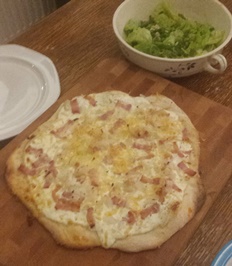
FlammKuchen2If you love pizza, you will love this recipe! You use the same recipe for the base, but the topping is completely different. This German dish is popular with my son and his daddy. We may have stumbled on a new family favorite (after pizza that is).

This dish makes a great dinner if served with a tasty salad but it also makes a great party snack or a simple lunch.

Flamm kuchen (3 medium pizzas)

  • 1 recipe of pizza dough
  •  Sauce, mix:
    • 250 gram Quark (or ricotta if you can’t buy this ingredient)
    • 100 gram creme fraiche
    • Pinch of nutmeg
    • Salt and pepper
  • 200 gram bacon in thin strips
  • 1 onion finely sliced
  • Optional: a few handfuls of grated cheese

  1. Warm the oven up to 240 degrees C.
  2. Roll out your pizza dough and prick holes in the bottom with a fork. (this prevents it from rising to high in the center)
  3. Spread a generous amount of sauce on the dough.
  4. Sprinkle the bacon, onion (and cheese) on top.
  5. Bake in the oven for 15 minutes.

For a vegetarian option you could top your flamm kuchen with blue cheese, union and artichokes. Look up our favorite pizza recipes here.

Wrap up!

Today I had lots of fun wrapping a gift for a family member. This blog used to only evolve around gift wrapping. With the season of giving coming closer, it is time for some gift wrapping inspiration!

Gift2

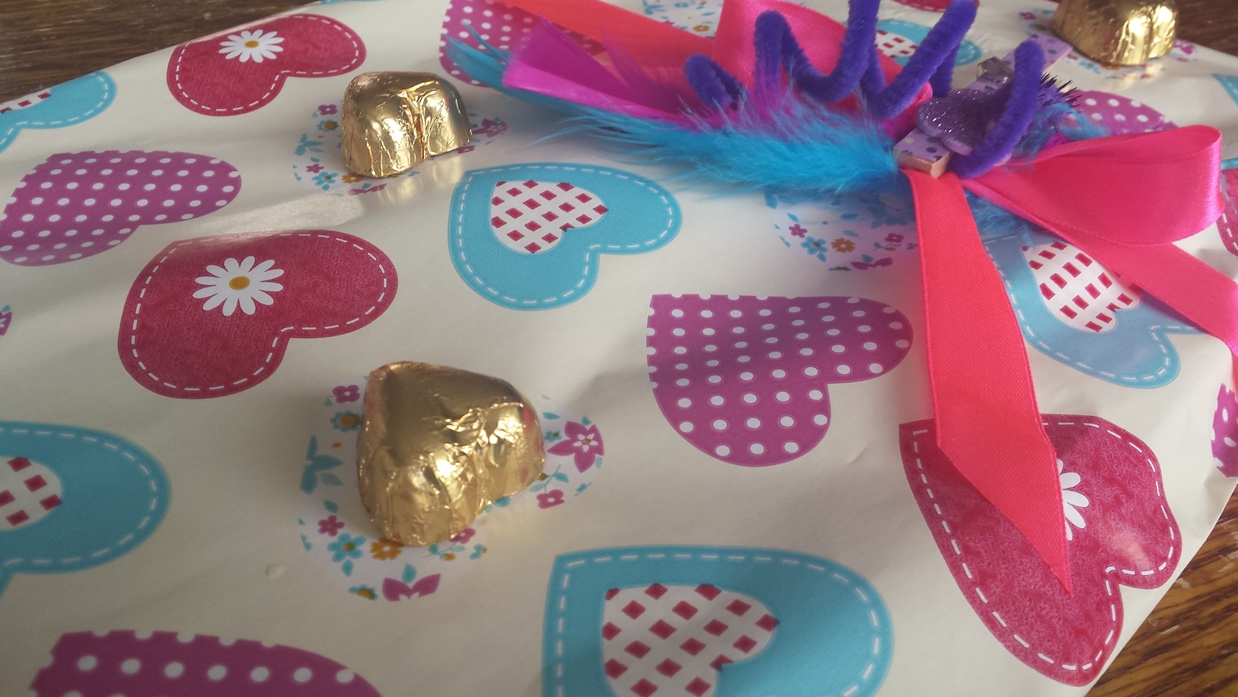
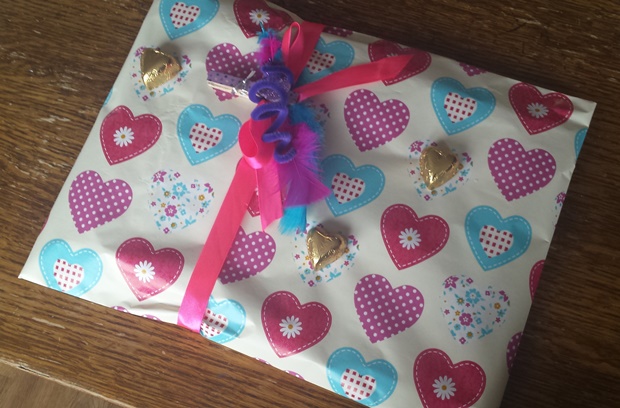
As you can see in the photograph I take gift wrapping very seriously. Here are my tips:

  • Get some pretty wrapped sweets or chocolates and use double sided tape to stick them on your package
  • Use real ribbon! It looks so much better than that plastic stuff.
  • Use feathers and/or chenille for extra decoration around your bow.
  • Decorate a peg. Use this peg to attach your card to the ribbon.
  • When wrapping a softer item. Create an envelope with the wrapping paper. This ensures a tight finish.

Gift1

When you wrap presents, please don’t hold back. It’s like your Christmas decorations, less is not more…

For more wrapping inspiration:

Mmmm monster cookies

The other day I felt a strong craving for some decadent American style chocolate chip cookies. After dome experimenting I found a recipe that works for us.

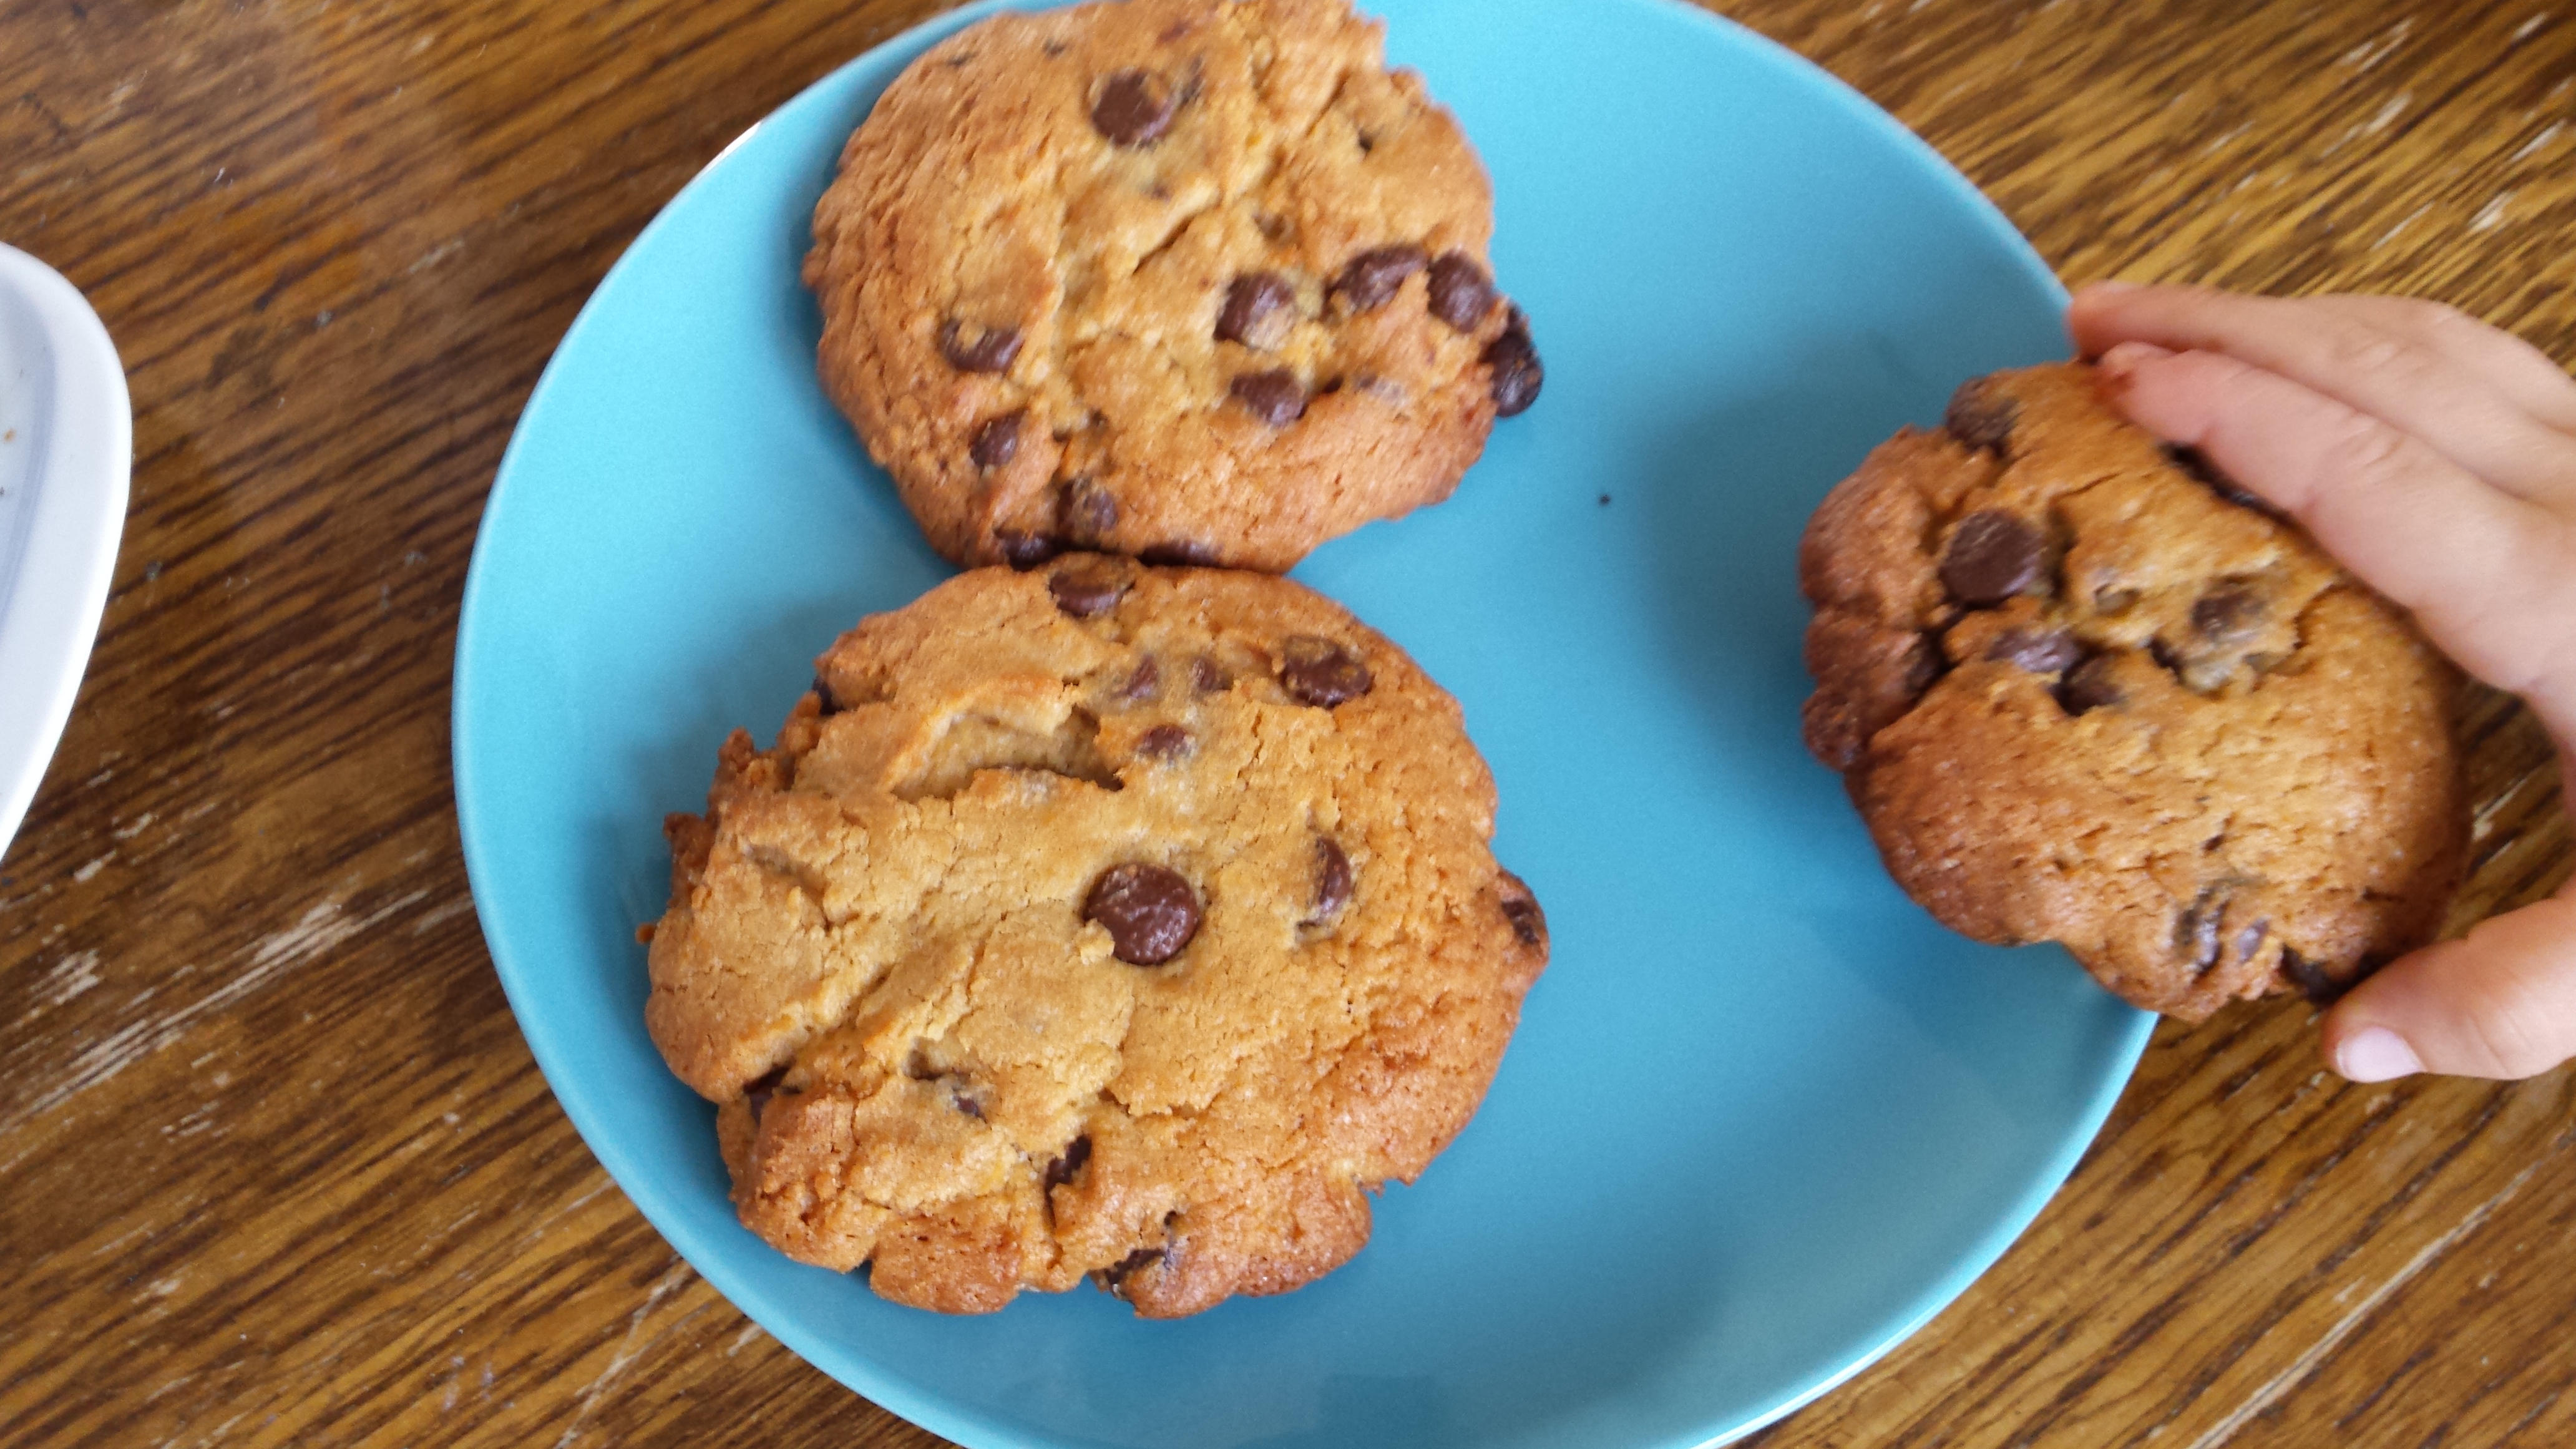
I made the dough a day in advance and I pulled the dough out when my pre-schooler seemed bored. We had great fun slicing the cookies and watching the oven do all the work.

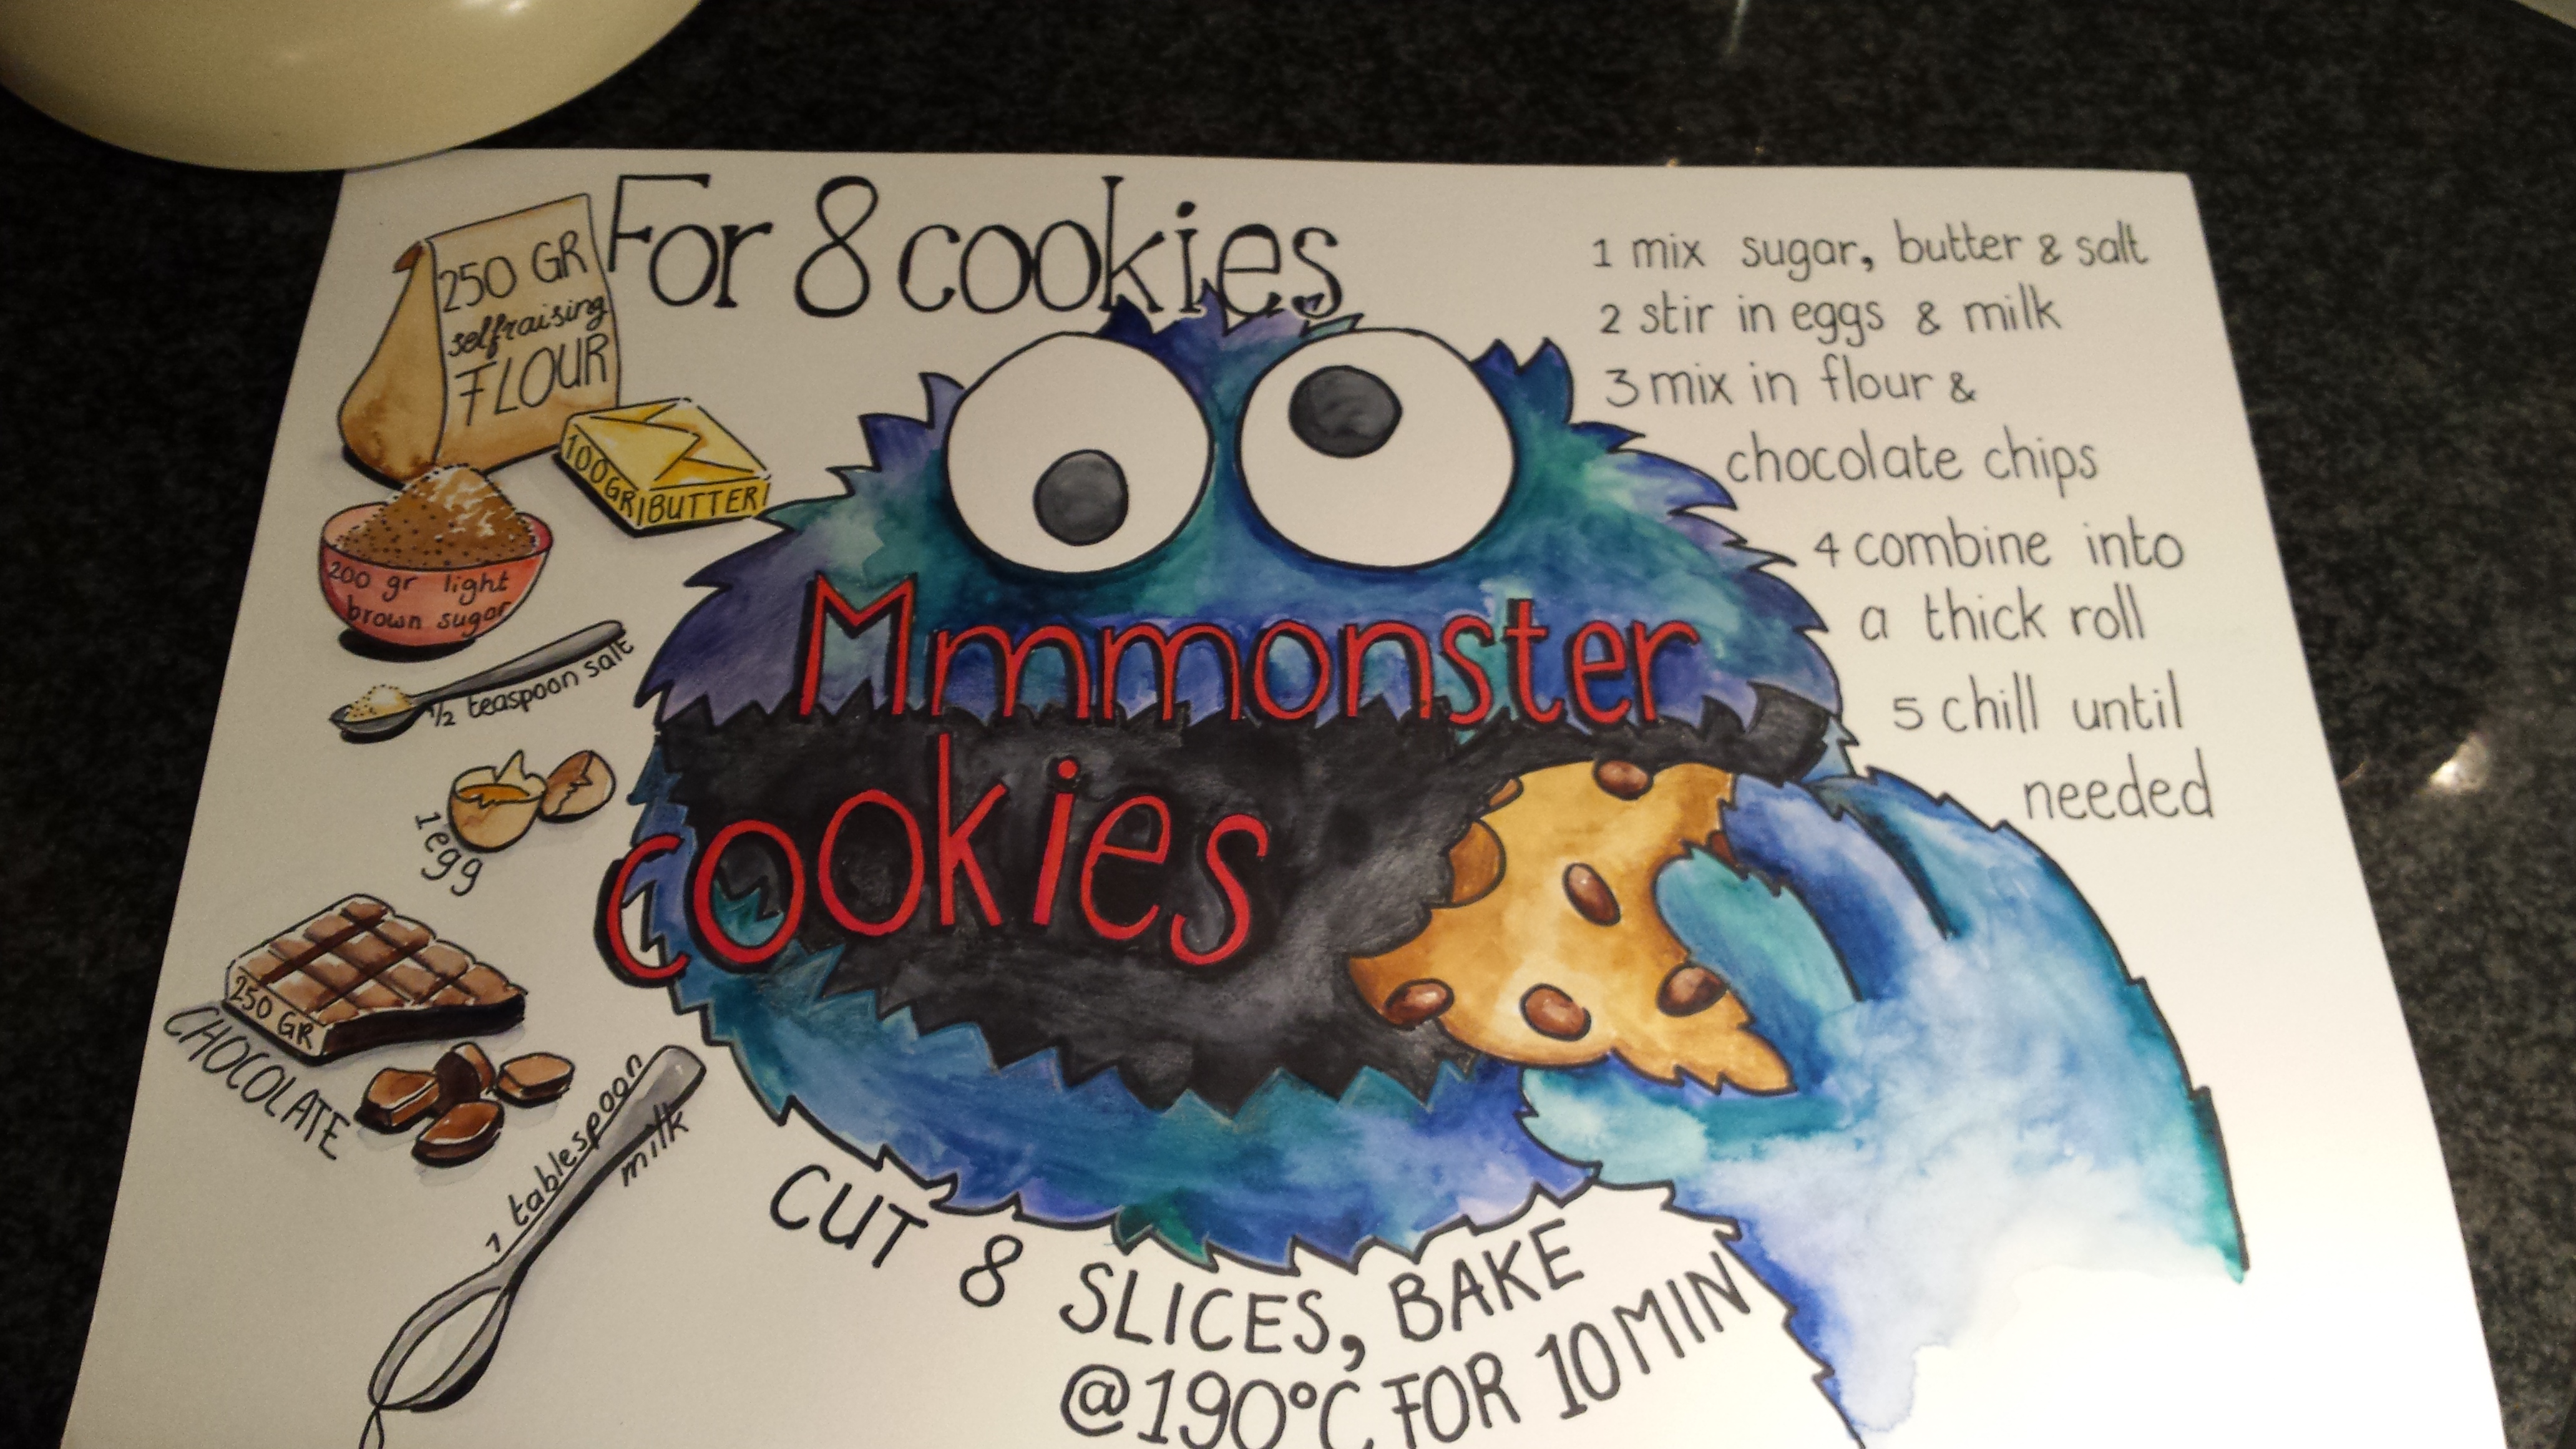
cookiemonster

After this we enjoyed these satisfyingly chewy cookies with a tall glass of milk, yum!

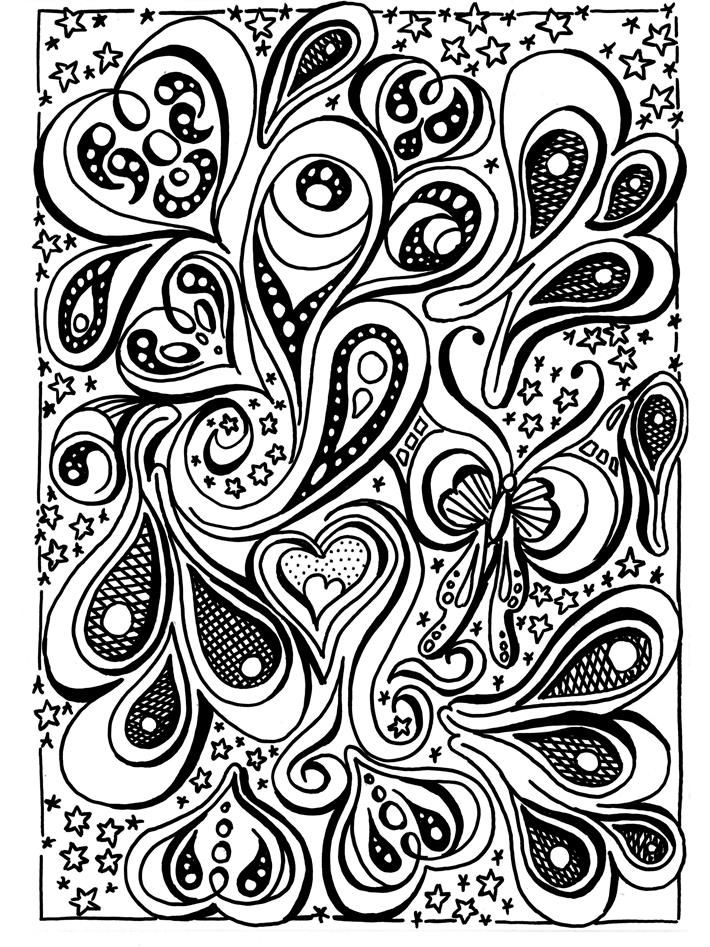
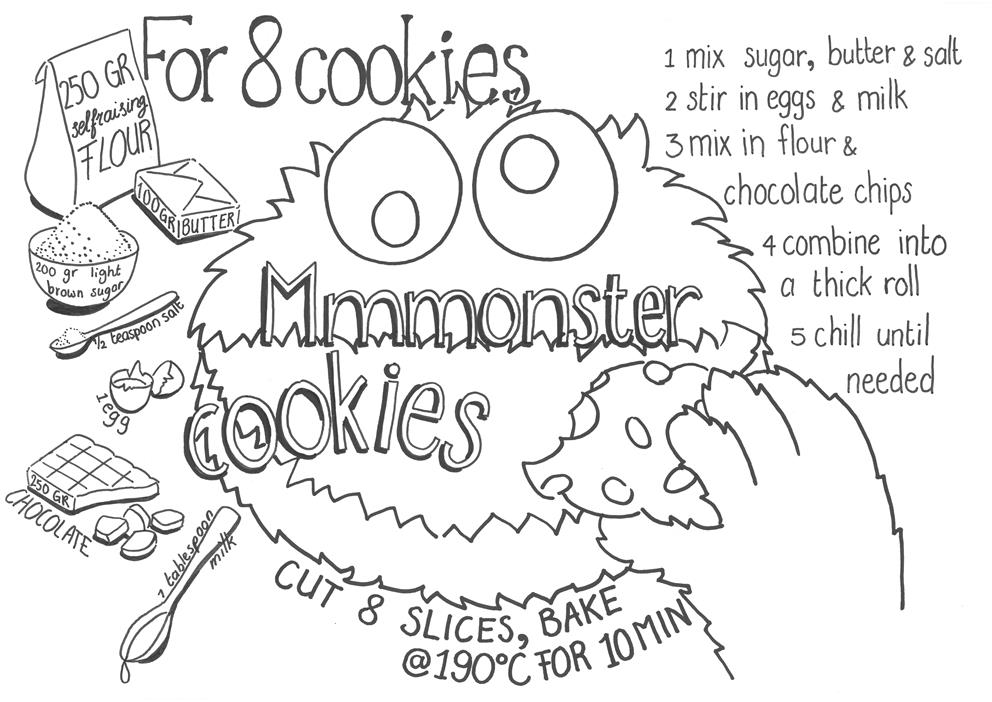
I turned this recipe into a lovely coloring project. You can download MonsterCookieColoring here.

ColoringS

Monster cookies (8 to 10 cookies)

  • 250 gram selfraising flour
  • 200 gram light brown sugar
  • 100 gram butter
  • 1/2 tsp salt
  • 1 egg
  • 1 tablespoon of milk
  • 250 gram chocolate chips
  1. Mix the sugar, butter and salt well.
  2. Stir in the eggs and milk.
  3. Combine with the flour and chocolate chips.
  4. Form a roll of about 5 cm in diameter. Wrap the roll in cling film and rest for 30 minutes to 3 days.
  5. Slice your cookies and place them well spaced apart on a baking tray.
  6. Bake at 190 degrees C for 10 minutes or until golden.

Enjoy your baking and coloring project!

mmmonstercookies

Fall coloring – free printable

FallColoring

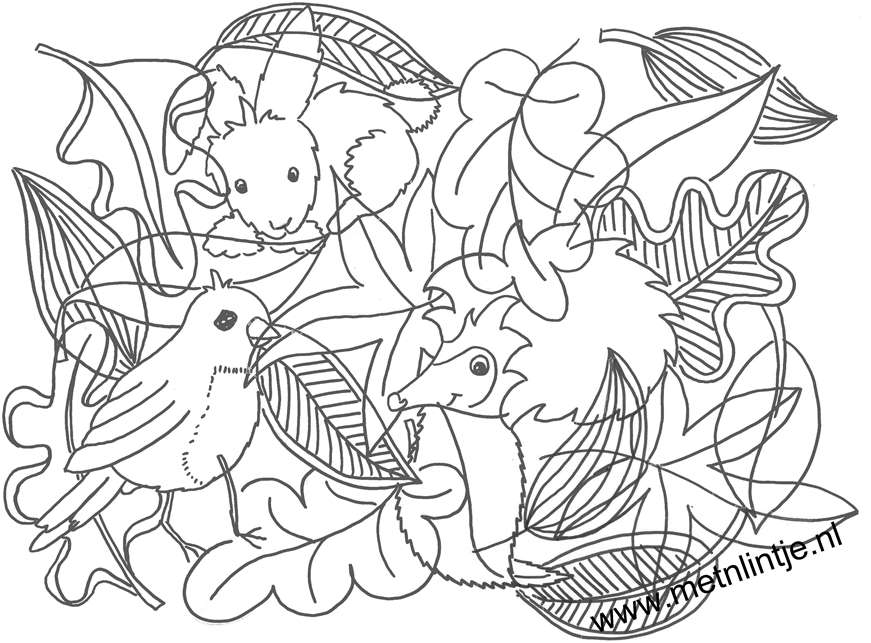
For this rainy fall weather I created this beautiful drawing for coloring fun with my toddler. I would like to share this lovely printable with my readers. A great project for all ages. Download FallColoring here.

I colored mine using water colors and crayons and I had great fun making it.

FallColoredSmall

If you are in need of some winter time mommy inspiration, here you will find more kid’s fun.

Cheese fondue

On a cold and wintery day, we just love making cheese fondue.

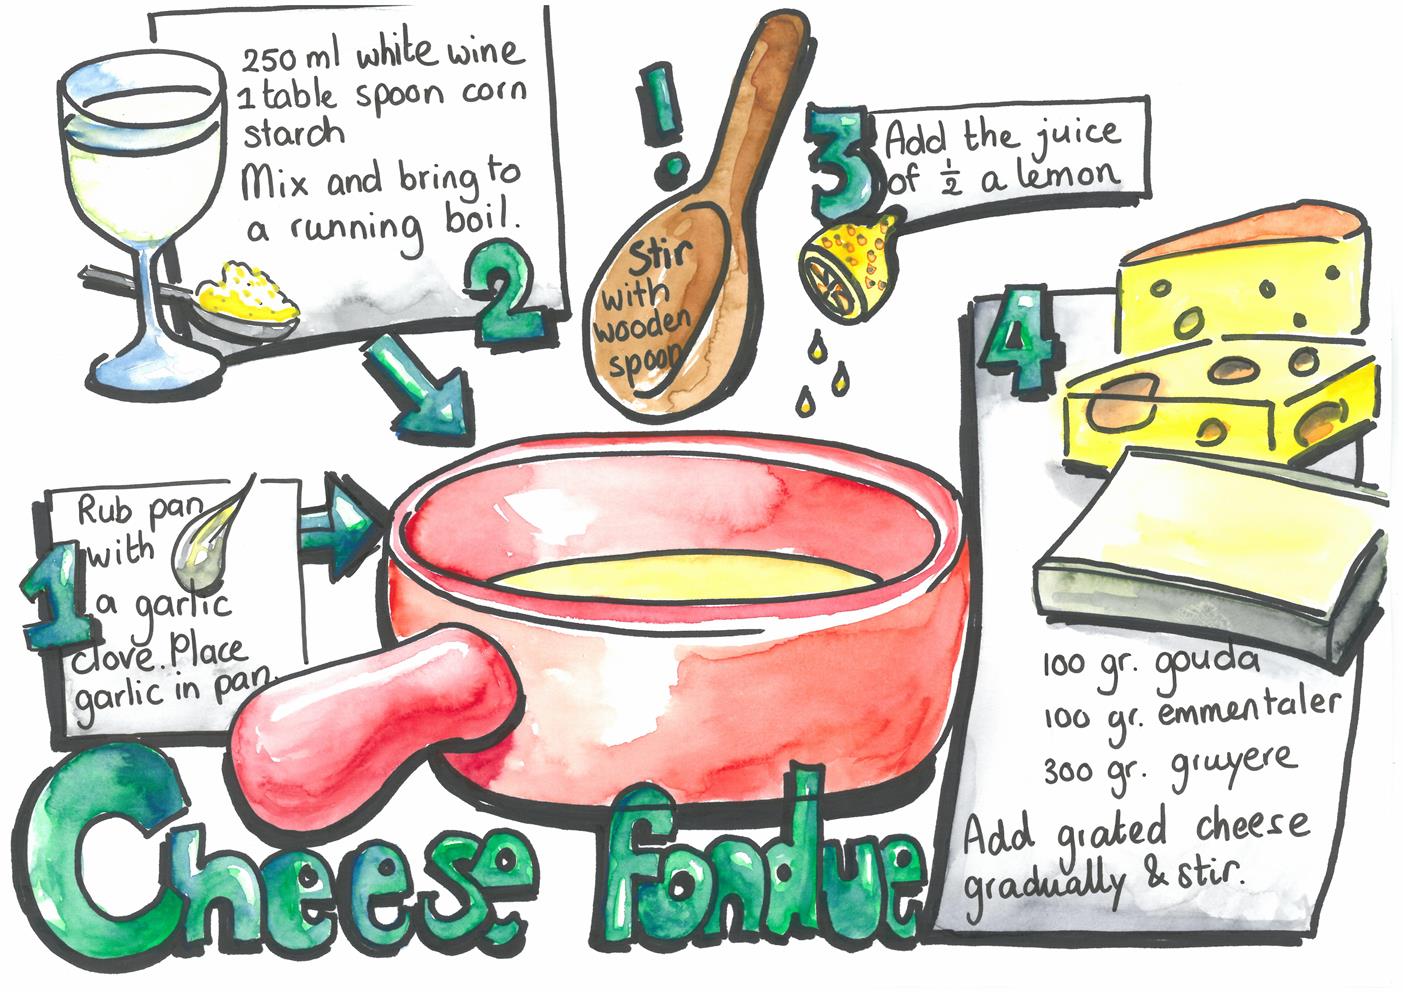
As a metnlintje first, I made you a (downloadable) decorative recipe! You can just follow the instructions on the FondueSketch to make the fondue. This recipe serves 2 greedy adults and a toddler. Don’t forget to season to taste with salt, pepper and nutmeg.
FondueSketchM

I grew up in Switserland. This means I am quite a puritan about how you are supposed to enjoy your home made fondue. These are my Cheese fondue guidelines:

  • Serve with cubes of (day old) bread for maximum cheese absorbtion when dunking.
  • Have wine or tea with your fondue. If you don’t, I was told big clumps of cheese form in your tummy!
  • You can also dunk pieces of pear, button mushroom or cherry tomatoes
  • Serve with strong flavored goodies/tappas so your guests can cleanse their pallet and enjoy every moment of cheese sensation. Excellent goodies are:
    • Thin slices of high quality chacutery like salame or parma ham for a salty tang
    • Pickles like gurkins or pickled onions for a sour balance
    • Sweet fruit like grapes, (tinned) peaches or pear
  • Use a thick pan that holds and distributes heat well (le caquelon)
  • Keep your fondue warm on a (matching) warmer.
  • The crust that forms on the bottom is sacred! It’s the best part, so scrape every last bit of the bottom.

My family loves cheese, so everyone joins in for this one at our home. It always makes a festive meal in our home. We light the candles and we take our time to saver the cheese but it also leaves lots of time for conversation. Hope you enjoy it too!

Feeling (p)inspired

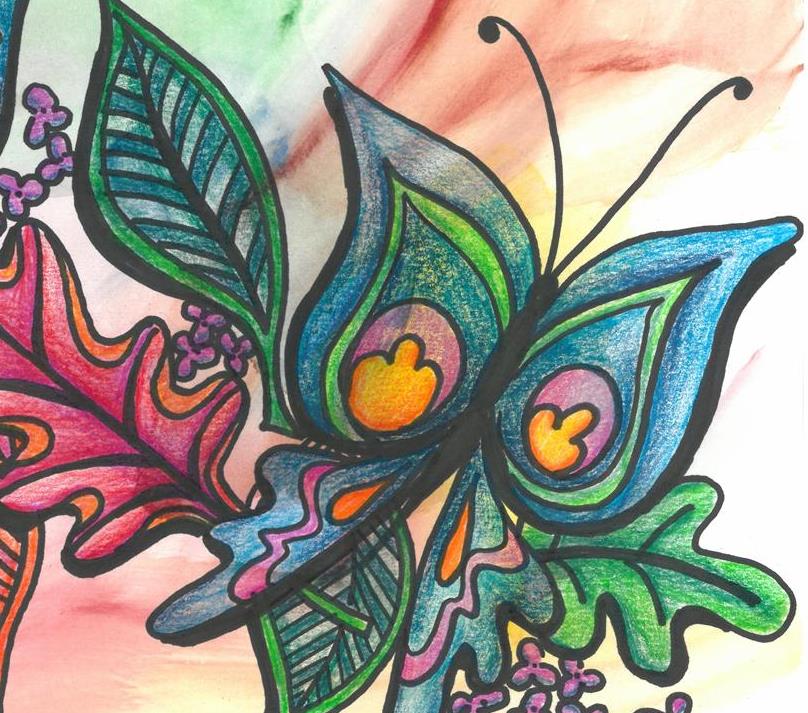
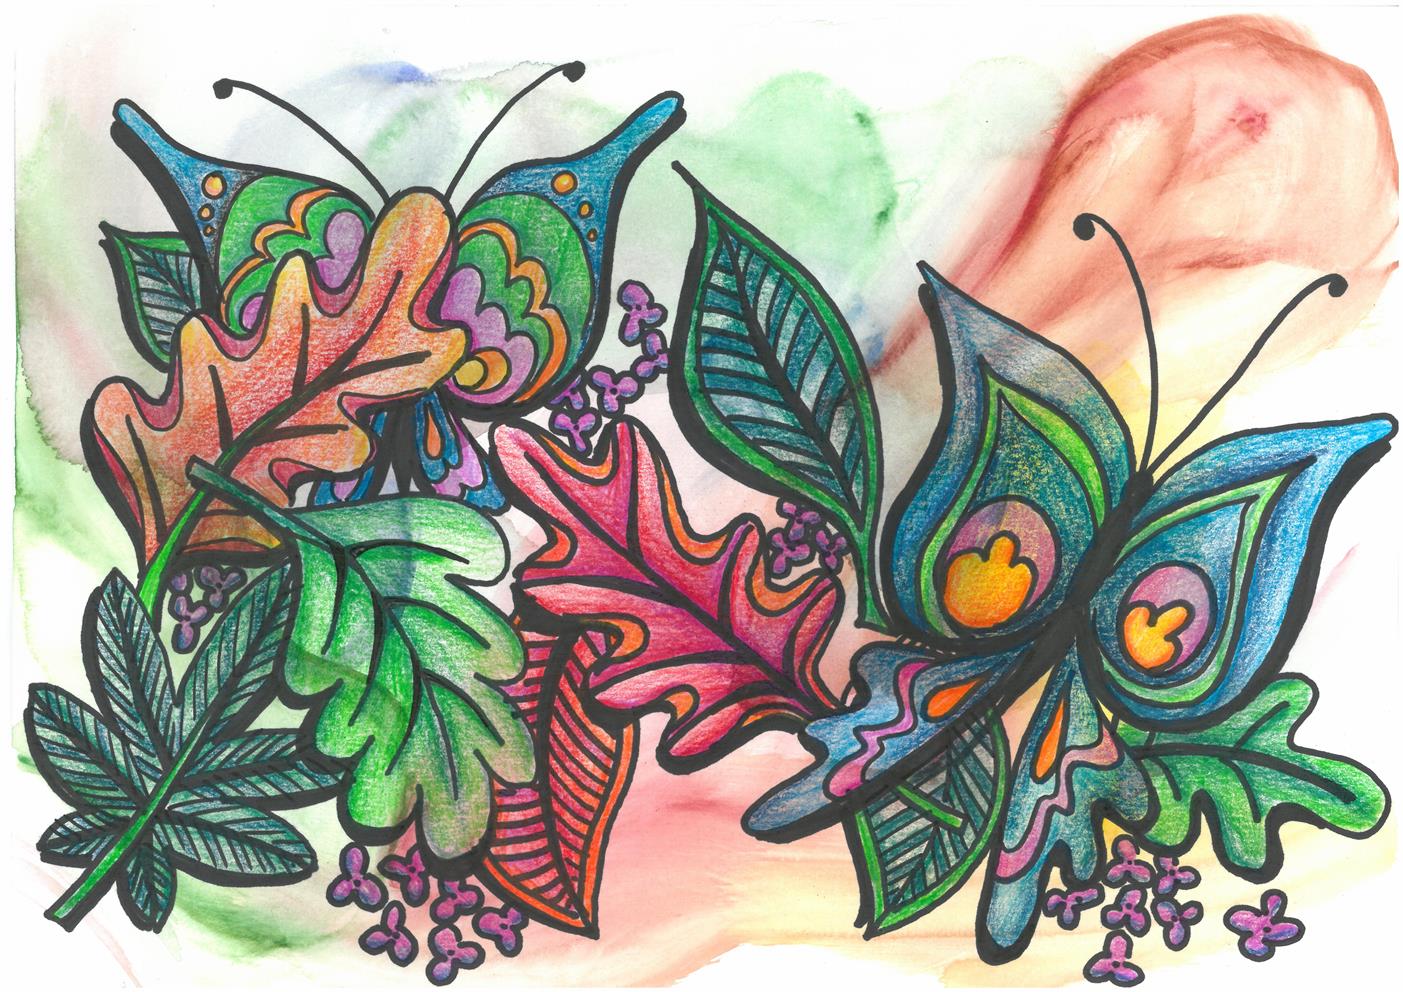
LeafySketchSThe other day I descided to take my doodling to another level. In search of inspiration I searched trusty Pinterest. I collected so many ideas that made my heart beat faster that I couldn’t wait to get started! (You can find my pinsperation here.)

One site truely caught my eye. Alisa Burke makes beatiful artwork. The great thing is that she makes it look so simple! The last few evenings I set out to create my own artwork.

LeafySketchM

I really enjoyed making this project. I first made background with very wet water coloring. After this I doodled the butterflies and leaves. After some digging I found my coloring pencils to finish my creation.

This project was fun and relaxing to do. I am always searching for new ways to be creative and to unwind after a busy day at work and these coloring projects really do the trick!

Next I am moving on to sketching my own recipes, to be continued…

Asian fruit salad with a Europian twist

This is a tasty Asian fruit salad is known as rojak in Malaysia. It makes a great side dish with a (Malaysian) curry but it also makes a great accompaniment with grilled meat, fish or poultry.

Traditionally Roedjak is made with tropical fruit but I have found it is also delicious with tart apples and crunchy cucumber. The dressing sort of preserves your salad, making it possible to make your salad one or two days in advance.

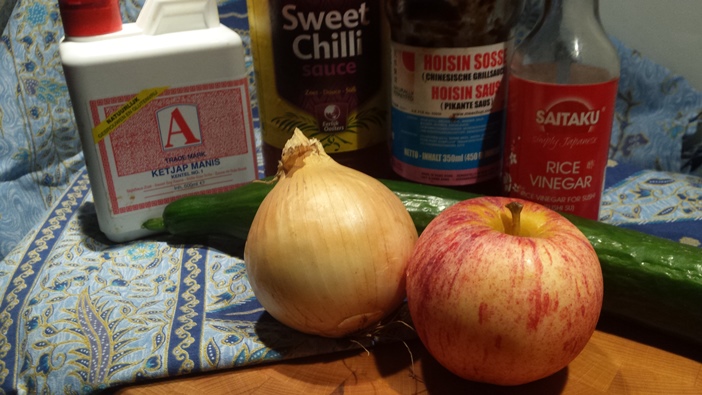
Rojak

Asian fruit salad with Dutch fruit

  • 1 cucumber in cubes
  • 2 apples in cubes
  • 1 union thinly sliced
  • Optional: 1 mango, 2 peaches and/or ½ a pineapple in cubes
  • To taste: 1 red chili pepper thinly sliced and/or a handful of coriander
  • Dressing:
    • 2 tbsp ketjap manis/sweet soy sauce
    • 1 tbsp hoisin sauce
    • 2 tbsp sweet chili sauce
    • 2 tbsp mirin or lemon juice
  1. Mix your dressing ingredients.
  2. Slice your ingredients, mix and combine.

Find more salad inspiration here.

Fabulous five Pinterest projects

In case you haven’t discovered Pinterest yet: Pinterest is a great website/app that lets you create you own “pin boards” of pictures that inspire you! Millions of creative people share and organize their pictures on this site. If you create an account you will be able to organize your own finds, but most importantly be inspired by others as well!

What I have discovered is that Pinterest gives you new ideas for cooking, crafts and activities with your kids. I often take elements of the idea of a creative mommy on the other side of the globe, tweak it for my own toddler and make it my own.

These are some of my latest (p)insired creations:

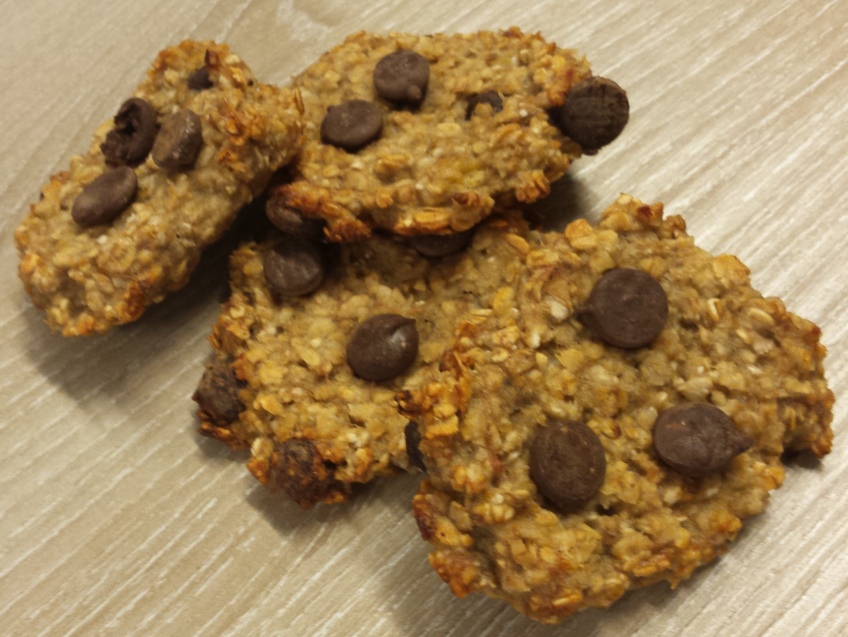
  1. Easy and healthy 3 ingredient cookies, for more baking ideas check out my Bake’nCake Pinterest board
    Koek2
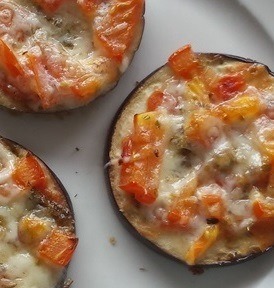
  2. Mini veggie pizza’s, for more cooking ideas check out my Food4Thought Pinterest board
    MiniPizza3
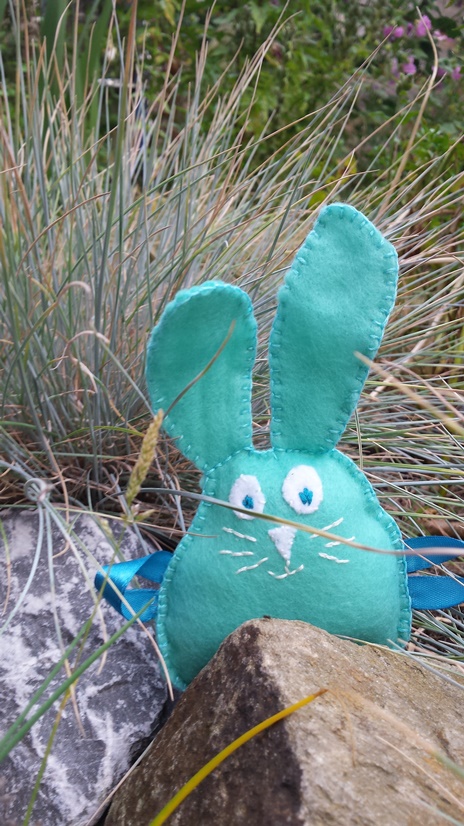
  3. Felt funny bunny, for more felt inspiration check out my Fuzzy felty figures Pinterest board
    bunny1
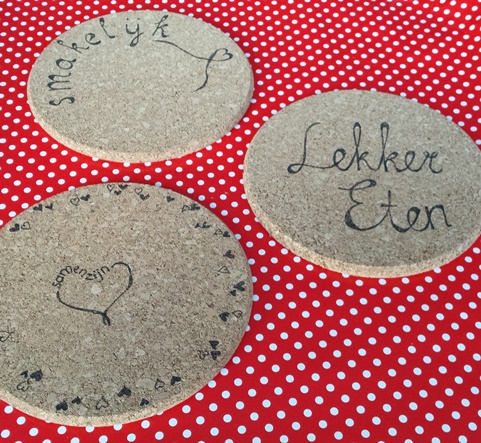
  4. Personalized coasters
    Coasters4
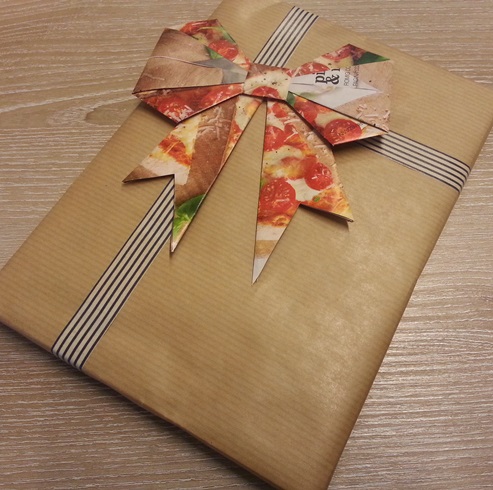
  5. Magazine upcycling, for more gift wrapping ideas check out my Wrap-a-holic Pinterest board
    Strik

Top tip! Get inspired for Christmas and Halloween and get an early start this year!