I am not ashamed to admit I am a big carb lover. As a student I used to work saturdays in a bakery. This experience instilled in me a devotion to well baked bread. Recently I have been making my own home baked loaves.
Bread is such a magical thing to make. Basically you take 4 basic ingredients (flower, salt, water and yeast) and after some work, it becomes a completely new entity: dough. This dough that transforms several times while proofing. Dough is almost a living thing, which you created! When you bake it, the dough is again transformed, changing in texture and flavor for the last and final time. I cannot emphasize enough how inspiring it is to be the master of such a process.
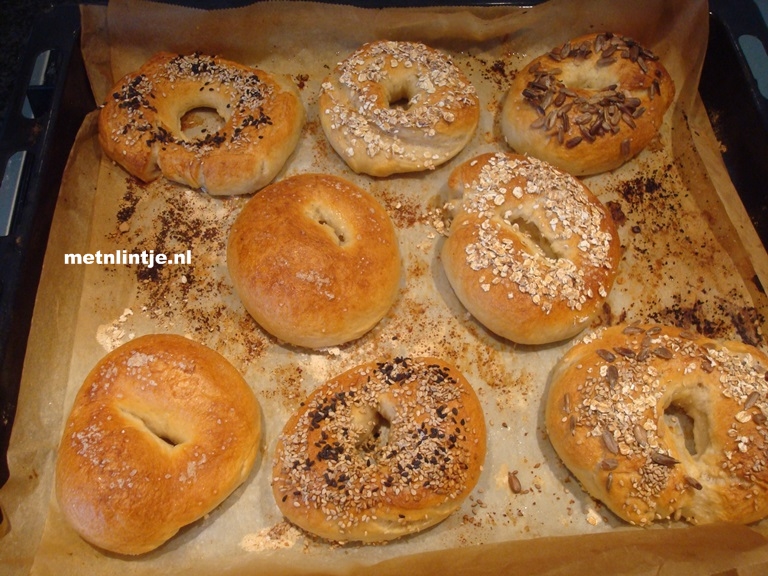
I hope I have inspired you! If you have never baked before; start with an easy white loaf. If you would like a fun bread baking challenge, make these bagels! I have watched many video’s and instructions, and this method works for me. If you wander why I added certain steps, you can read the explanation in Italics. Personally I recommend doing step 1 through 4 the evening before. This way, If you are an early riser, you can surprise your loved ones with these bagels for breakfast or brunch.
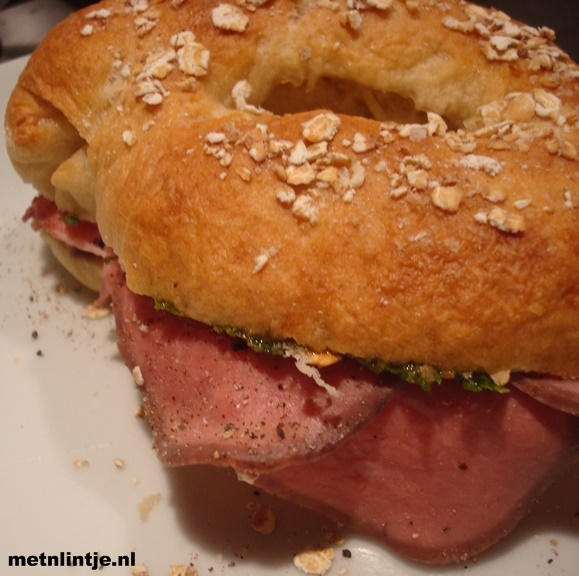
Bagels (about 10 bagels)
- 7 g sachet dried yeast
- 4 tsp sugar
- 2 tsp salt
- 450 g bread flour
- 300 ml lukewarm water
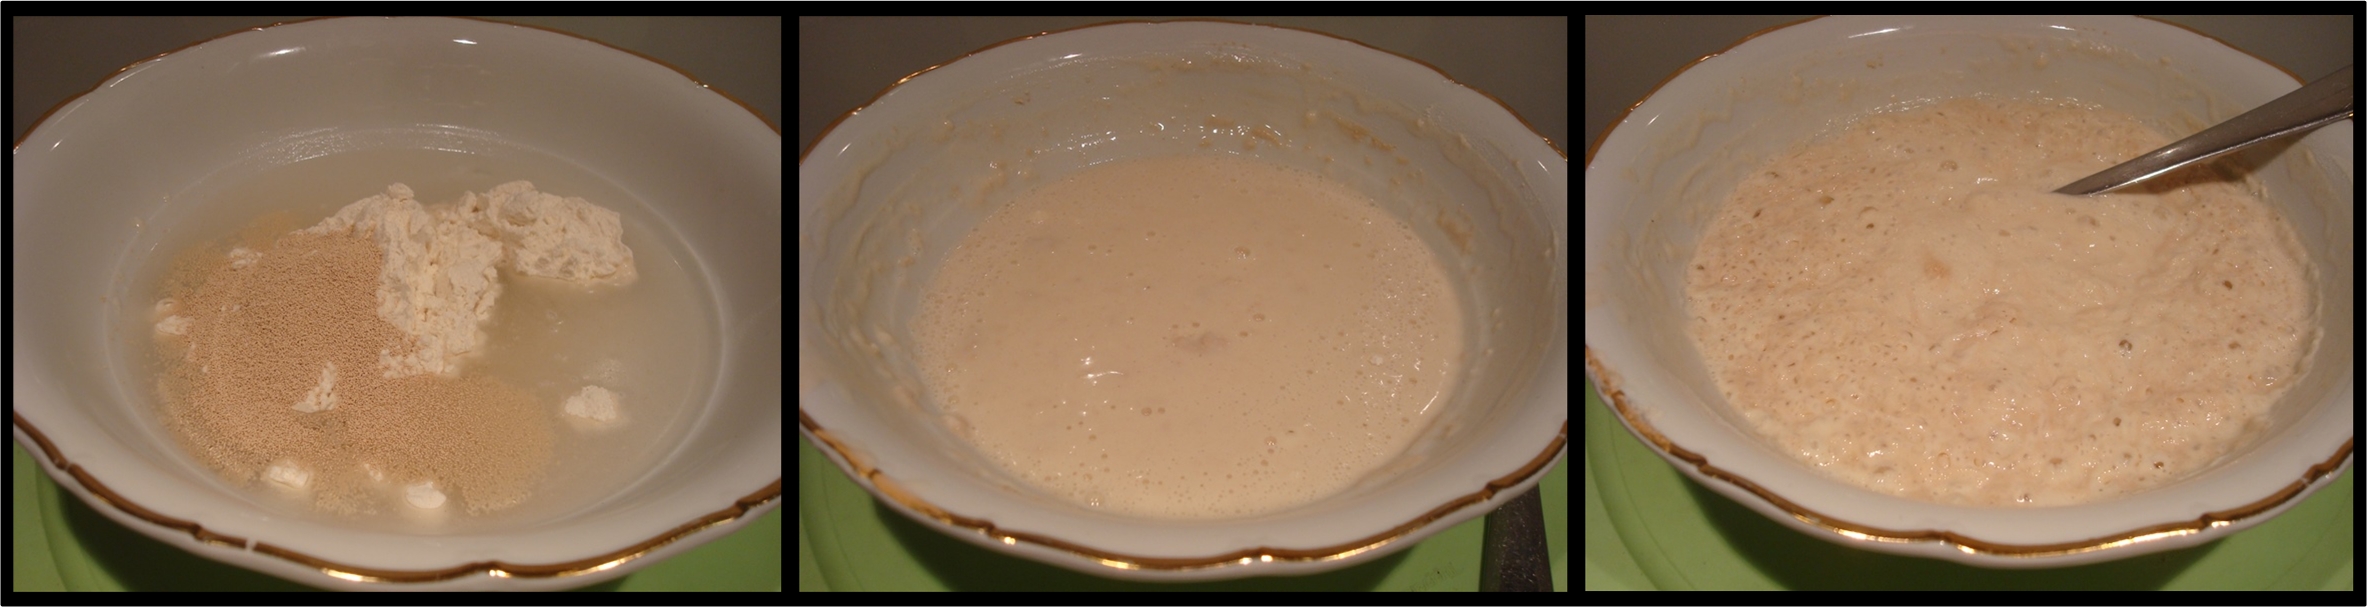
- Make your starter mixture – Combine 200 ml of water, the sugar, a large cup of the bread flower and the yeast in a mixing bowl. When combined, cover the bowl with clingfilm and leave in a warm place for 1 to 4 hours. Leaving this starter mixture for a while will add flavor to your bread as dough needs lots of time to develop. The starter should have the consistency of a runny pancake batter.
- Make your dough – When your starter mixture has developed, combine with the other ingredients. After combining, cover your bowl with a kitchen towel and leave your mix to stand for 15 minutes. Leaving this mix to stand makes kneading easier.
- Knead your dough for at least 10 minutes. If you are not used to kneading, just time your kneading, you cannot take any shortcuts with kneading, unless you have a machine to so it for you.
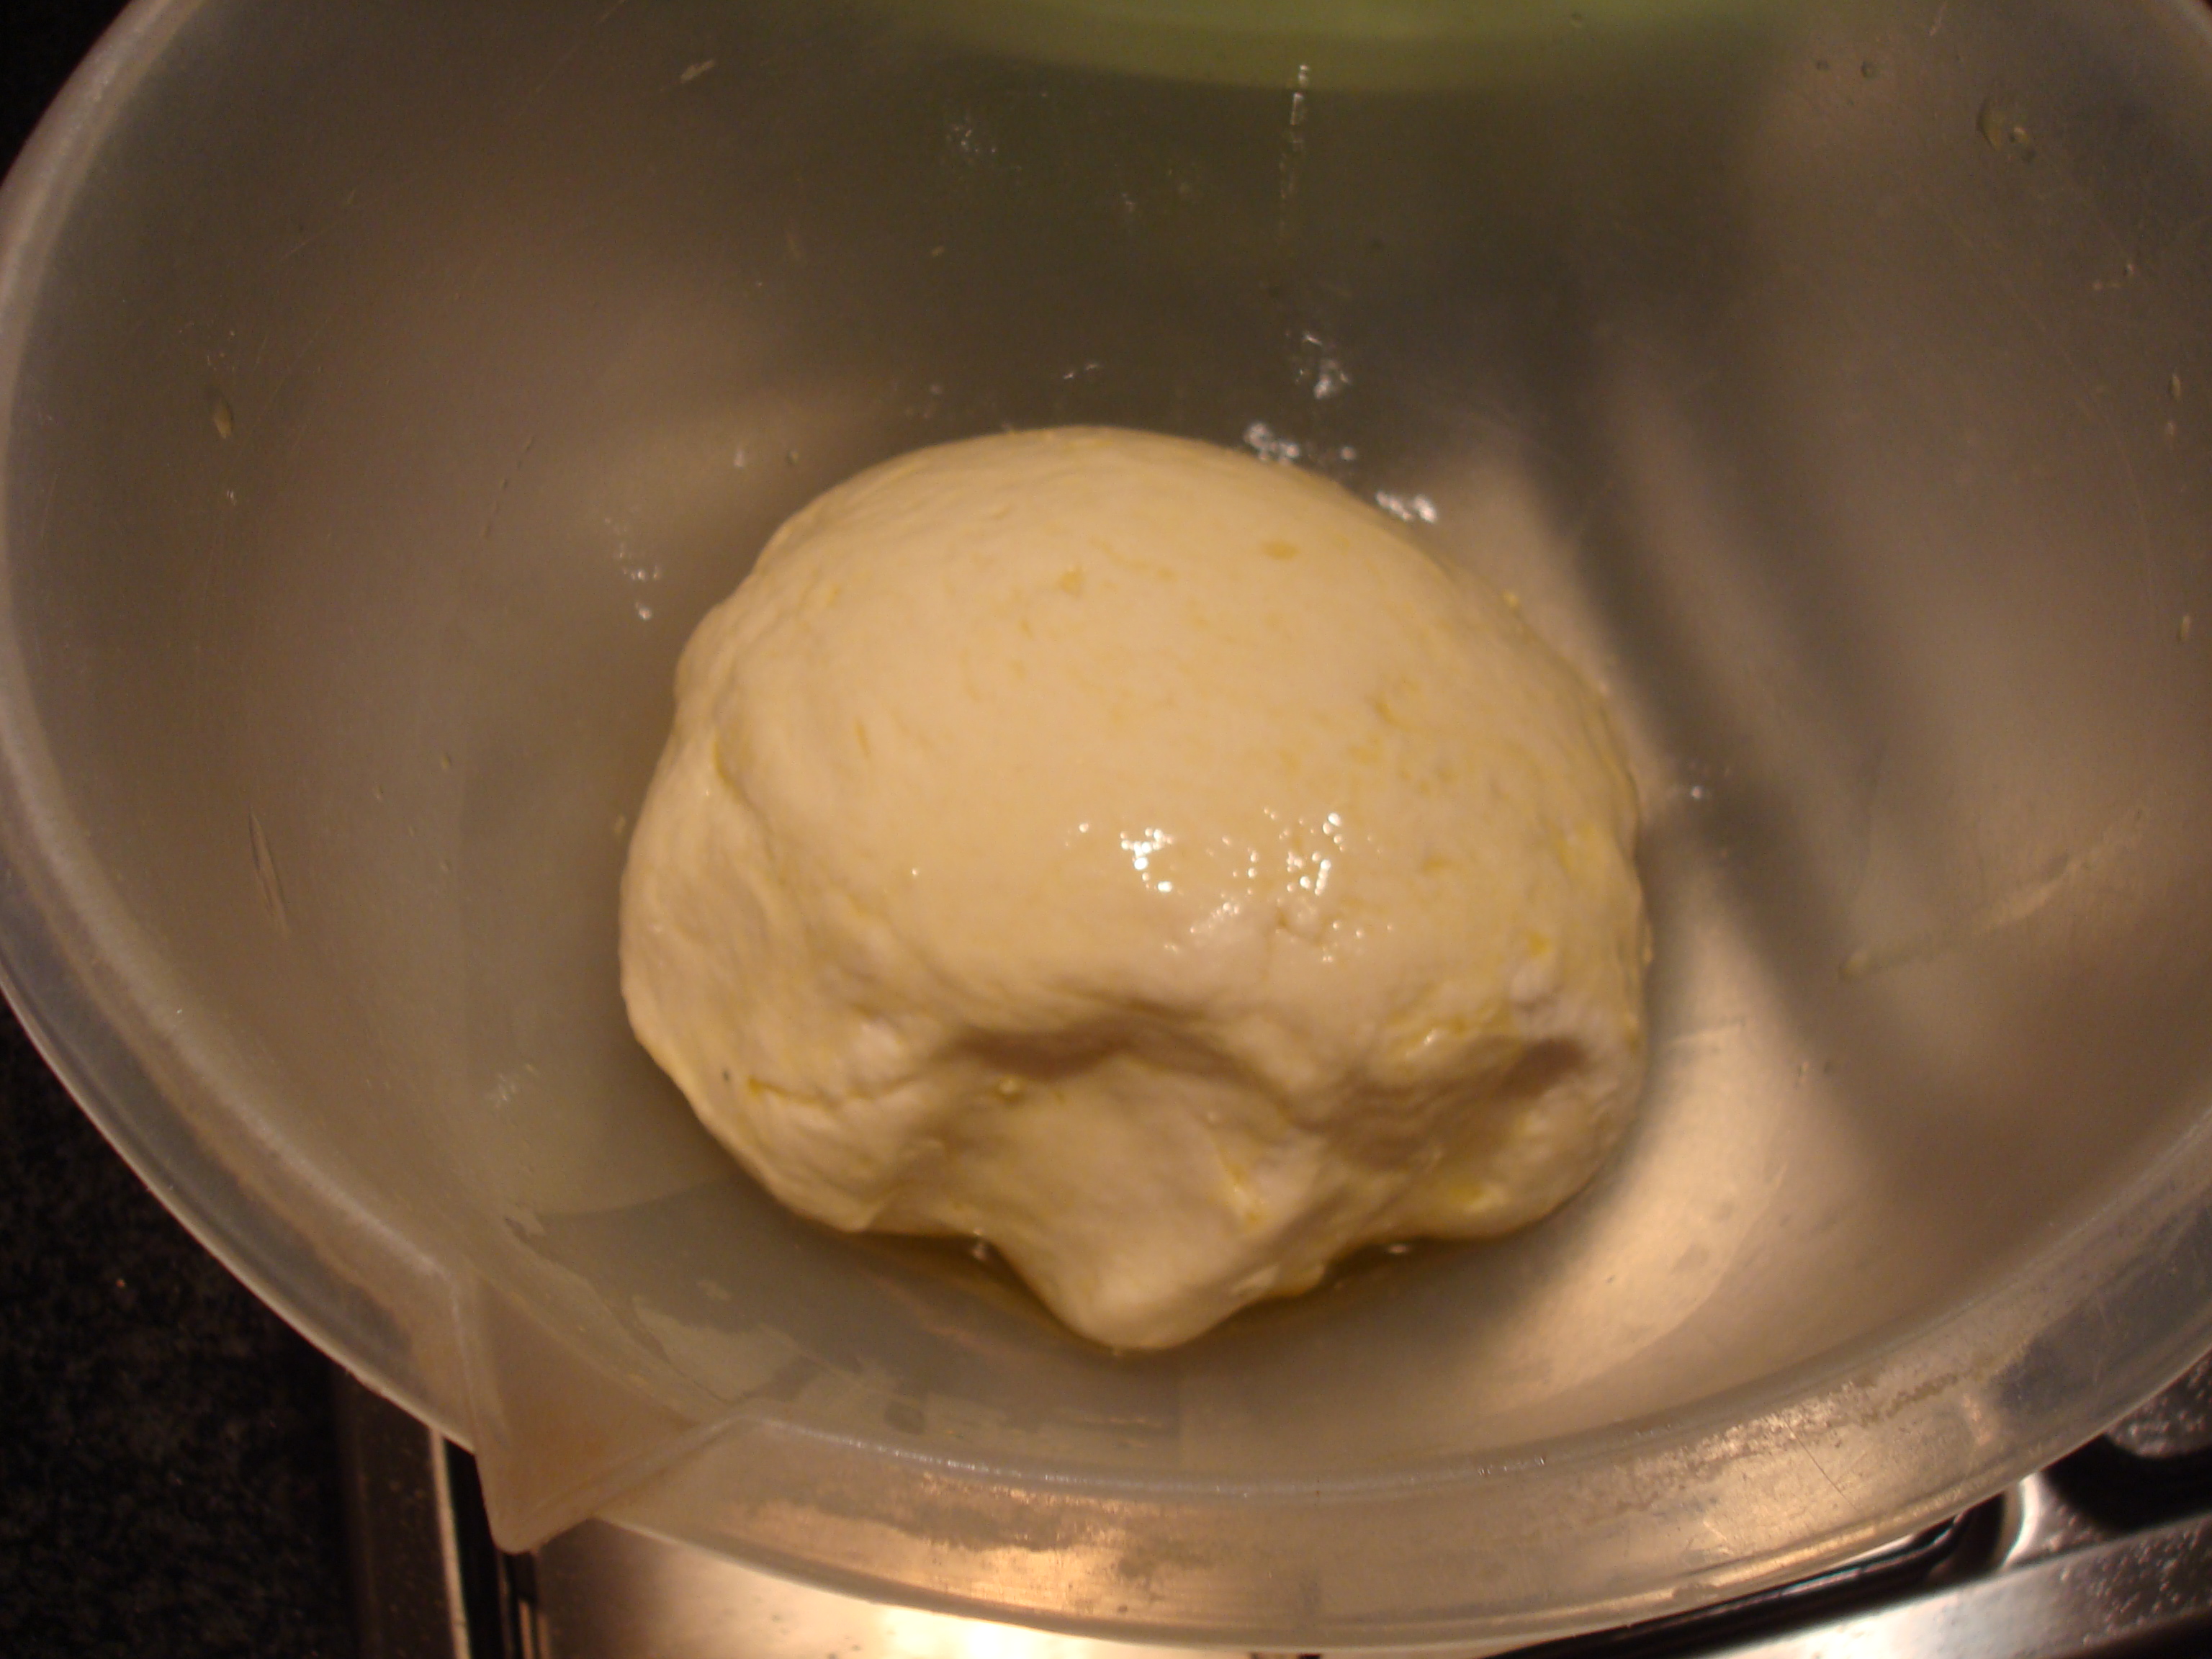
- Proof your dough – Place your dough back in the bowl, cover with clingfilm and let your dough proof for at least an hour in a warm place, or let your dough proof in the fridge overnight. Letting your dough proof overnight is not only practical but this slow proofing means more flavor!
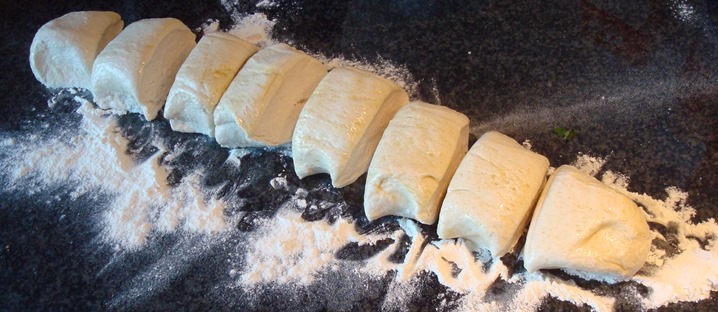
- Shape your dough – If your dough comes from the fridge, leave it to get to room temperature for twenty minutes before shaping your bagels. Shape your donuts. Find instructions on Youtube for this step. Place your bagels on a baking tray dusted with semolina, flower or bread crumbs to prevent sticking.
- Proof your bagels – Cover your bagels with a damp kitchen towel and leave them to rest for 20 minutes.
- Preheat your oven to 220 degrees C.
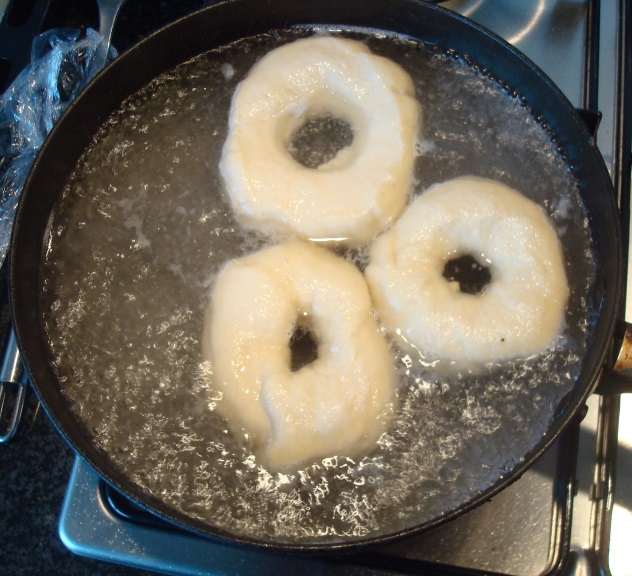
- Poach your bagels – This step is what gives the bagels their unique texture. Put a large pot of simmering water on your hub. Gently slide your bagels in the water, let them poach 1-2 minutes on each side. Depending on the size of your pot, you will have to do this in batches as the bagels should not touch. After poaching, remove each bagel with a slotted spoon, and place the bagels on the baking tray.
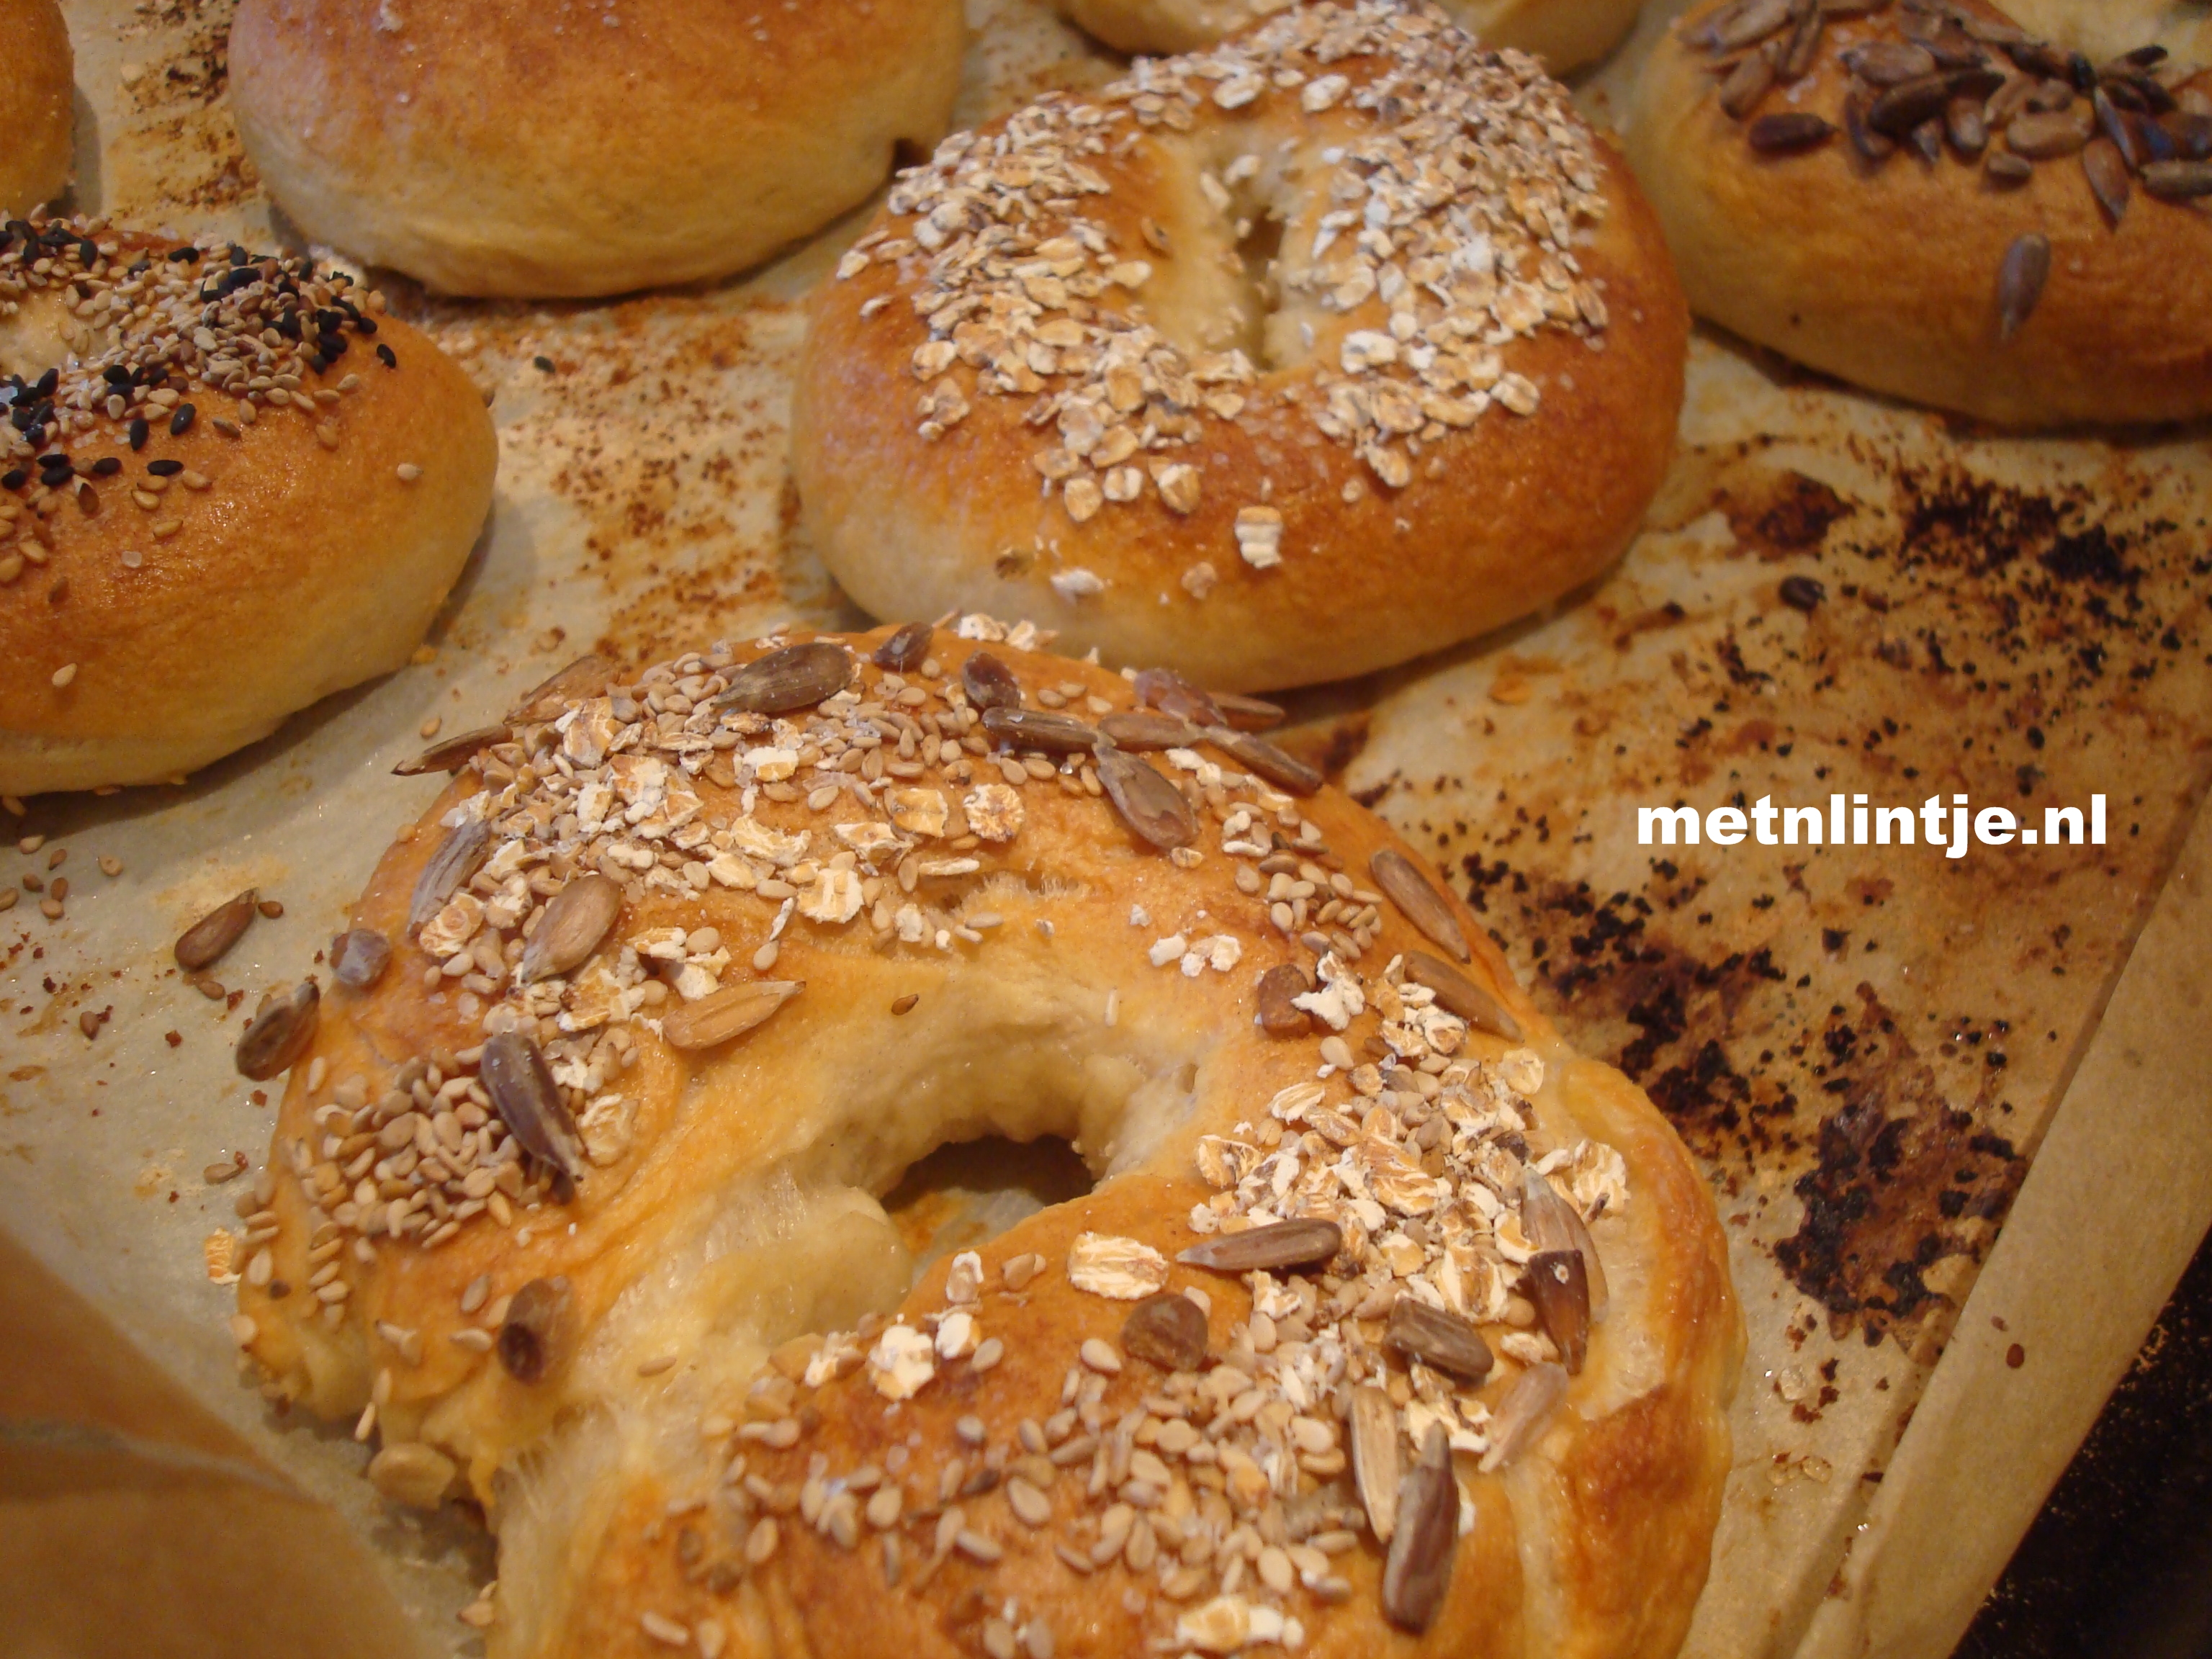
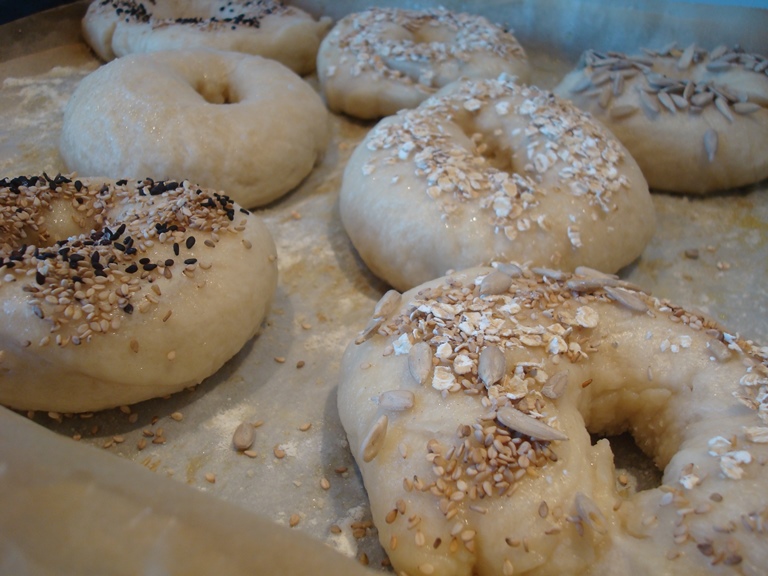
- Decorate your bagels – Your bagels will have grown during poaching and should have formed a skin around the outside. The bagels are now sticky and easy to garnish with seasalt and your favorite topping. You can use sesame, sun flower seeds or poppy.
- Bake your bagels for about 25 minutes or untill crispy and golden.